
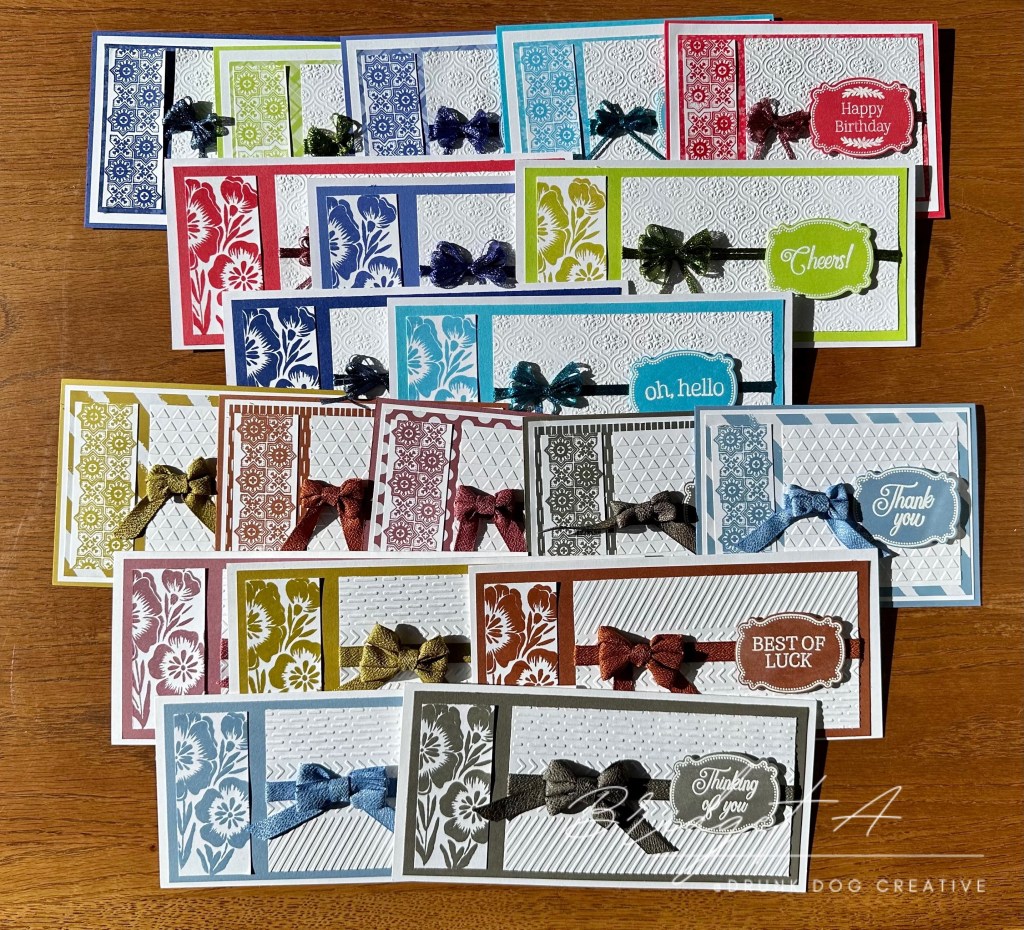
I have a confession to make. I love a challenge. The harder something is to achieve, the more I thrive on the attempt. This week, I set myself a challenge…. make 20 cards in 1 hour. I called it ‘Monochrome Madness’. But I’m getting ahead of myself. Let me explain.
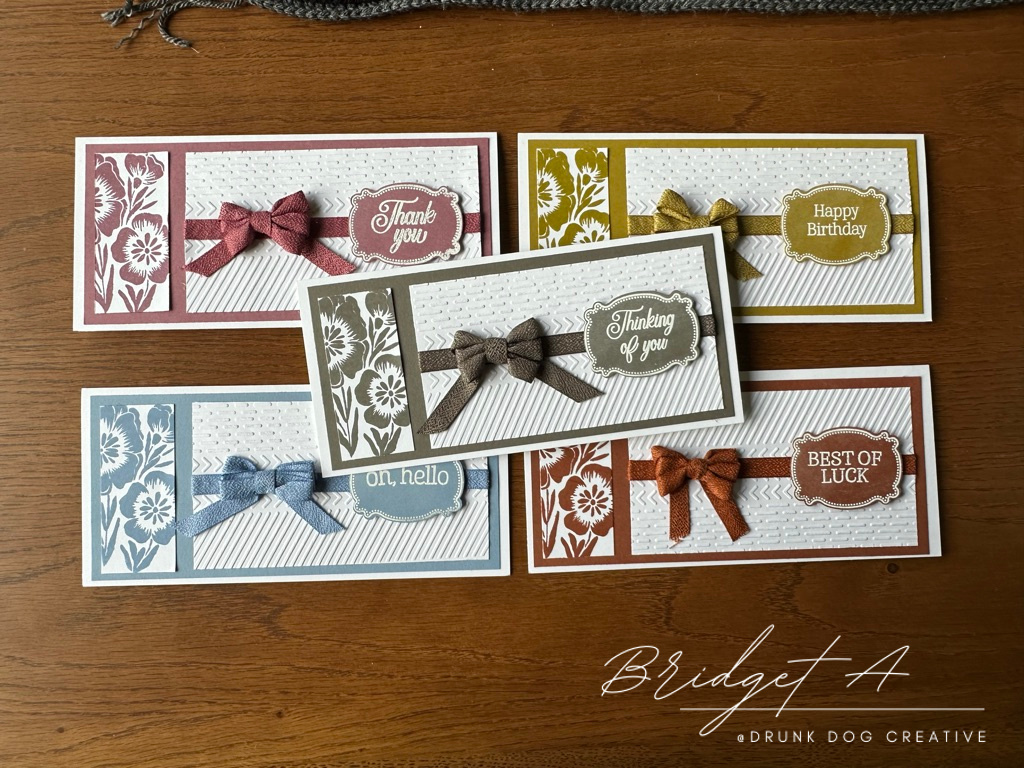
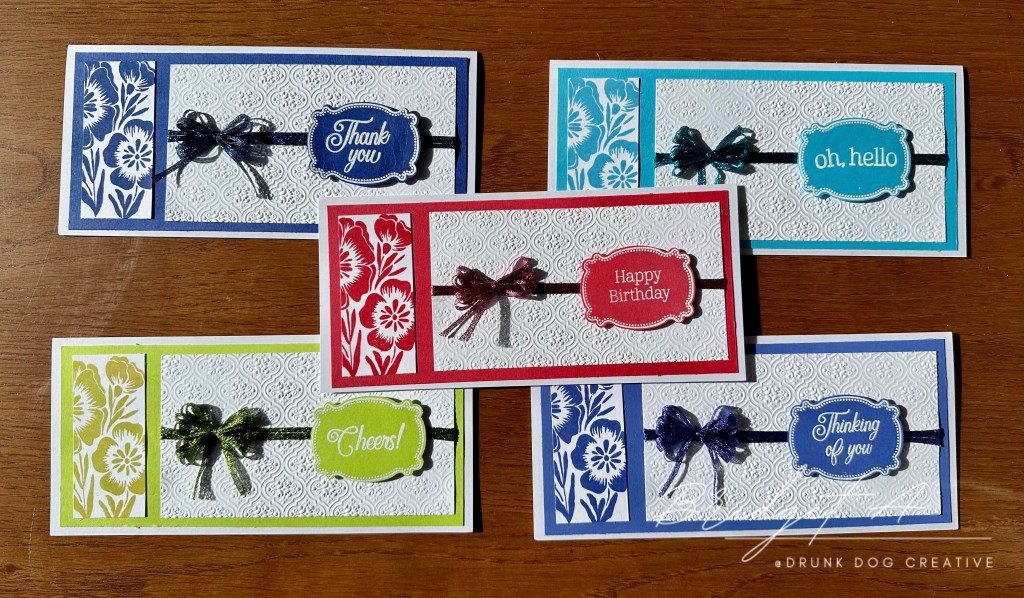
One of the things I really love about Stampin’ Up! is how their colours coordinate. The inks, cardstock, embellishments, ribbons and markers all match. Last month the new 2023-2025 In Colour Collection was released by Stampin’ Up! It’s a gorgeous pallet of Boho Blue, Copper Clay, Moody Mauve, Pebbled Path and Wild Wheat. I have been dying to play with these colours but I’m also still very fond of the 2022-2024 In Color Collection of Orchid Oasis, Parakeet Party, Starry Sky, Sweet Sorbet and Tahitian Tide. So, I wanted to do something with all ten of these colours. How could I best show off these two amazing collections?

So the idea of designing a monochrome card – one in each of the ten colours – was born. But that wasn’t quite enough of a challenge for me. I couldn’t decide between a DL size or an A6 size card (these are Australian sizes, the USA Slimline and A2 sizes are the closest equivalent and I will give instructions for both… after all, I’m a dual citizen and I speak both Metric and Imperial fluently. Ha!) So, why not two different size cards with slightly different designs in each of the ten colours? Great idea! And to make it just that little bit more fun… I decided I would only use one stamp set. Just one. Then, I wondered how long it would take me to make them all. Once I worked out the design I wanted for each, I started the clock. 20 monochrome cards – 10 colours – 2 designs – 1 stamp set … one hour… give or take a couple of minutes. These cards have a great layout that are simple, quick to make and beautiful.

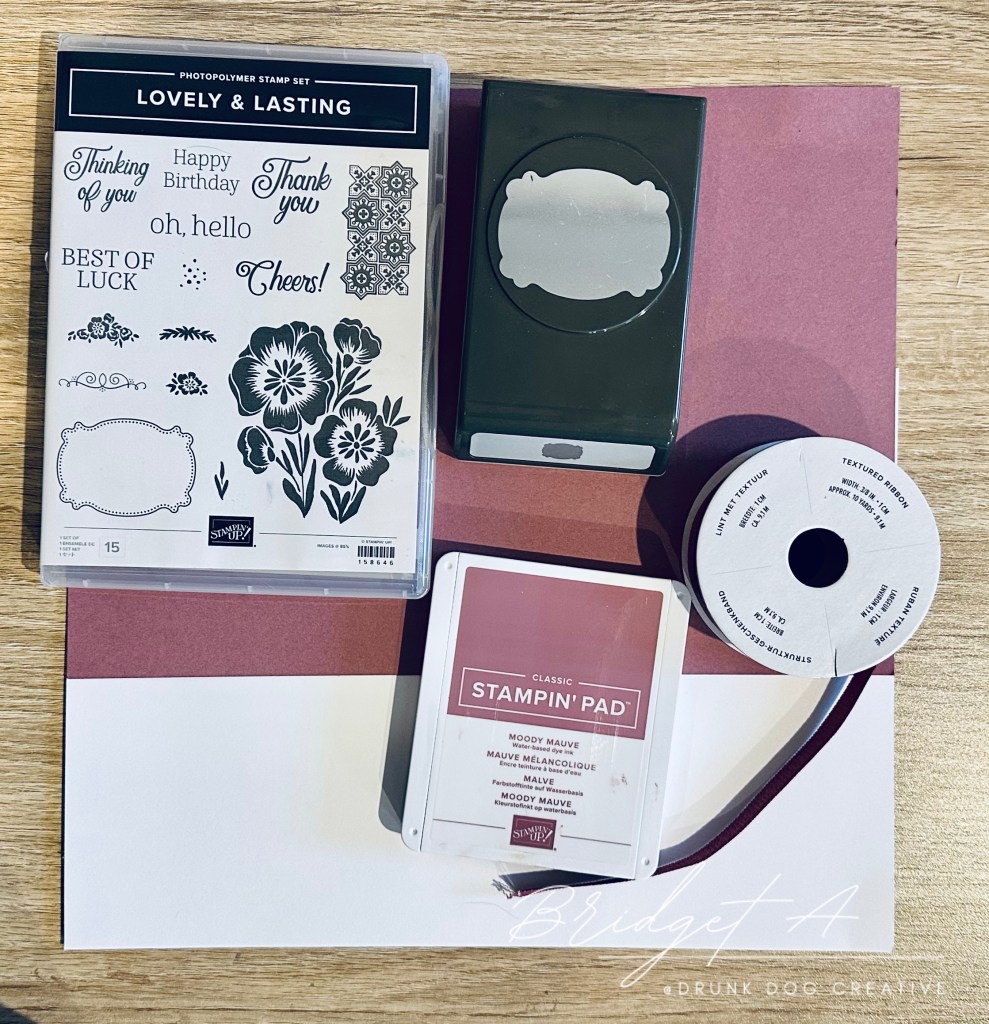
Now, one of the things I actually don’t like about Stampin’ Up! is that once they retire products, they’re gone. That has happened with the stamp set I decided to use for these cards… the Lovely & Lasting Stamp Set which coordinated perfectly with the Lovely Labels Punch, which IS still available at the time of writing this post. So the point of this tutorial is to inspire you to create your own card with your own favourite stamp set, using the layout in this tutorial. Because, sadly, this stamp set is gone, gone, gone. sigh. The moral of the story is… if you find something you like in an SU mini-catalog or annual catalog, buy it before the end of the catalog or it might not be in the next one! I’ve added to the end of this post, a calendar of when the catalogs, mini-catalogs, and online exclusives run so you don’t get caught out!
So enjoy this tutorial, including the video of one of the makes, and be inspired to create your own monochrome madness cards!
How to Make the Cards
The style and techniques are the same for both sizes.
The video tutorial features the DL card in Pebbled Path but the makes for the DL and A6 card are similar with the main difference being the number of layers and the order of the colour and white cardstock. The DL Card uses three layers for the card – the card base, the mat and the card front which is made of two pieces. The A6 card uses four layers – the card base, the outer mat, the inner mat, and the card front which is also made of two pieces. The technique is the same for both. Below the video, I’ve included the cut plan and some tips. There is also a full supply list for the SU products used which are still available at the time of writing this post.
Tips for Doing a Multimake
If you’re going to do a multimake, then my advice is to do each step for all cards before moving on to the next step, rather than making one complete card at a time. The video below shows all the steps for making one card. When I made the 20, I did one step at a time for all twenty.
Video Tutorial for the Monochrome Madness Card in Pebbled Path from the 2023-2025 In Color Collection.
Cut Plan
Here are the measurements for the pieces you need to cut to make these cards. I’ve done these for Australian sizes (DL and A6) and USA sizes (Slimline and A2).
Australian DL Card
- Card base (white): 194 x 210mm scored at 97mm so card is 97mm x 210mm.
- Mat (colour): 90 x 200mm
- Left front piece (white): 80 x 35mm
- Right front piece (white): 80 x 145mm
- Scrap of colour for the sentiment tag
Optional Inside Layers:
- Mat (colour): 90 x 200mm
- Writing area (white): 80 x 190mm
Australian A6 Card
- Card base (colour): 148 x 210mm scored at 105mm so card is 148 x 105mm
- Outer Mat (white): 143 x 100mm
- Inner Mat (colour): 133 x 90mm
- Left front piece (white): 31 x 85mm
- Right front piece (white): 92 x 85mm
- Inside Writing ARea (white): 143 x 100mm
- Scrap of colour for the sentiment tag
USA Slimline Card
- Card base (white): 7 x 8.5” scored in the middle. 3.5 x 8.5” folded size
- Mat (colour): 3.25 x 8.25”
- Left front piece (white): 3 x 2”
- Right front piece (white): 3 x 5.75”
- Scrap of colour for the sentiment tag
Optional Inside Layers:
- Mat (colour): 3.25 x 8.25″
- Writing area (white): 3 x 8″
USA A2 Card
- Card base (colour): 5.5 x 8.5” scored at 4.25” and folded to 4.25 x 5.5”
- Outer Mat (white): 4 x 5.25”
- Inner Mat (Colour): 3.75 x 5”
- Left Front Piece (white): 3.25 x 1″
- Right Front Piece (white): 3.25 x 3″
- Inside Writing Area (white): 4 x 5.25″
- Scrap of colour for the sentiment tag
The Fiddly Bits
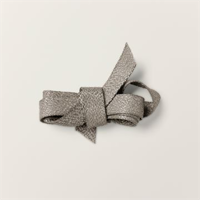
Make your bows and cut your ribbons. You want a length of ribbon that will go across the middle of the Right Front Piece and wrap a little around the back on each side. You don’t have to be precise but the following measurements provide a good guide.
- DL Australian – about 160 mm
- A6 Australian – about 105 mm
- Slimline USA – about 6.25″
- A2 USA – about 3.5″
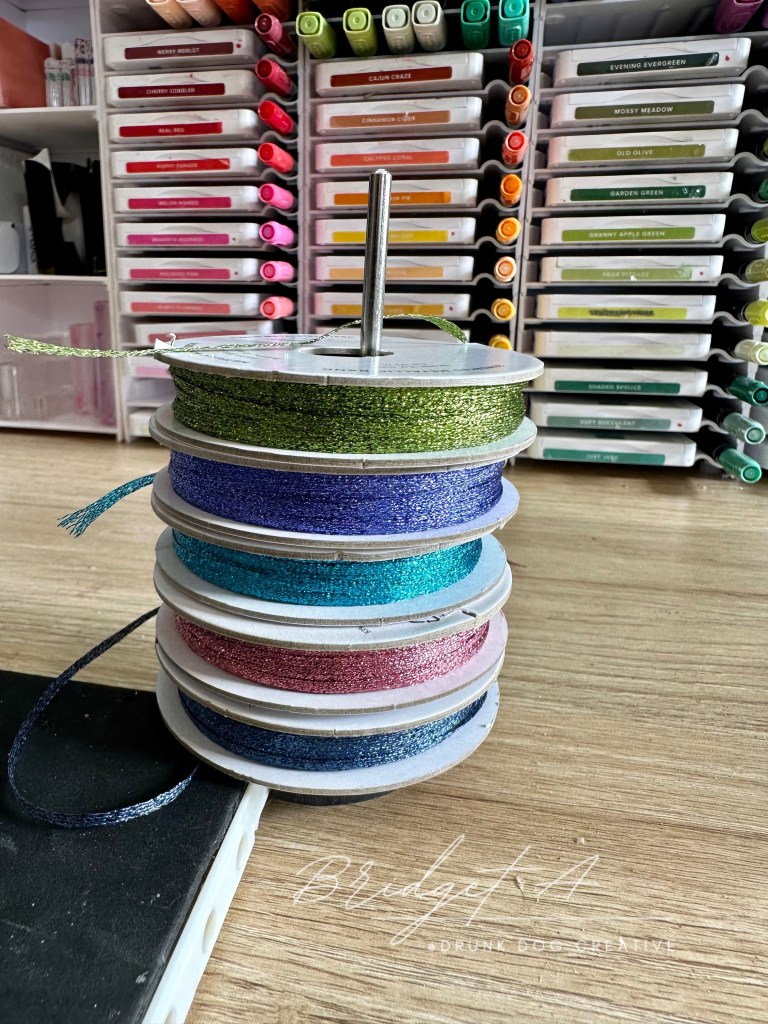
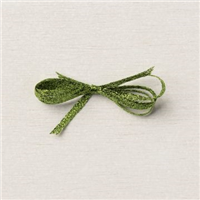
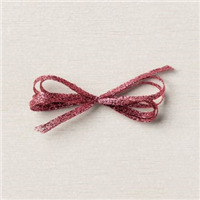
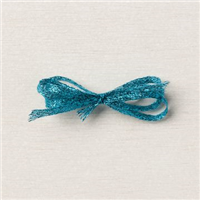
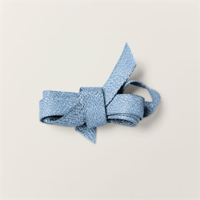
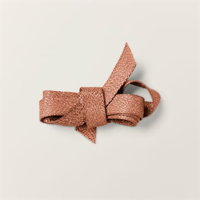
The 2022-2024 In Color Ribbon is very thin so I used three strands across the cardstock and made an 8 loop bow. The 2023-2025 In Color Ribbon is wider so I used one piece across the card and made a double loop bow for the A6/A2 cards and a triple loop bow. forthe DL/Slimline cards.
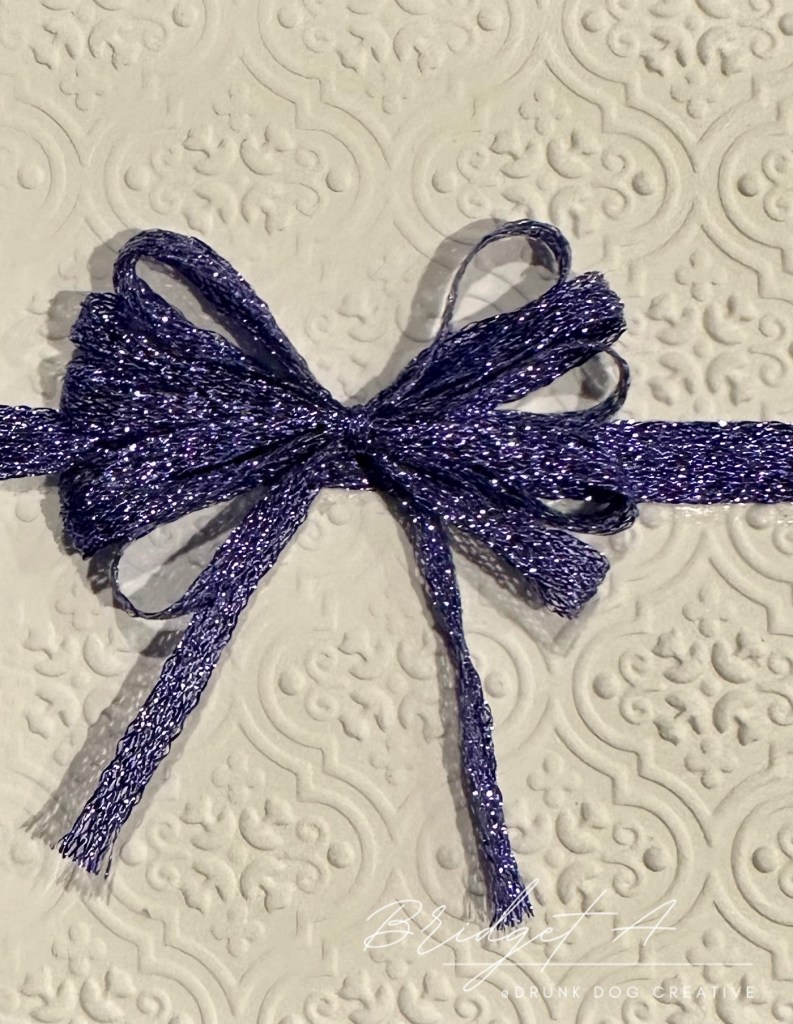


Hint: Confession time… I am absolutely terrible at tying bows. Truly. But a little while ago I discovered the Zutter Bow-It-All and it changed everything for me. The bows for this card were all made with it! To have a quick look at how it works, check out the short video on my blog post about it HERE.

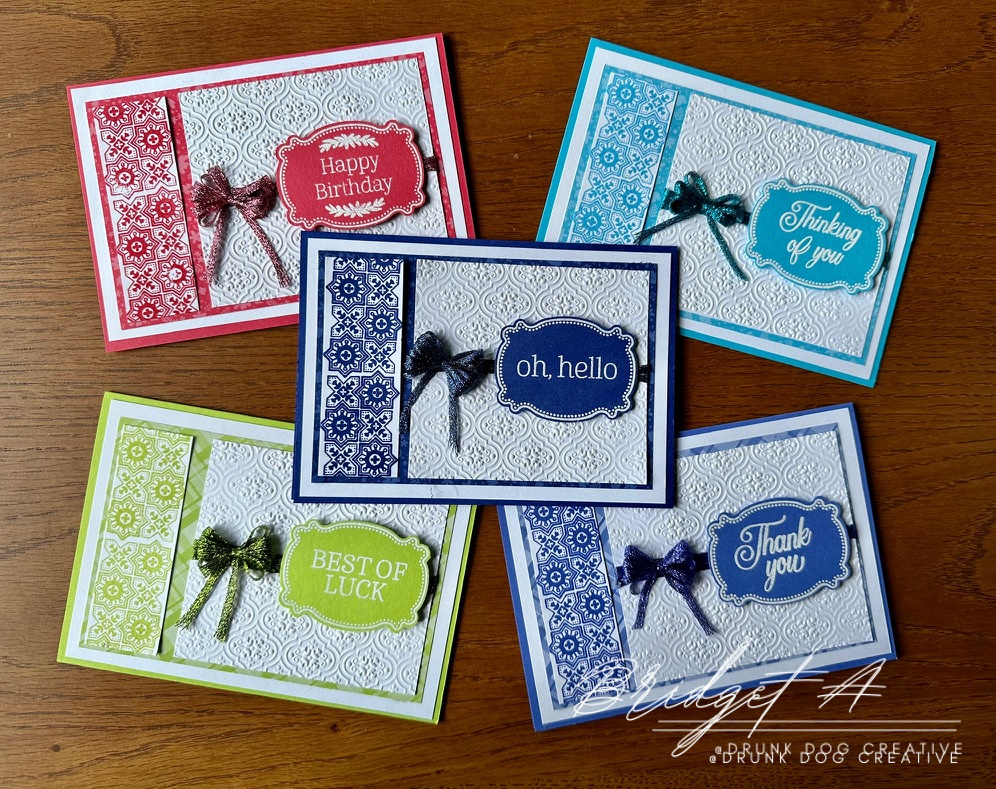
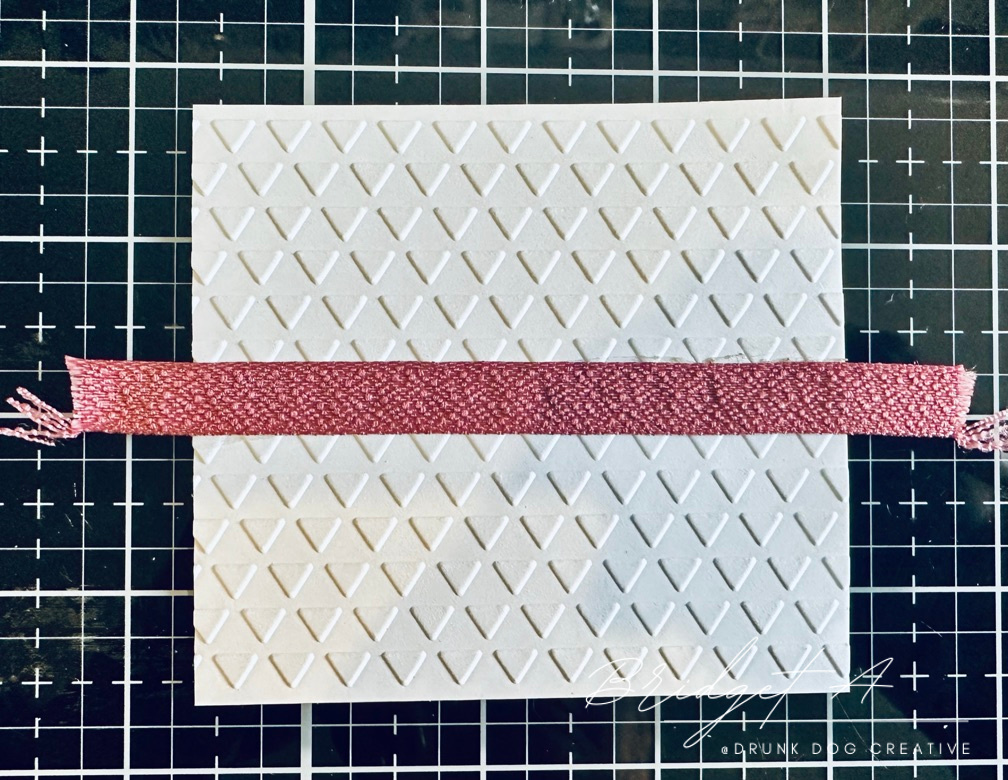
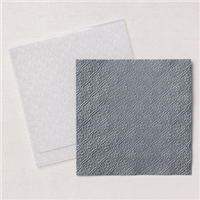
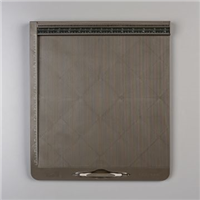
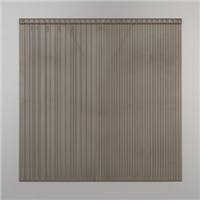
Dry emboss the Right Front Piece (the larger of the two) with your favourite embossing folder. I used the SU Quartefoil Embossing Folder on the cards featuring the 2022-2024 In Color Collection. I used the folders from the Geometric Patterns Embossing Folders set with the cards featuring the 2023-2025 In Color Collection. (Full supply list is at the end of this post).
Stamp an image on the Left Front Piece (the smaller of the two). The stamps I used for these cards all came from the Lovely & Lasting Stamp Set. I often stamp ‘off the page’ – ie the stamp is larger than the cardstock so only part of the image is visible. This often gives a great effect. See the video for a demonstration of this. In the photo below I used an image that is smaller than the cardstock but it’s a repeating image. So I stamped off the page so the image covered half. of the strip and then aligned the grooves and notches to stamp the image on the second half.

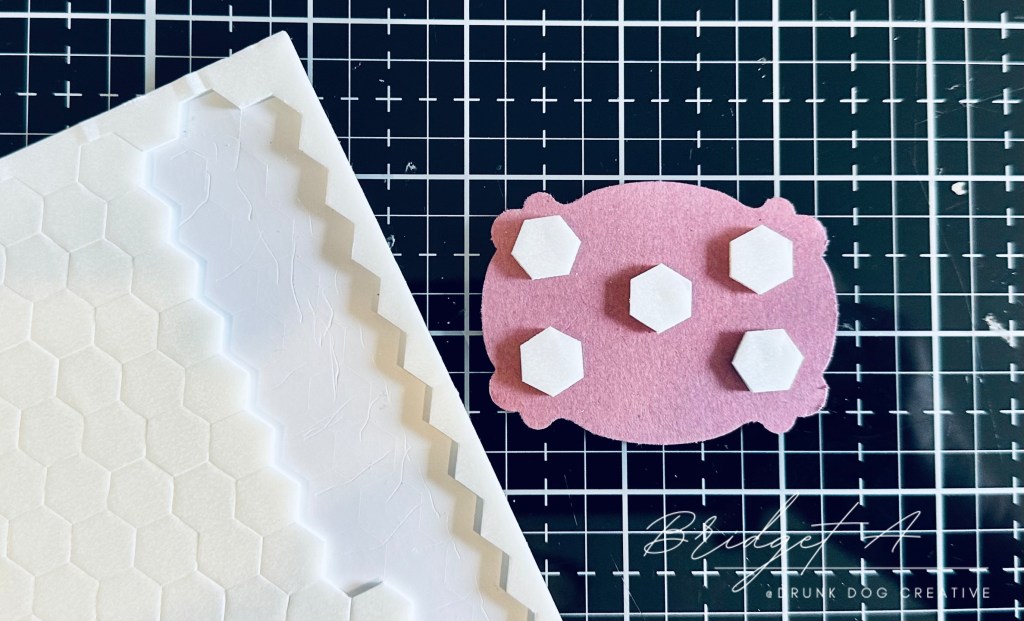
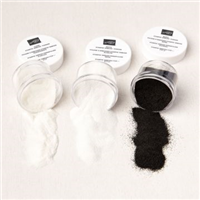
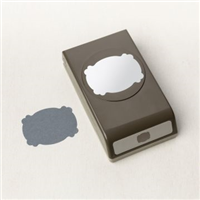
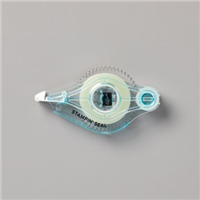
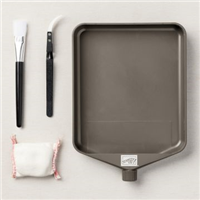
Using a scrap piece of your coloured cardstock, stamp your sentiment using Versamark and heat emboss with white embossing powder. Punch or die cut your label shape. I used the Lasting Label Punch and used the Embossing Additions Toolkit to keep my workstation clean. If you find using embossing powders messy, check out this kit in the video!
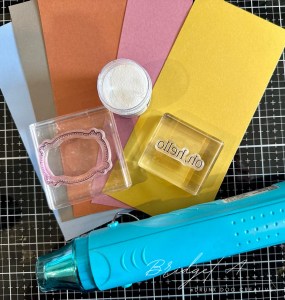
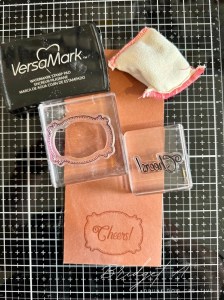


Hot tip! When punching a sentiment shape, it’s easier to stamp or emboss it first THEN turn your punch upside down and use the window to perfectly align your sentiment before punching.
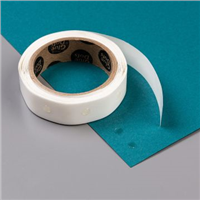
Affix the ribbon to the front of the Right Front Piece. I do this by putting a line of glue tape across. the cardstock and laying the ribbon over it. Then I put some glue tape on the back and fold the ends of the ribbon around and secure them to the back (see the tutorial video for a demonstration).

Now Put It All Together!
Use glue tape or adhesive of your choice to layer the mats on the cardbase. For the A6 card, I used the plain In Color Cardstock for the card base, the Basic White Thick for the outer mat and the Designer Series Paper (DSP) that coordinates with the In Color Cardstock for. theinner mat. You can also use the same plain cardstock again for the inner mat (see photos below). For the DL card, since it had a white cardbase and only one mat, I used the plain In Color Cardstock for the mat.


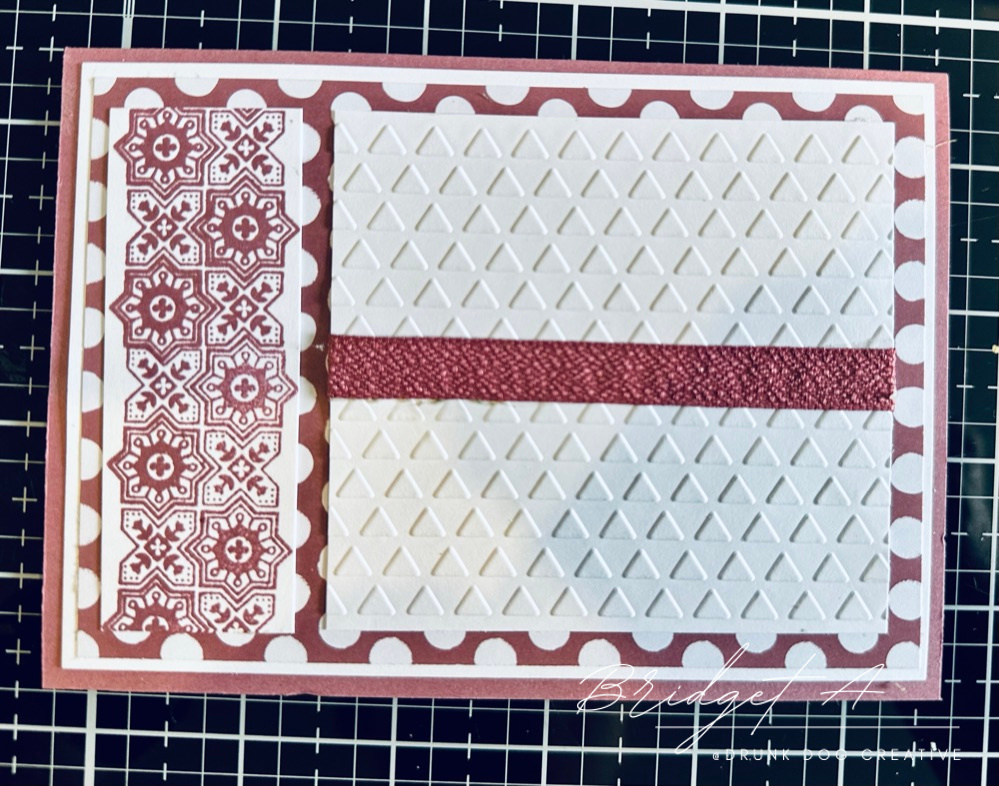
Next, affix the Left and Right Front Pieces to the card. I kept an even margin top and bottom and outer edges and a space between the two pieces roughly the same as the outer margin. It’s about 5cm (or 1/4″).
Put foam tape on the back of your sentiment piece and affix it to the Right Front Piece. I placed it on the centre ribbon against the right margin. You want to leave room for the bow. Use foam so that it sits above the card for some dimension. I used the SU Dimensionals which I really love. They come in black, white and mini.

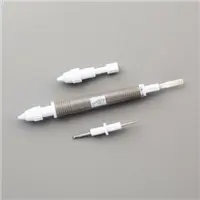
Finally, affix the bow to the card. I placed the bow to the left of the sentiment tag. I used the SU Mini Glue Dots with my Take Your Pick tool for this They are perfect for bows and other embellishments that are sometimes difficult to glue to projects.


The card is now done! Unless…. you want to do something to the inside. For the cards made with a coloured cardbase, you need to add a white area to the inside in order to write in the card. For the cards made with a white cardbase, you could just leave them alone, however, I find that when the front has multiple layers and the back has none, the card can be unbalanced. To give it a finishing touch, add a double layered inside mat. The cut plan above includes the sizing for the optional interior layers. See the video for instructions on how to do this! NOW you’re finished! Congratulations!
Bonus Giveaway!

I’ve got a Bonus Giveaway for this week! I will send a pack of five cards featured in this make to the first four people to place an order at my Stampin’ Up! Store!
There’s a few ‘rules’:
- You have to be in Australia.
- Place your order at https://bridgeta.stampinup.net (make sure I’m listed as the demonstrator on the site).
- When you’ve placed your order, email me at bridgeta@drunkdogcreative with your order number, name, and postal address (so I can send you the cards!).
- The first four orders, confirmed by the email, will be sent one of these card sets!
Supply List
Here is a complete list, with links to the store, of the SU products I used to make these cards. You can also click the tiny ‘supply list’ link at the bottom of the list to print out a pdf to keep on hand for future reference. Note: this list contains products available at the time of writing this post. This is subject to change.


Marcus, Polly and Hugo, the dogs of Drunk Dog Creative, want to remind you to subscribe to this blog, share with your friends, and follow Drunk Dog Creative on all the socials.
Woof woof. Sit. Stay. Follow us. Good human.
Need supplies?
You can shop for Stampin’ Up! products at https://bridgeta.stampinup.net. You can also click on any of the items in the supply lists in tutorial posts. A percentage of any profit from my SU sales is donated to Dachshund Rescue Australia, so you get great products at a good price and help gorgeous dogs like Hugo find their furever home!
Join my team!
If you spend over $169 why not consider joining my team as an Independent Demonstrator? You will get $265 worth of your choice of products for only $169 and be entitled to a minimum 20% discount on your future orders. Many people join just to be Hobby Demonstrators for the personal discount!


Leave a comment