


Creating matted cards – with a colour or design between the card front and card base – is pretty standard in card making. Sometimes it’s one mat, sometimes it’s two. In this card, it’s two mats BUT with a difference! To add visual interest, I’ve used two contrasting colours and arranged them on the diagonal. The video tutorial includes a demonstration for how to easily line the mats and card front up. It uses the metric measurement system for A6 (Aussie/UK) cards. Written instructions are below which include imperial measurements for A2 (USA) cards as well as how to align the mats and card front for a vertical card.
I’ve included video and photos of several different designs to show versatile this technique is. You can use it with any colour combination and you can decorate the card front any way you want. I have included photos and supply lists for the cards shown here but please be creative and use whatever stamps, dies, embellishments and colours you love!
Tutorial Video
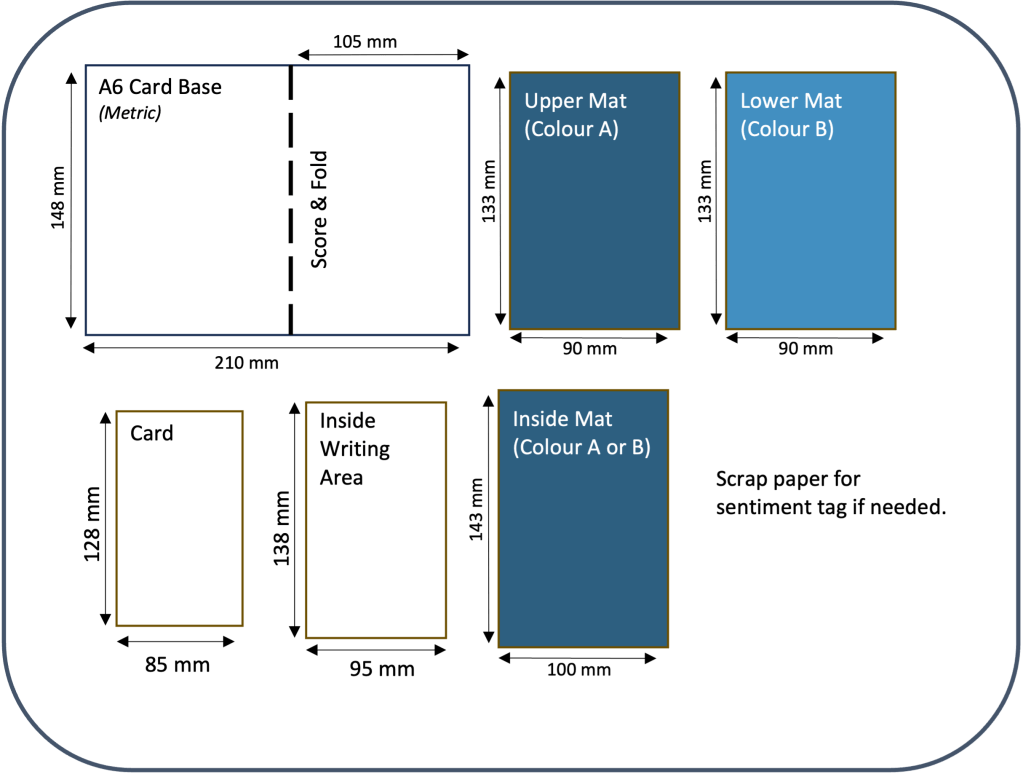
Cut Plan
You can download a pdf of the instructions here:
Metric – A6 Card (Australia/UK)
Imperial – A2 Card (USA)
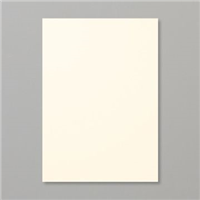
- Card Base – 8.5 x 5.5″ scored at 4.25″ and folded.
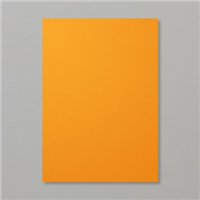
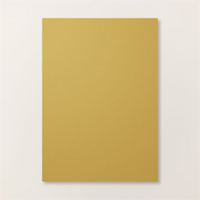
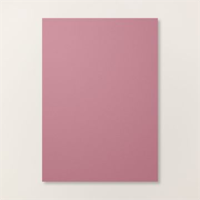
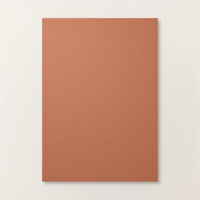
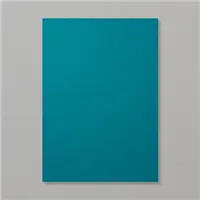
- Upper Mat (Color A) – 3.75 x 5″
- Lower Mat (Color B) – 3.75 x 5″
- Card Front – 3.5 x 4.75″
Optional:
- Inside Mat – 4 x 5.25″
- Inside Writing Area – 3.75 x 5″
- Scrap for sentiment tag (if using a tag).
Instructions
- Cut all cardstock.
- Stamp image / decorate card front as desired.
- Align card front to Upper Mat as follows:
- For Horizontal Card – align left and bottom edge of card front to left and bottom edge of the Upper Mat and affix in place.
- For Vertical Card – align right and bottom edge of card front to right and bottom edge of the Upper Mat and affix in place.
- Align card front (now affixed to upper mat) to Lower Mat as follows:
- For Horizontal Card – align the top and right edge of card front to top and right edge of Lower Mat. Affix in place.
- For Vertical Card – align the bottom and left edge of card front to bottom and left edge of Lower Mat. Affix in place.
- Optional Steps:
- Stamp and emboss sentiment on scrap piece of cardstock and cut to size desired. Note: the cut plan has it as a 60 x 25 mm piece but you can do the sentiment in any colour and any size or shape that suits the design on the front of your card. You can also stamp the sentiment directly on the card front itself. See the photos on page 1 for ideas.
- Affix inside writing area to inside mat. Affix both to the inside of the card.
- Add embelishments as desired.
Demonstration Card Details
Waves of Inspiration Card
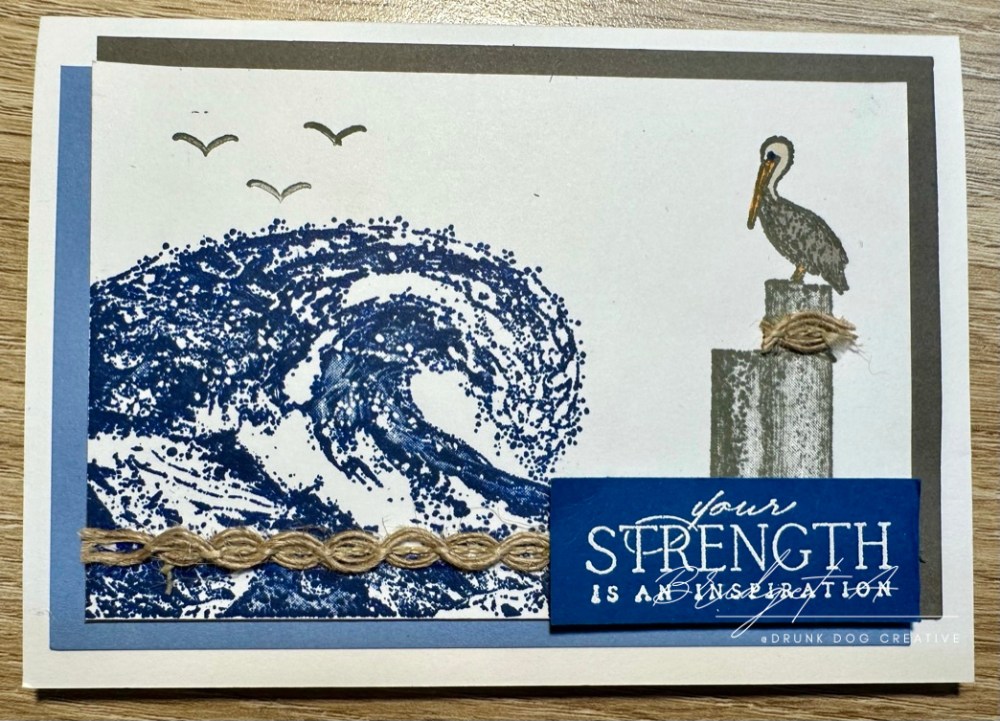
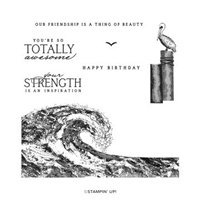
This card was made with the Waves of Inspiration Cling Stamp Set, which also has a coordinated die set.


Supply List


Soft Seedlings and Painted Pheasant Cards


These cards were made with the Soft Seedlings and Painted Pheasant Cling Stamp Sets. These sets are on clearance so if you want them, be very quick!
Supply List

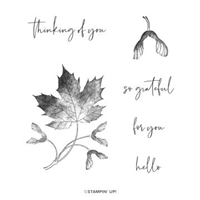
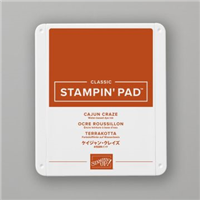
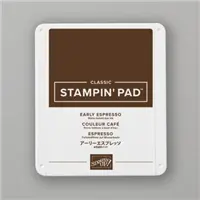

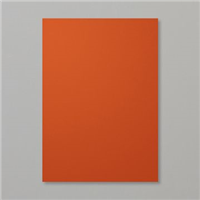
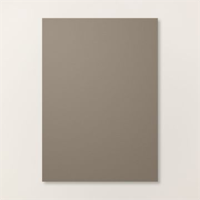
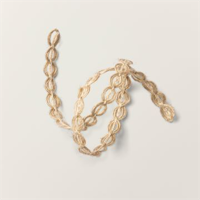
Earthen Elegance Card


This card was made with elements from the Earthen Elegance Suite. The Suite, purchased as a whole, gives you the stamps, dies, Designer Series Paper, and Natural Wavy Trim ribbon. Each item can be purchased separately. There is also a ‘bundled savings’ deal which contains just the stamp set and dies.

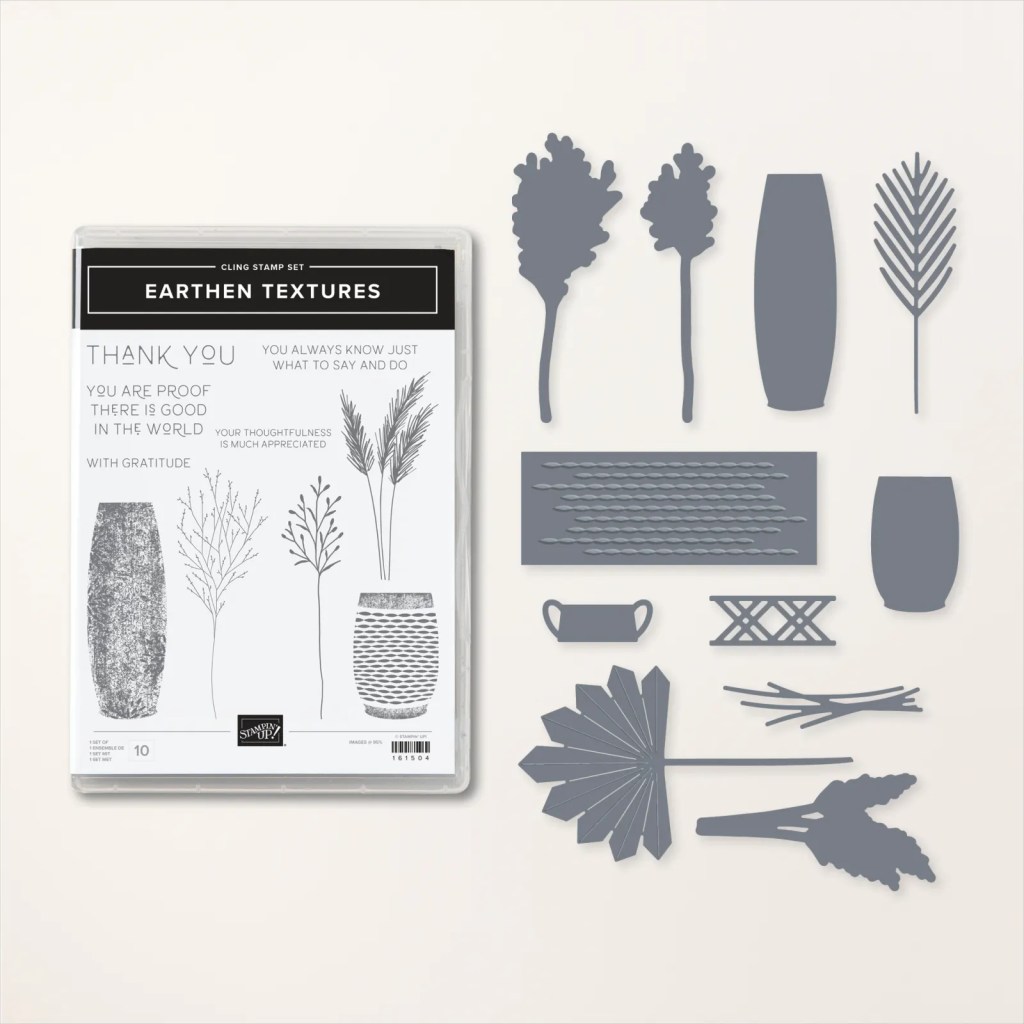
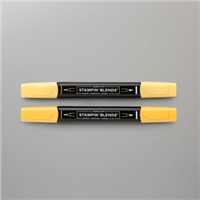
Supply List

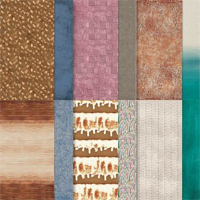
Other supplies used:


Marcus, Polly and Hugo, the dogs of Drunk Dog Creative, want to remind you to subscribe to this blog, share with your friends, and follow Drunk Dog Creative on all the socials.
Woof woof. Sit. Stay. Follow us. Good human.
Need supplies?
You can shop for Stampin’ Up! products at https://bridgeta.stampinup.net. You can also click on any of the items in the supply lists in tutorial posts. A percentage of any profit from my SU sales is donated to Dachshund Rescue Australia, so you get great products at a good price and help gorgeous dogs like Hugo find their furever home!
Join my team!
If you spend over $169 why not consider joining my team as an Independent Demonstrator? You will get $265 worth of your choice of products for only $169 and be entitled to a minimum 20% discount on your future orders. Many people join just to be Hobby Demonstrators for the personal discount!


SUBSCRIBE TO MY SU NEWSLETTER!

Interested in my monthly Stampin’ Up! Newsletter? It contains great information about card making and papercraft projects as well as special offers. Sign up below. You can unsubscribe at any time.


Leave a comment