

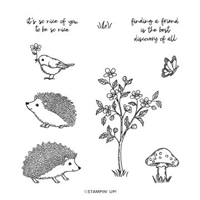
There’s no video tutorial this week… but I promise the next one will be worth waiting for. I’m working on engineering a fabulous fun fold that you are going to love! In the meantime, I’ve been playing with the new Happy Hedgehogs Stamp set and punch. Oh my goodness it is adorable!!!

You can use the stamps on their own, in combination with the punch, or the punch on its own. This gives you so many possibilities! Here’s a few things I did with this week….
Diagonal Double Mat…with a difference
4 Layer Card… with a difference
Happy Hedgehog Earrings (yes, you read that right… earrings!)
And for a really helpful hint about ink types and what combinations to use to stamp and image then colour it in, read to the end of the post!
I hope you enjoy playing with the Happy Hedgehogs as much as I did! Happy inking!
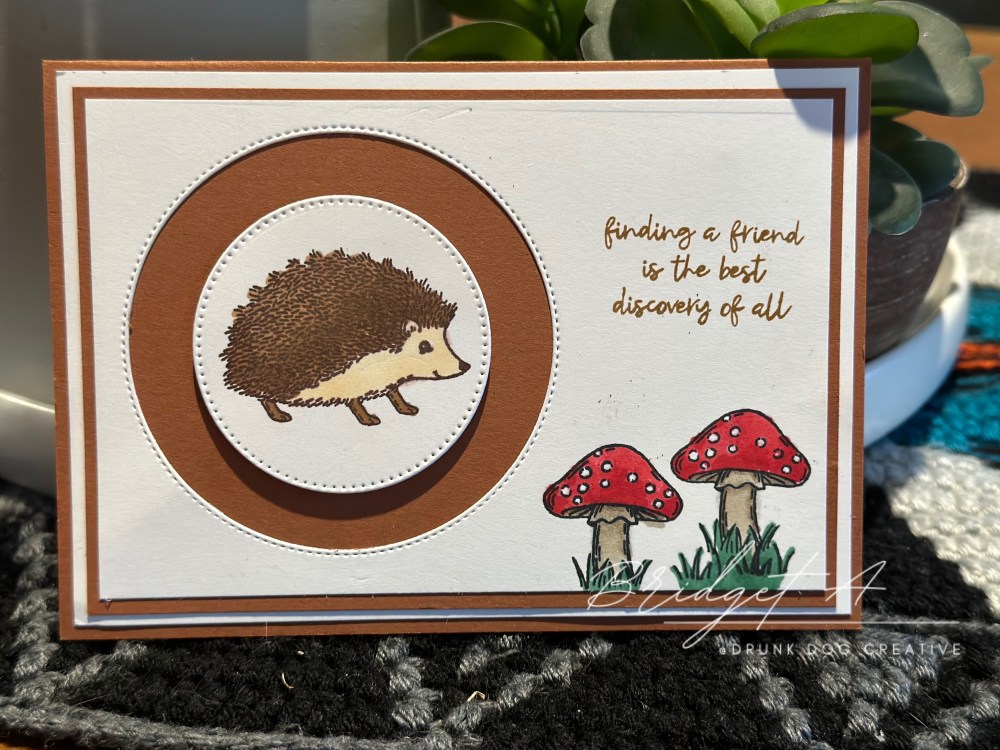
Diagonal Double Mat… with a bit of a difference.
If you missed my tutorial on the Diagonal Double Mat card layout, go check it out! This is an easy and visually interesting way of layering your cards! The tutorial for this can be found HERE.
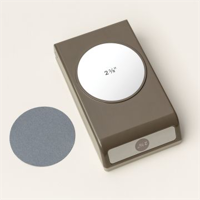
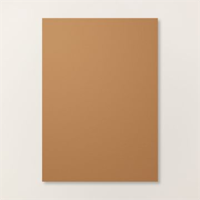
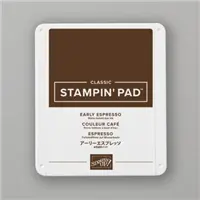
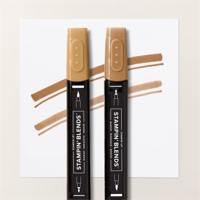
For these cards, I added a punched out circle using the 2-3/8” punch from Stampin’ Up! and made the hedgehog from Copper Clay cardstock and Copper Clay Designer Series Paper (DSP). While the punch will punch out eyes, I decided to make the eye using a Nuvo Drops in black.
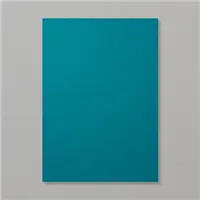
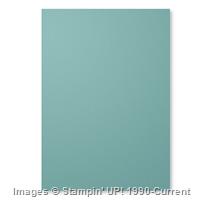
The Cut plan for both Metric (Aussie/UK A6 cards) and Imperial (USA A2 cards) can be found on the Diagonal Double Mat blog post HERE which also includes the YouTube video for how to put it together. to make this particular card, I used the 2-3/8″ circle punch to cut out a circle in the card front and affixed the hedgehog to it with Dimensionals. The cardstock used for the mats is Pretty Peacock and Lost Lagoon and the sentiment is stamped in Pretty Peacock.
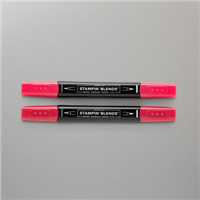
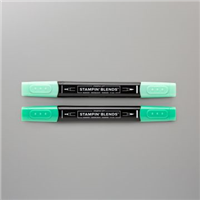
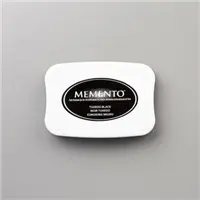
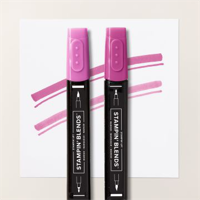
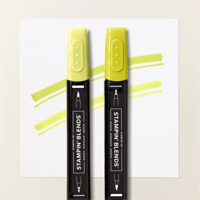
The mushrooms and grass are stamped in Memento Tuxedo Black and coloured in with Stampin’ Blends in Real Red,m Crumb Cake and Shaded Spruce. I used some Stickles to make the dots on the mushrooms (mostly because I accidentally coloured over them with the Real Red Stampin’ Blends… yes, I do make mistakes occassionally!)
Supply List


4-layer Card
4-layer cards are cards that have the card base, two mats, and the card front. It’s a pretty standard layout and I use it a lot.
For Metrics (Aussie/UK A6 card):
Card Base: 210 x 148 scored at 105 mm
Mat 1: 100 x 143 mm
Mat 2: 95 x 138 mm
Card front: 90 x 133 mm
Writing Panel: 95 x 138 mm
For Imperial (USA A2 card):
Card Base: 10 x 4.25″ scored at 5.5″
Mat 1: 4 x 5.25″
Mat 2: 3.75 x 5″
Card front: 3.5 x 4.75″
Writing Panel: 3.75 x 5″

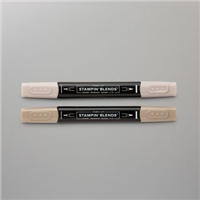
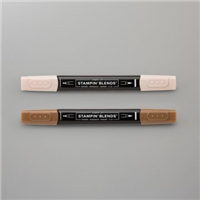
Simply decorate your card front with the stamps from the Happy Hedgehog set, then colour in using Stampin’ Blends, and affix the layers together. The hedgehog was stamped with Early Espresso and coloured with Stampin’ Blends in Dark and Light Pecan Pie and Ivory. A complete list of supplies used is below.
Supply List


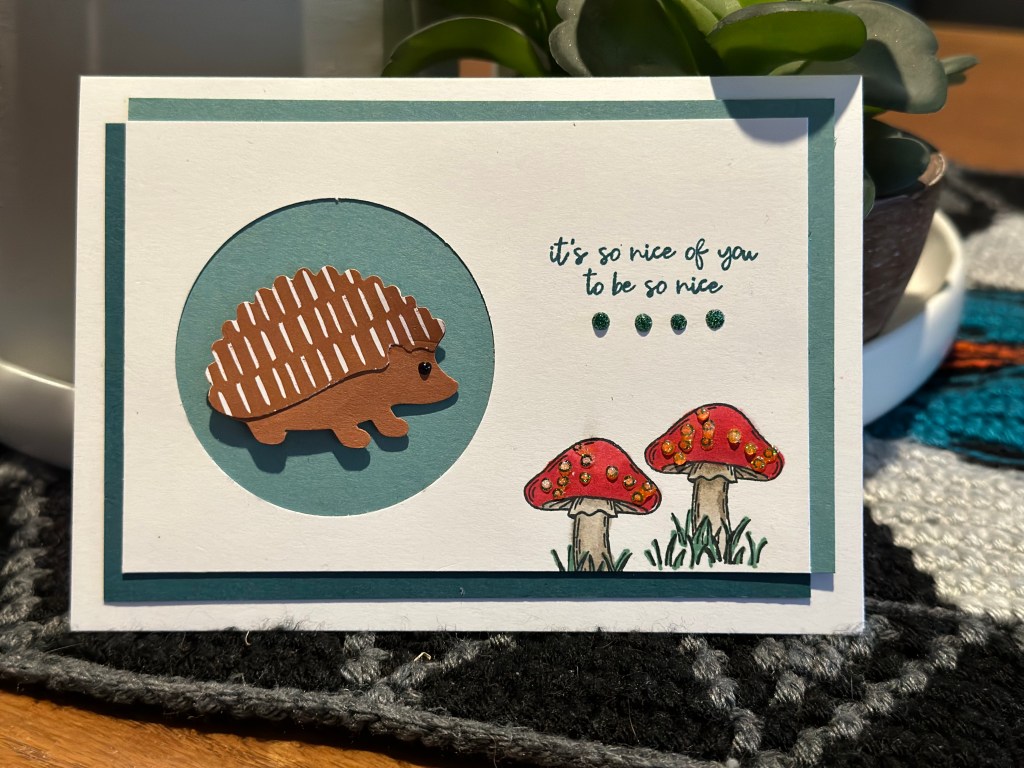
4-Layer Card… with a difference.
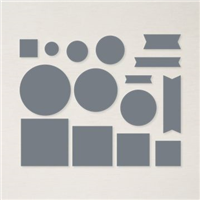
This is a standard 4-layer card layout but I’ve used the Stylish Shapes Dies to cut out two circles… I used the larger Stylish Shapes Circle to cut a stitched circle out of the cardfront and a smaller Stylish Shapes circle die to cut a circle from scrap Basic White Thick cardstock. On the smaller circle, I stamped the hedgehog with Early Espresso and coloured it in with Stampin’ Blends in Ivory and Dark and LIght Pecan Pie.
I stamped the sentiment in Pecan Pie and the mushrooms and grass in Memento in Tuxedo Black. They were then coloured in using Stampin’ Blends in dark and light for each colour – Real Red, Crumb Cake and Shaded Spruce.
Then the layers were affixed to each other and the hedgehog circle affixed using Dimensionals.
Supply List

Happy Hedgehog Earrings

A friend of mine suggested using the hedgehog stamp and punch to make earrings. I happened to have some shrink plastic at home so I thought… ‘why not!’.
I stamped the hedgehog on the shrink plastic using Black Stayz-On then let it dry. Next, I coloured them in with Stampin’ Write markers in Pecan Pie and Crumb Cake and let that dry. Then I punched the hedgehogs out with the Hedgehog Builder Punch. I used a small hole puncher to put a hole in the middle of the hedgehog’s back. Finally, I used my heat tool to shrink the plastic and when it was still warm, pressed them flat. Once cooled, I got out my jewellery tools and used a jump ring to attach the plastic to the earring post. Voila! Earrings!
Helpful Facts about ink types:
Tuxedo Black Memento, Stampin’ Up Ink Pads, and Stampin’ Write Markers are water based inks. Stayz-on and Stampin’ Blends are alcohol based inks.
If you want to colour with Stampin’ Blends, then you should stamp your images using either Stampin’ Up Ink Pads or Memento Tuxedo Black. If you want to colour with Stampin’ Write Markers, then use Stayz On to stamp the image. If you use water-based markers to colour over water-based ink, they will blend and run. Similarly, if you use alcohol markers over solvent type ink, they will run and blend. It’s also important to let the stamped image dry before colouring it in.

Marcus, Polly and Hugo, the dogs of Drunk Dog Creative, want to remind you to subscribe to this blog, share with your friends, and follow Drunk Dog Creative on all the socials.
Woof woof. Sit. Stay. Follow us. Good human.
Need supplies?
You can shop for Stampin’ Up! products at https://bridgeta.stampinup.net. You can also click on any of the items in the supply lists in tutorial posts. A percentage of any profit from my SU sales is donated to Dachshund Rescue Australia, so you get great products at a good price and help gorgeous dogs like Hugo find their furever home!
Join my team!
If you spend over $169 why not consider joining my team as an Independent Demonstrator? You will get $265 worth of your choice of products for only $169 and be entitled to a minimum 20% discount on your future orders. Many people join just to be Hobby Demonstrators for the personal discount!


Leave a comment