

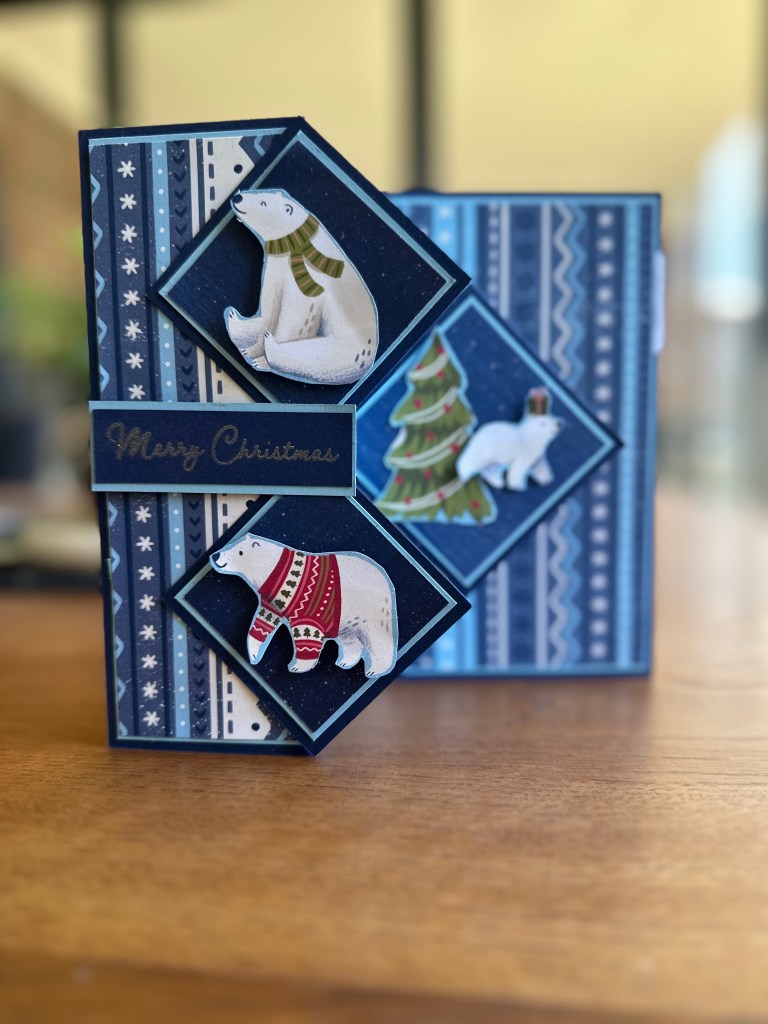


The Floating Diamond is a new fun fold card I designed for the holidays. The original card is a Hanukkah card I made for a Jewish friend – because I believe friends who celebrate alternatives to Christmas deserve a card for their own holiday rather than a generic ‘season’s greetings’ which is really still Christmassy. I had so much fun making it that I went on to make a couple more, experimenting with slightly different positioning and decorative fronts.
The finished size is a 5×7” card. Since this is a size of card used in both the USA and Australia, the instructions are all given in Imperial Measures (inches) only. While I usually give instructions in both Imperial and Metrics, I figured those of us who live in metric countries can cope with using inches for this size card.
Video Tutorial
I highly recommend watching the video. There are a few key things which are a little tricky to describe adequately in words. Watch for the bonus penguin tutorial at the end!
Instructions
All instructions are below in this blog post. You can also download a printable PDF of the instructions HERE. The pdf includes a table that shows you which papers I used for which pieces on the four different cards featured on this post.
Cut Plan
Usually I list the cut plan by colour of cardstock or DSP used. But in this case, each of the samples shown in this post had slightly different approaches so I’ve grouped the cut file by parts of the card. This gives you freedom to mix and match how you want to use your layers and to use different types of layers. The downloadable pdf HERE includes all of these instructions plus a table which shows what papers/DSPs I used for each of the four cards shown in this tutorial. I hope that’s helpful to spark new creative ideas for you. All measurements are in inches.


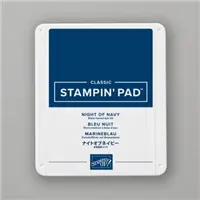
Happy Hannukah Card – Stampin’ Up! Shining Brightly DSP and Celebrate the Miracle Photopolymer Stamp Set
Main Card:
- Card Base – 10 x 7 (scored at 5 and 2.5)
- Right Mat – 4.75 x 6.75
- Left Column Mats – 2.25 x 6.75 (cut 2)
- Right Side Card Front panel (DSP 1) – 4-5/8 x 6-5/8
- Middle Column Front Panel (DSP 2 or DSP 1) – 2-1/8 x 6-5/8
- Left Column Front Panel (DSP 1) – 2-1/8 x 6-5/8
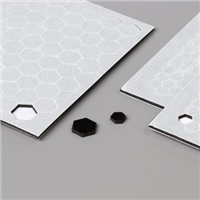
Large Diamond:
- Diamond Base – 2-7/8 x 2-7/8
- Diamond Mat – 2-5/8 x 2-5/8
- Diamond Front – 2.5 x 2.5
- Support Block – 4 x 2 scored at 1, 2 and 3 inches
Small Diamonds:
- Diamond Bases – 2.5 x 2.5 (cut 2)
- Diamond Mats – 2.25 x 2.25 (cut 2)
- Diamond Fronts – 2-1/8 x 2-1/8 (cut 2)
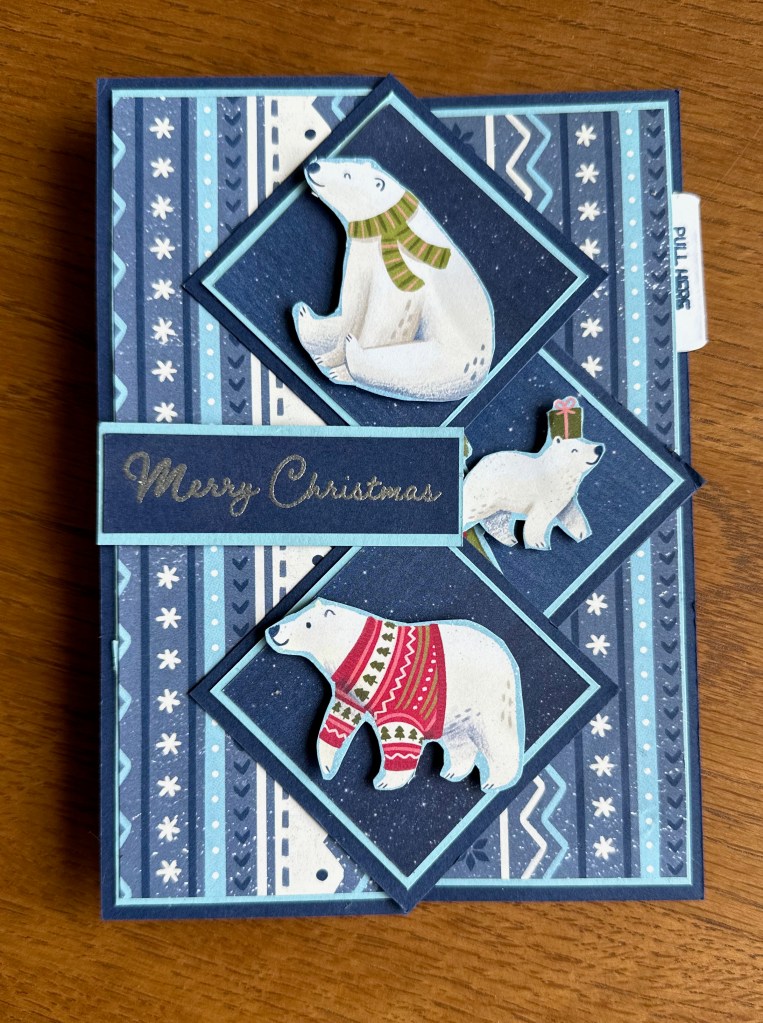
Polar Bear Christmas Card – Stampin’ Up Beary Christmas DSP and Faith & Courage Photopolymer Stamp Set
Sentiment:
- Mat – 3 x 1
- Front – 2.75 x 0.75
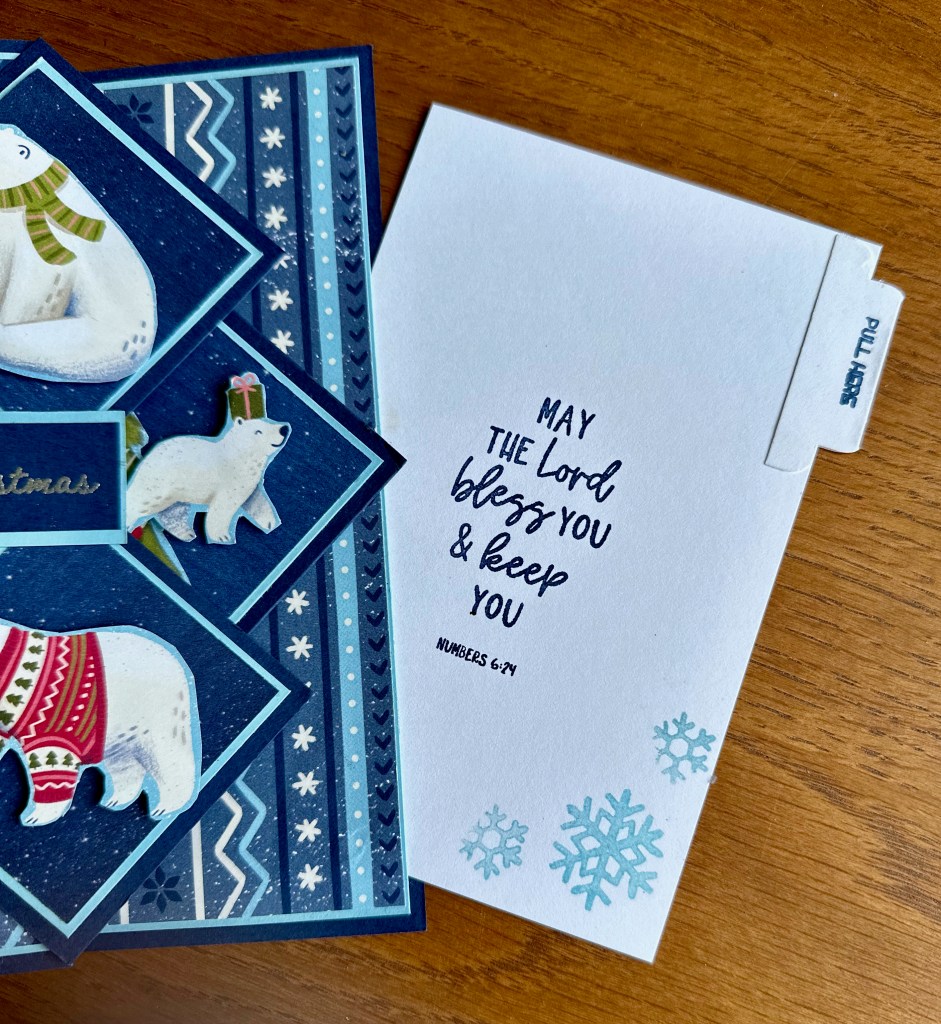
Optional Secret Message Panel
- Usually White or Very Vanilla – 3.75 x 5.75
- Fussy cut or punch cut a tab of the same cardstock and stamp or write ‘pull here’ on it.


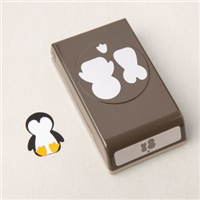
Penguin Christmas Card – Stampin’ Up! Beary Christmas DSP and Penguin Builder Punch (on clearance so get in quick!).
Make it your own – Diamond Fronts: The Diamond Fronts can also be made of a third pattern of DSP or a plain cardstock. For the Hanukkah card, I used the same cardstock as the cardbase and powder embossed the designs on it. For the Beary Cute Christmas Card, I used a third DSP (which was actually the back of one of the ones already used) and affixed decorative elements on it. The diamonds are your chance to use your own creativity!
Make it your own – Sentiment: The sentiment area can be any size or shape you want. Or any type/colour of cardstock for that matter. I’ve given dimensions here for what I used in the two cards featured – and I used embossing powder to stamp a sentiment on the dark cardstock. But you can use white, very vanilla, etc cardstock and stamp in a coloured ink too. Use your imagination and make it your own!
Make it your own – Art Deco Diamonds: On the Scotty Dog Card, I created art deco diamonds simply by cutting the diamond fronts the same size as the diamond mats. The mats were centred on the base but the fronts were overlayed and aligned to two edges of the base to give it the art deco look like on the Scotty Dog Christmas Card.
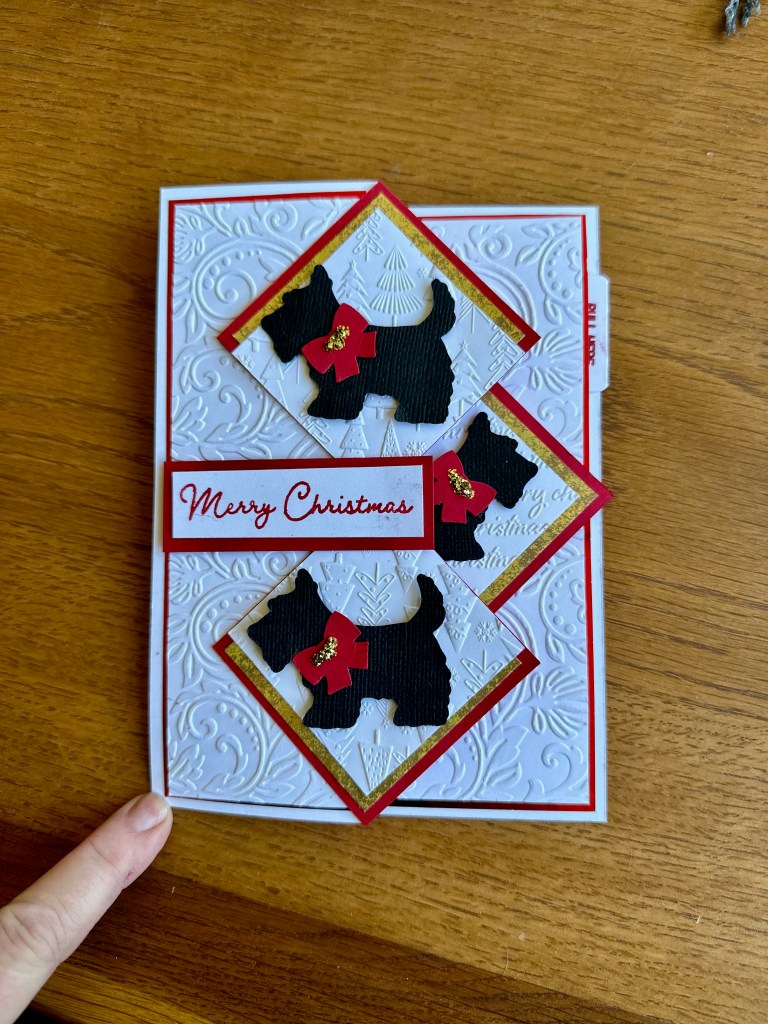

Scotty Dog Christmas Card – this one is made with Embossed Basic White Cardstock rather than DSP. the Gold mats on the diamonds are Stampin’ Up! Distressed Gold DSP. The card layers are Basic White cardstock, a red foil paper I had in my stash, and Basic White cardstock embossed with embossing folders from my stash. This also features the art deco style of Diamond.
Instructions
- Cut and score all cardstock.
- Fold along score lines, using a bone folder to sharpen the folds. For the cardbase, the fold at 5” is a normal card fold. The 2.5” fold should fold back on itself.
- Affix the Right Front Panel and the two Column Panels to their corresponding mats.
- Affix the three mats onto the three columns of the cardbase – with all folds open, the mats should all should be facing you (ie on one side). NOTE: If you are using the optional ‘secret message’ then only apply adhesive to the very edge on three sides only of the Right Panel – leaving the right edge free to slide in the secret message panel!
- Stack and affix the layers of each diamond – cardstock on the bottom, then the mat, then the front on top.
- Fold the Large Diamond Support piece on each fold line and burnish well with a bone folder. Fold it so the two open ends meet in the middle.
- With a ruler and pencil, mark the 5” cardbase fold at 2.5” from each end. Mark just inside the 2.5” mark so the support piece will cover the marks (or erase them afterwards if they show).
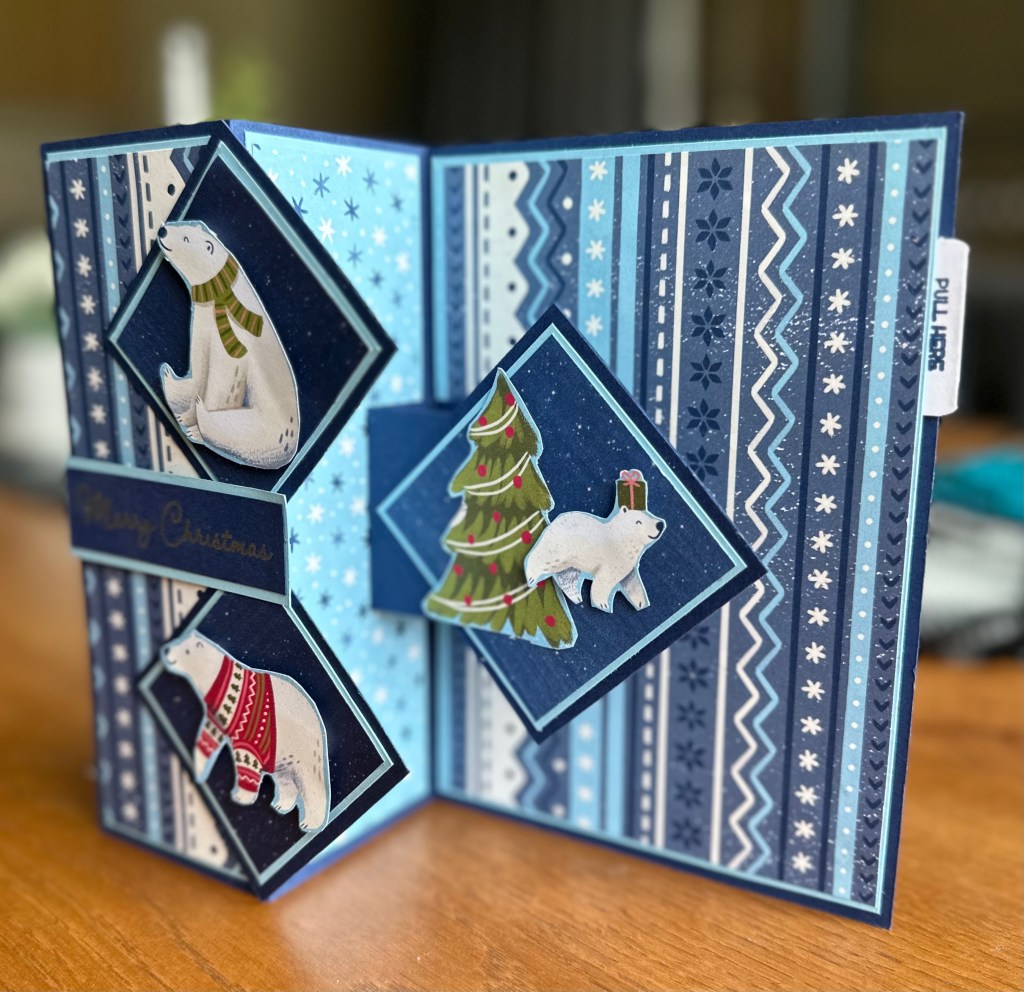
- Place adhesive on the two sections of the support that end in the open edges. Affix the support in place, taking care to align the support so that the open edges are facing down and are aligned with the centre fold of the card and the pencil marks. So the middle crease of the support box is facing you and runs aligned with the crease of the card. When you open the card, the support should create a ‘box’ structure to support the large diamond.
- Align one of the small diamonds to the top of the card with its top and bottom points aligned to the edge of the fold that was at 2.5”. Apply adhesive to the half of the diamond that will stick to the card front, being careful not to get it on the other half.
- Align the second small diamond to the first one and to the bottom of the card. They might need to overlap a tiny bit.
- Place adhesive on the large diamond but only where it will make contact with the support box. Adhere to the support box with the left point centred on the box and right up against the centre fold of the cardbase.
- Decorate the three diamonds any way you wish – stamps, die cuts, embossing, etc.
- Stamp a sentiment on the sentiment cardstock and affix it to the contrasting mat. Affix to card front. It’s a good idea to use dimensionals on the left side and glue where it overlaps the diamond, leaving the right edge free of adhesive. This ‘pads’ the sentiment so that it is straight rather than sloped (because of the height of the diamonds).
- If using the Secret Message Panel, affix the tap, stamp with whatever design or message you want, and slide it into the pocket formed between the Right panel mat and the card base.
Hint: for the ‘tab’ you can die cut any shape you want, score down the centre, and affix to the message panel. I used an EK Tools Tab Punch for mine. You can also simply write ‘pull here’ on it (so people know there is a message there to pull out!. I used a Lawn Fawns “Push Here” Photopolymer Stamp Set. Note: I bought these items personally. I do not get any compensation for mentioning them.
Download pdf of instructions:
Supply Lists
Here you can find links to the Stampin’ Up! Products I used to make these cards. I try my best to ensure that these lists contain items available at the time of posting this tutorial. Sometimes items sell out or retire, so not all items may be available at the time you are reading this. If any links do not work, or if items are no longer available, you can search for items below, or browse the shop for replacements at bridgeta.stampinup.net
HAPPY HANUKKAH CARD


Price: $17.50

Polar Bear Christmas Card


Penquin Christmas Card
Supplies used in all cards


SUBSCRIBE TO MY SU NEWSLETTER!

Interested in my monthly Stampin’ Up! Newsletter? It contains great information about card making and papercraft projects as well as special offers. Sign up below. You can unsubscribe at any time.
Subscribe to the Drunk dog Creative Blog
Get new posts delivered straight to your inbox!


Leave a comment