
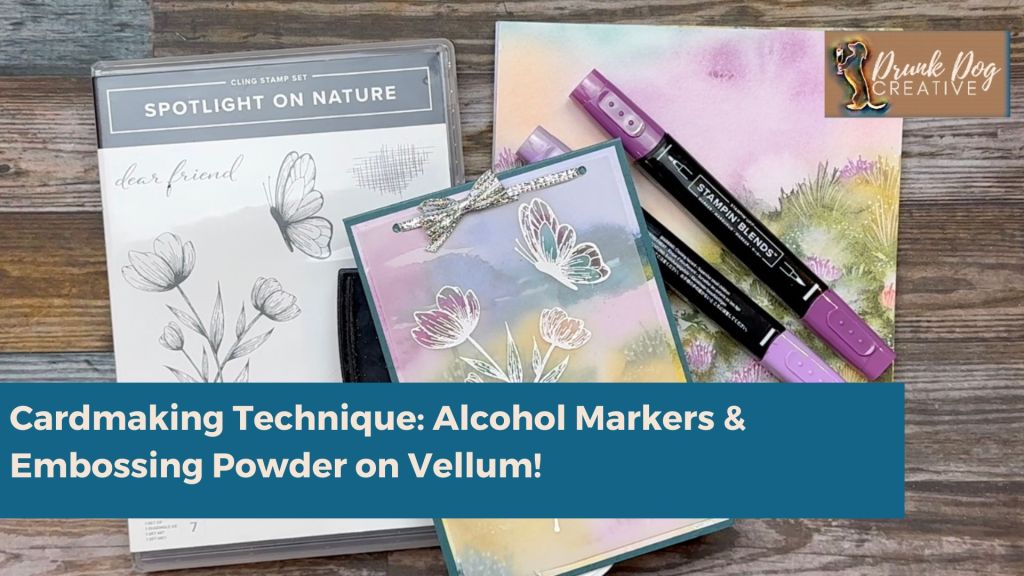
This is a fabulous and easy technique for cardmaking! Grab some vellum, your favourite embossing powder and heat tool, and some alcohol markers and add a new dimension to your cardmaking. I recommend Stampin’ Up! products, of course, but you can use any products you already have.
The easiest way to learn this technique is to watch the video below. At the end of this post is a complete supply list of the products I’ve used to make the card in the video.
Instructions
Cut Plan for regular fold card:
| Cardstock | Metric | Imperial |
|---|---|---|
| Highland Heather Cardstock (Card Base) | 21 cm x 14.9 cm (score at 10.5 cm) | 8.5″ x 5.5″ (score at 4.25″) |
| Thoughtful Journey DSP | 10 cm x 14.3 cm | 4″ x 5.25″ |
| Vellum | 9cm x 13.3cm | 3.75″ x 4.75″ |
| Basic White cardstock (optional inside writing panel) | 9.5cm x 13.8cm | 3.75″ x 4.75″ |
For a tent fold card, cut your cardstock for the card base through the middle vertically instead of horizontally:
- Metric: 10.5 cm x 29.7 cm scored at 14.9 cm
- Imperial: 4.25″ x 11″ scored at 5.5″
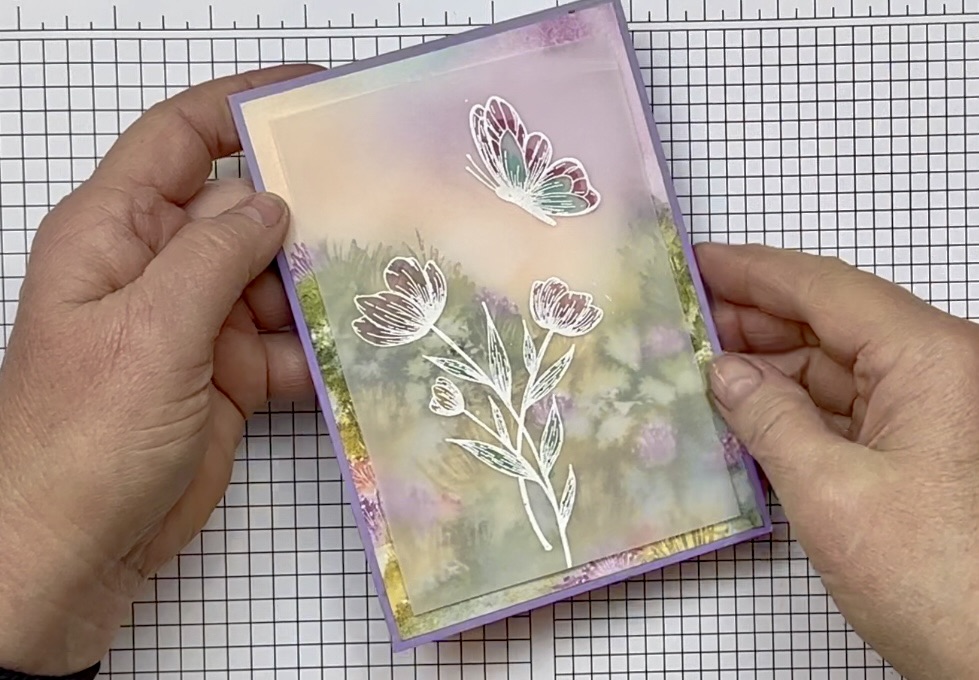
To Decorate the Vellum:
- Stamp your image on the vellum using versamark.
- Heat emboss the stamped image and let cool.
- Turn the vellum over so you are now working on the back.
- Using your Stampin Blends, colour in the stamped image working from lightest shade to darkest shade. Stay within the outside boundary lines of your stamped image. If you go outside those lines, the colouring will show outside your image. You can colour over inside stamped lines because the embossing will cover it. By colouring on the back, you keep your colouring ‘within the lines’ and prevent the Stampin Blends from colouring the embossing powder itself (which is what happens when you colour on the front).
- Assemble card as per below instructions.
It is worth noting that alcohol markers will not blend on vellum the way they do on paper. But you can still add dimension by layering the darker colours over parts of the area already coloured in with the lighter colours.
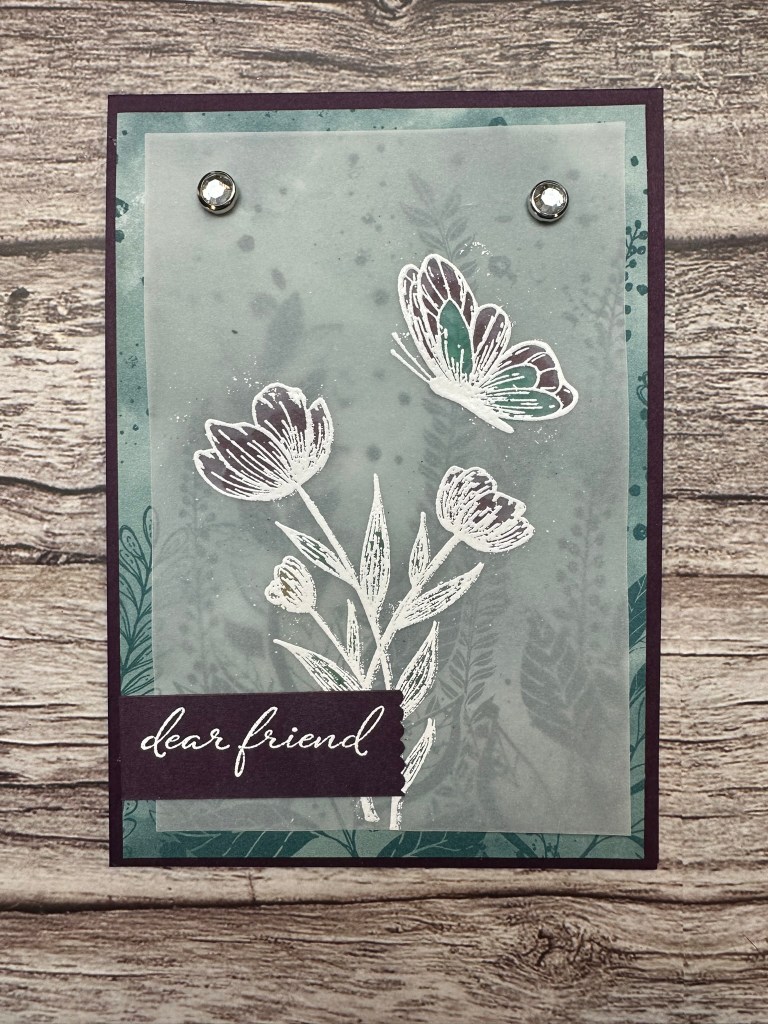
To Assemble the Card
- Affix the DSP to the Card Base
- Affix the inside writing panel (optional) to the inside of the card.
- Affix any embellishments and/or sentiments to the the vellum
- Affix the vellum to the card front – see video for options to invisibly affix the vellum which include:
- putting glue along the lines of the stamped image so it doesn’t show through the vellum,
- putting the glue behind the area where the cardstock with a sentiment is placed to hide the glue,
- using a hole punch and attaching the vellum with ribbon, string, twine or brads
- use glue, glue dots, etc sparingly and attach embellishments (like adhesive gems) to the front to cover the glue spots.

Finished! Happy inking everyone!
Did you know that for the month of June, 2024, all Stampin’ Up! machines are 10% off? And all Stamp & Die bundles are an EXTRA 10% off! Why not check out the supply list below or browse my STAMPIN UP! SHOP now! Part of my income from the sale of Stampin’ Up products profit is donated to Dachshunds Rescue Australia.

Supply List


Marcus, Polly and Hugo, the dogs of Drunk Dog Creative, want to remind you to subscribe to this blog, share with your friends, and follow Drunk Dog Creative on all the socials.
Woof woof. Sit. Stay. Follow us. Good human.
Need supplies?
You can shop for Stampin’ Up! products at https://bridgeta.stampinup.net. You can also click on any of the items in the supply lists in tutorial posts. A percentage of any profit from my SU sales is donated to Dachshund Rescue Australia, so you get great products at a good price and help gorgeous dogs like Hugo find their furever home!
Join my team!
If you spend over $169 why not consider joining my team as an Independent Demonstrator? You will get $265 worth of your choice of products for only $169 and be entitled to a minimum 20% discount on your future orders. Many people join just to be Hobby Demonstrators for the personal discount!


A note about Australian vs USA card sizes….
So, as you can probably tell from my accent in the video… I’m originally from the USA but I live in Australia and have done so for a long time. So, I’m very conscious of the differences between Aussie (and UK/Canada/etc) cards and USA cards and try to cater to both systems in my tutorials. It’s worth explaining why I don’t just ‘convert’ the metrics to imperial. Australia uses the metric system which includes an A4 paper size, while the USA uses the imperial measurement system and has a US Letter paper size. This means we have different standard sizes for cards. Both are based on cutting their standard paper size in half, then folding that in half. For us in Australia, this gives us an A6 card which, when folded, is 105mm wide by 148mm tall. For my friends in the USA, this gives them what they call an A2 card which is 4.25″ wide by 5.5″ tall. If I just converted the Aussie mm into inches, you would get a card that is 4.13″ wide by 5.83″ tall. So you can see it’s a completely different size to the USA card. If I just converted the metrics into imperial, my USA friends would end up with the wrong size card that wouldn’t fit in their envelopes. So, I usually make samples in both sizes and provide the cut plan in metric and imperial, so that whatever country you are in, you get the right size card that will fit your envelopes. When I’m giving instructions for making the card, particularly when demonstrating that in the video tutorials, I only use the Aussie card as an example. The instructions for putting it together are the same regardless of which size you are making. The only time I would NOT include the USA cut plan is if I am CASEing* a card made by another USA based demonstrator and have modified it for the Australian sizing. If I do this, I always include the website for the original card so you can pop over there and find out how to make it for the USA. I am a Professor for my ‘day job’ and in that world, plagiarism (publishing someone else’s work as your own) is highly frowned on so I just won’t do it. I will give credit where credit is due. 🙂
* CASE = Copy and Share Everything – a term we use in the Stampin’ Up! Demonstrator world to share ideas we’ve learned from others but putting our own spin on what we’ve done (and giving credit where it is due).


Leave a comment