

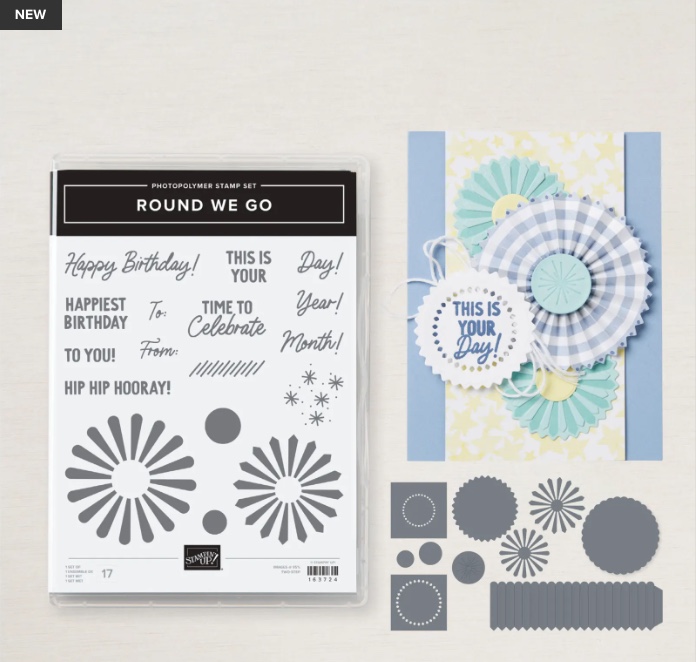
I know I live in Australia, but. I am originally from the USA so I still make cards for family and friends to celebrate America’s Independence Day – aka the 4th of July holiday. Living in Australia means it’s really hard to get cardmaking supplies appropriate for that particular holiday. In fact, the stamps used in these cards are from my stash… I picked them up in the USA on a visit and use them year after year. But THIS year Stampin’ Up! released this fabulous Round We Go stamp and die set and it dawned on me…. this would be perfect for 4th of July cards! I also know I have followers and supporters in the USA who follow this blog, so this post is for you!
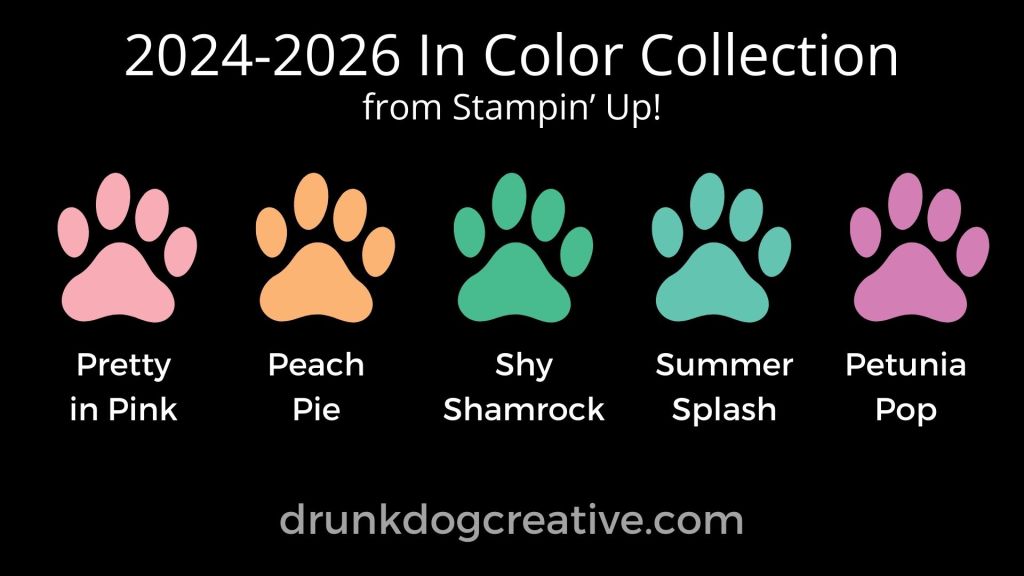
For those of you who don’t celebrate this particular holiday, the same card design can be made in other colours for other occassions – I think this would look fabulous for birthdays using the new 2024-2026 InColor collection at Stampin’ Up!
Dimensions in the video and in this blog are given in both Metric (Australia/Canada/UK) and in Imperial (USA). Both systems have a different base card size so just converting from millimetres to inches won’t work. If you’re curious about this, I give a detailed explanation near the end of this post.
Video Tutorial
Instructions
CUT PLAN
| CARDSTOCK | METRIC | IMPERIAL |
| Cardbase (Basic White Thick) | 210 x 148mm scored at 105mm | 8.5″ x 5.5″ scored at 4.25″ |
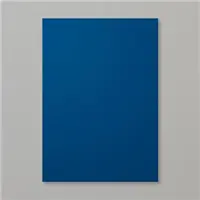
| Night of Navy | 100 x 143mm | 4″ x 5.25″ |
| Basic White Thick | 95 x 138mm | 3.75″ x 5″ |
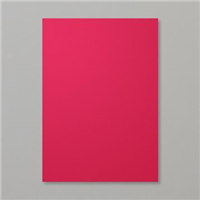
| Real Red | 90 x 133mm | 3.5″ x 4.75″ |
Optional Inside Panels
| CARDSTOCK | METRIC | IMPERIAL |
| Night of Navy or Real Red | 94 x 138mm | 3.75″ x 5″ |
| Basic White | 90 x 133mm | 3.5″ x 4.75″ |
DIE CUTTING
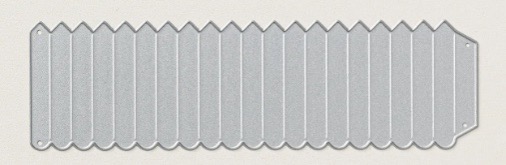
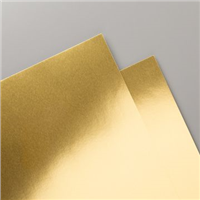
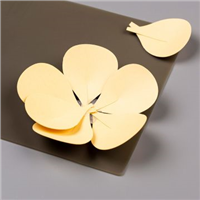
Die cut pieces from plain cardstock or from designer series paper that corresponds to the cardstock colour. I used Designer Series Paper in Real Red and Night of Navy for the small flat rosettas to give it a bit of dimension. I used plain real red cardstock and a gold glitter cardstock from my stash for the small flat rosetta for the front of the large blue rosetta.
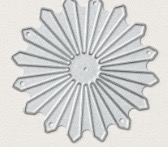
Designer Series Paper : Cut one piece of Real Red DSP and one piece of Night of Navy DSP with each of the two flat rosetta dies (pictured). Using your choice of the two dies, cut one more piece from plain Real Red Cardstock and one piece from a glittery or foil cardstock.

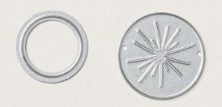
Real Red Cardstock: Cut two circles using the dies pictured to anchor the front and back of the large rosetta.
Night of Navy Cardstock: Cut two pieces with the large rosetta fan fold die.
ASSEMBLY
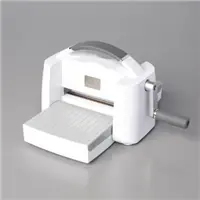
- Put the Real Red card front into the Dotted Circles 3D embossing folder and run through your machine (I recommend the STAMPIN’ CUT & EMBOSS MACHINE which is an extra 10% off until 30 June 2024). If you’re making multiples of this card, see the video for my tip on how to quickly and easily ensure the card fronts are perfectly centred every time!
- Using Stampin’ Seal, Multi-purpose liquid glue, or the adhesive of your choice, layer all the card fronts onto the card base.
- Die cut your pieces from the Round We Go Stamp & Die Bundle (also on sale at an extra 10% off until 30 June 2024).
- Assemble small flat rosetta die cut pieces by glueing one red one on top of one blue one (or vice versa) of the same size, and align them so that the spikes interconnect (watch the video if that doesn’t make sense). Do the same with the Real Red and Gold Glitter pieces.
- Assemble the large 3D Rosetta:
- Fan fold both strips along the scored lines created by the die. Start at the end opposite the joining tab (the one that has the angled edges) and fold the first section back (to make a mountain fold) and the next section toward you (valley fold). Continue until you get to the joining tab. Do the same for the second piece.
- Align the joining tab of one strip to the normal end of the other strip – make sure the pointed sides and rounded sides are the same on both strips. Using glue tape, press them together. Do the same for the other end. You will now have a circle. (Again, see the video if this isn’t clear).
- Using all fingers, squish the top of the circle inward until the whole thing collapses into a rosetta shape. Note: it won’t stay that way…it will spring up again when you release it, but doing it once BEFORE glueing it to the small circles makes it easier to collapse onto the circles in the next step.
- Using a HOT GLUE GUN, take one of the circles you die cut and place a good glob of hot glue on it. place the Rosetta circle around it and fold in the edges again so that the centre rests in the glue of the circle. Hold it until the glue sets. NOTE: this is why I recommend hot glue for assembling the rosetta. If you use normal glue, you will be holding it for a LONG time. Once it’s set, fill the centre hold with more hot glue and spread it a little bit around the top of the rosetta. Place another die cut circle on that and hold until it sets.
- Put a dollop of hot glue on the round circle at the back of the rosetta and place it in position on the card front.
- Attach the Real Red and Gold Glitter flat rosetta to the front of the big rosetta.
- Attach the smaller red and blue flat rosettas to the card front using glue or hot glue.
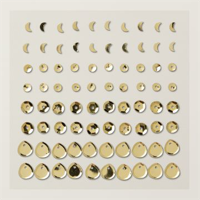
- Add optional embellishments (I used gold adhesive gems) and sentiments as you see fit – use your creative flair here to make the design your own!
- If using the optional inside panels, affix them to the inside of the card.
Finished! Happy Crafting!
Supply List
Availability and prices are accurate at the time of publication and are subject to change. Where an item I used in the demonstration is no longer available, I have substituted the closest product to it that is available at the time of publication.


A note about Australian vs USA card sizes….
So, as you can probably tell from my accent in the video… I’m originally from the USA but I live in Australia and have done so for a long time. So, I’m very conscious of the differences between Aussie (and UK/Canada/etc) cards and USA cards and try to cater to both systems in my tutorials. It’s worth explaining why I don’t just ‘convert’ the metrics to imperial. Australia uses the metric system which includes an A4 paper size, while the USA uses the imperial measurement system and has a US Letter paper size. This means we have different standard sizes for cards. Both are based on cutting their standard paper size in half, then folding that in half. For us in Australia, this gives us an A6 card which, when folded, is 105mm wide by 148mm tall. For my friends in the USA, this gives them what they call an A2 card which is 4.25″ wide by 5.5″ tall. If I just converted the Aussie mm into inches, you would get a card that is 4.13″ wide by 5.83″ tall. So you can see it’s a completely different size to the USA card. If I just converted the metrics into imperial, my USA friends would end up with the wrong size card that wouldn’t fit in their envelopes. So, I usually make samples in both sizes and provide the cut plan in metric and imperial, so that whatever country you are in, you get the right size card that will fit your envelopes. When I’m giving instructions for making the card, particularly when demonstrating that in the video tutorials, I only use the Aussie card as an example. The instructions for putting it together are the same regardless of which size you are making. The only time I would NOT include the USA cut plan is if I am CASEing* a card made by another USA based demonstrator and have modified it for the Australian sizing. If I do this, I always include the website for the original card so you can pop over there and find out how to make it for the USA. I am a Professor for my ‘day job’ and in that world, plagiarism (publishing someone else’s work as your own) is highly frowned on so I just won’t do it. I will give credit where credit is due. 🙂
* CASE = Copy and Share Everything – a term we use in the Stampin’ Up! Demonstrator world to share ideas we’ve learned from others but putting our own spin on what we’ve done (and giving credit where it is due).

Marcus, Polly and Hugo, the dogs of Drunk Dog Creative, want to remind you to subscribe to this blog, share with your friends, and follow Drunk Dog Creative on all the socials.
Woof woof. Sit. Stay. Follow us. Good human.
Need supplies?
You can shop for Stampin’ Up! products at https://bridgeta.stampinup.net. You can also click on any of the items in the supply lists in tutorial posts. A percentage of any profit from my SU sales is donated to Dachshund Rescue Australia, so you get great products at a good price and help gorgeous dogs like Hugo find their furever home!
Join my team!
If you spend over $169 why not consider joining my team as an Independent Demonstrator? You will get $265 worth of your choice of products for only $169 and be entitled to a minimum 20% discount on your future orders. Many people join just to be Hobby Demonstrators for the personal discount!


Leave a comment