

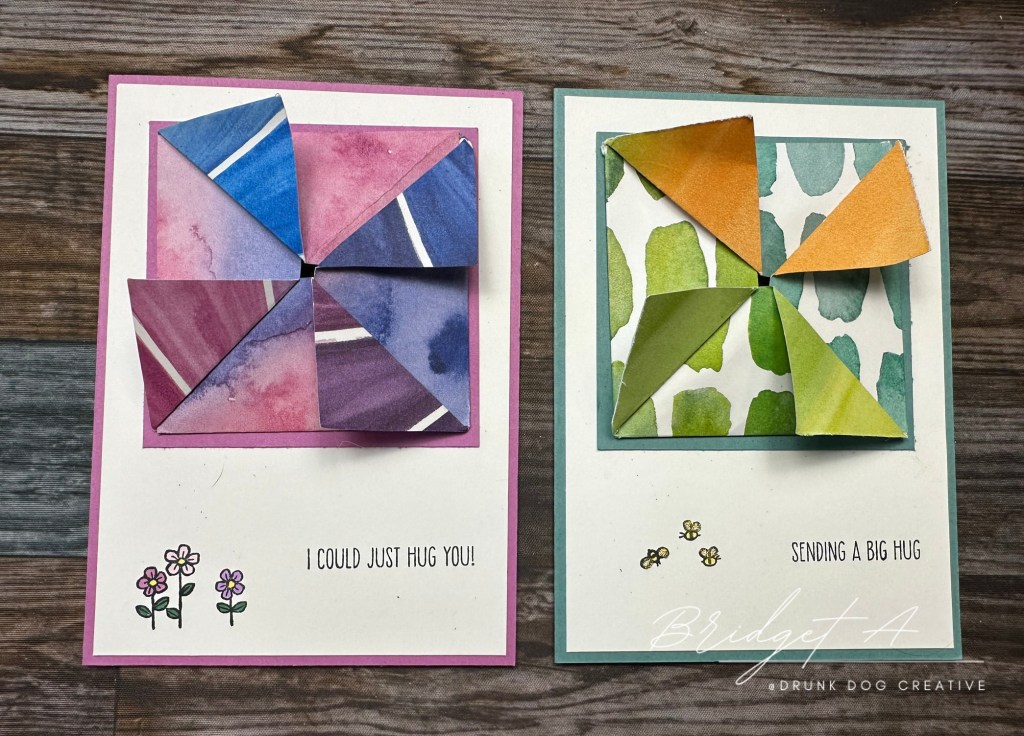
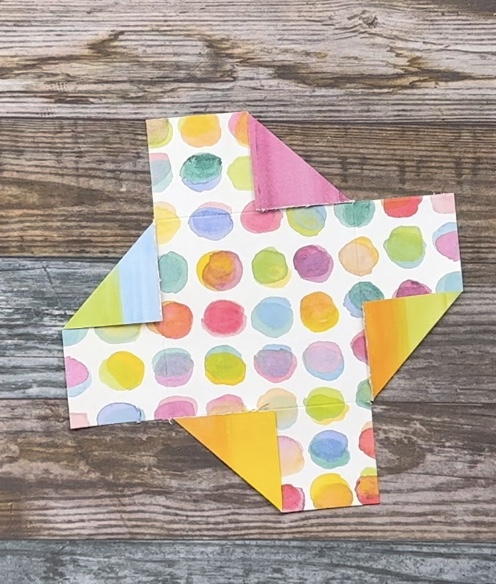
These adorable Pinwheel Pouch Fun Fold Cards are really easy to make and add a touch of whimsy to your card making. They can be kept simple or stepped up for more elaborate cards. I made the examples below with the Full of Life Designer Series Paper (DSP) from Stampin’ Up! This DSP is 6″x6″ with fun colourful patterns on both sides.
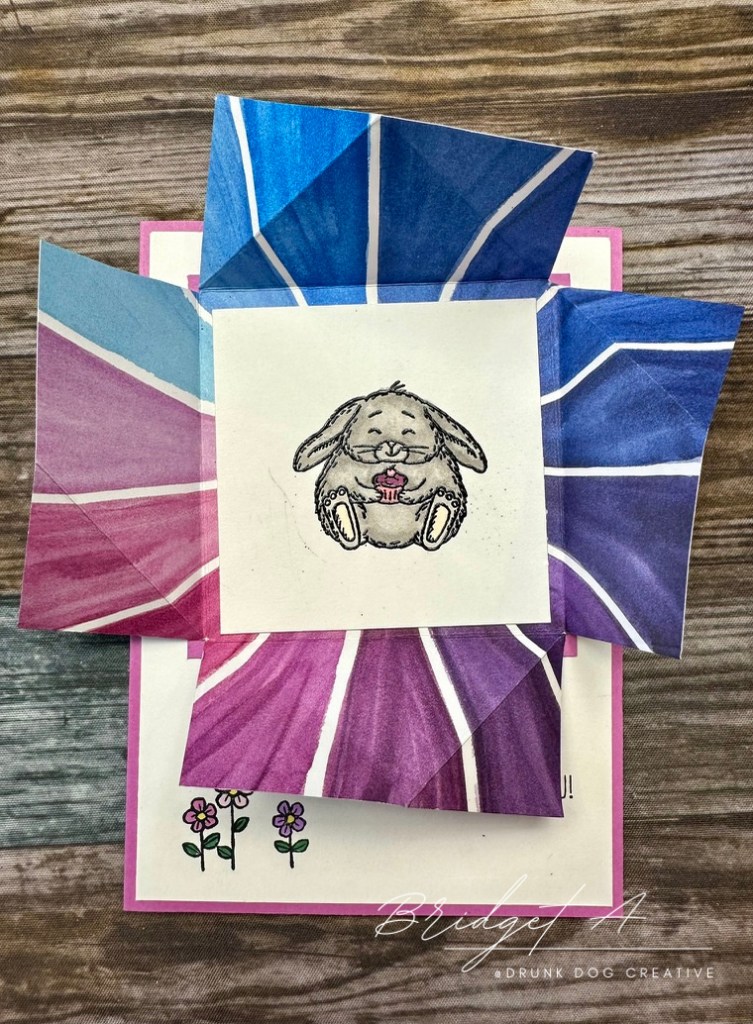
The pinwheel pouch on the front opens up to reveal a surprise inside – you can use stamped images like the examples below, or use sentiments, embellishments, of anything you like!


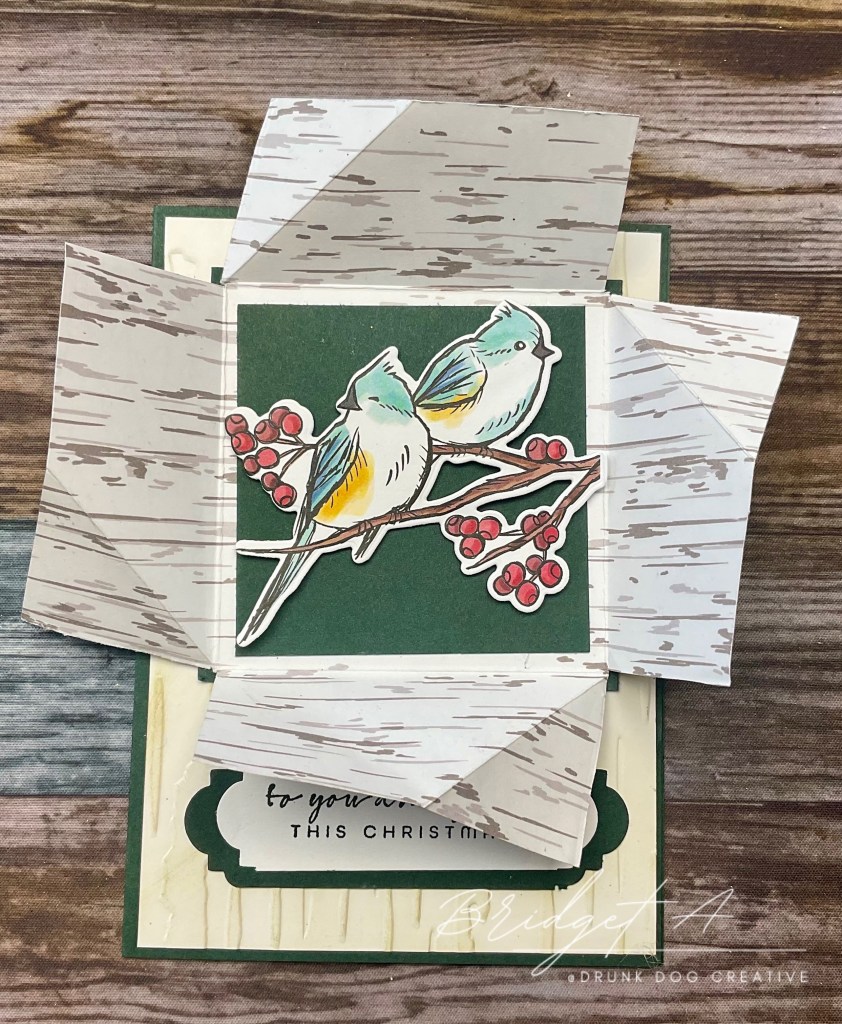
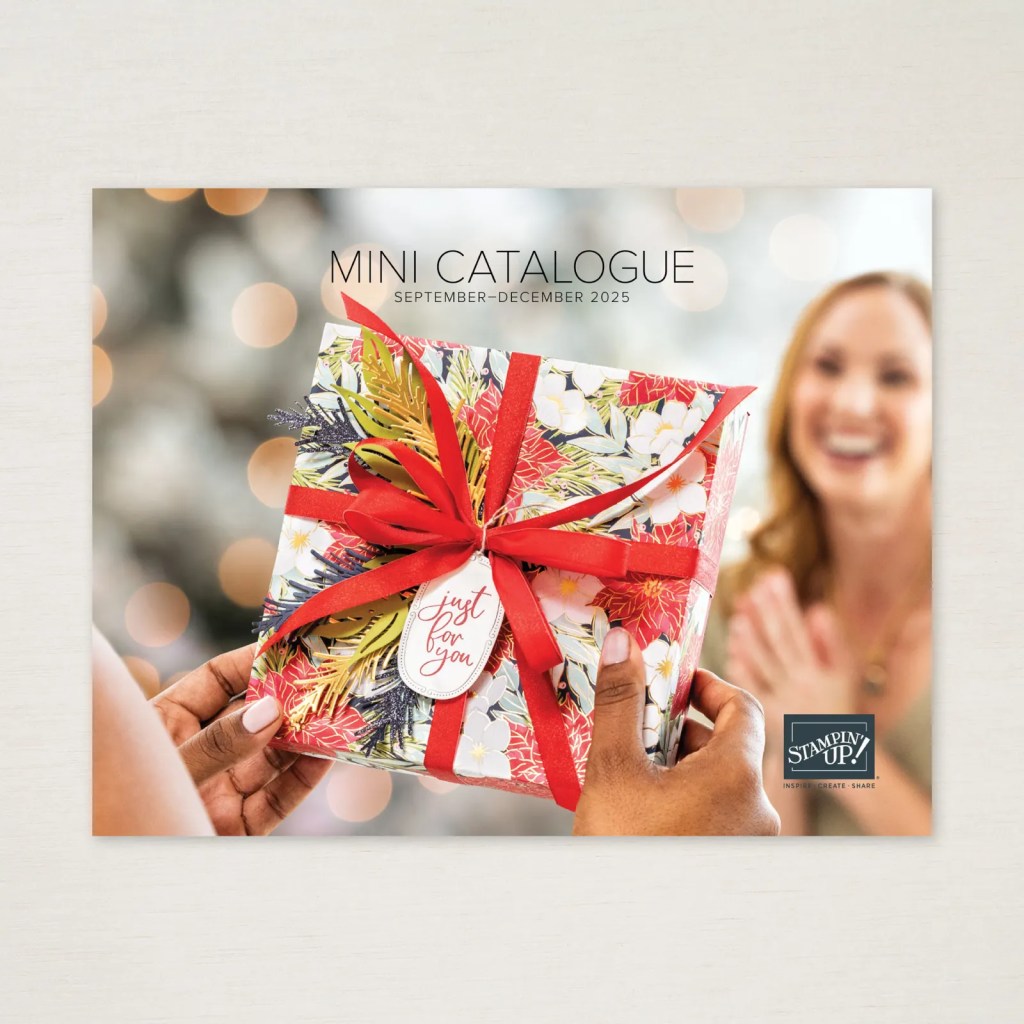
These cards are great for kids but simply by changing up the colours and Designer Series Paper used, you can turn them into cards for adults for any occassion! Here’s a sneak peek of a Christmas Card I made using the Winterly Tree Tops Suite which will be available from Stampin’ Up! in the September Mini Catalogue (drop me a message if you want a free copy of this catalogue!). For this card, I used the Birch embossing folder that comes in the bundle to give the white card front some texture. I then gently brushed ‘Basic Beige’ ink over it with a blending brush to give the wood-like embossing some extra dimension. I used the dies in the suite to cut out the birds from the DSP and used a different sheet of DSP from the bundle for the pinwheel. Keep an eye out for this amazing suite coming in September!

Video Tutorial
The video below shows how to cut the pieces and assemble them to make this card. The Cut Plan and written Instructions are also provided below with a supply list near the end of the post.
Cut Plan
The cut plan below will give you the dimensions needed for a Metric A6 Card (Australia/UK/Canda) or an Imperial A2 Card (USA)
| Cardstock | Metric | Imperial |
| Card Base (Blackberry Bliss) | 210 x 148 mm scored at 105mm | 8.5″ x 5.5″ scored at 4.25″ |
| Card Front (Basic White) | 100 x 143mm | 4″ x 5.25″ |
| Pinwheel Mat (Blackberry Bliss) | 88 x 88mm | 3.25″ x 3.25″ |
| Pinwheel Pouch (DSP) | 150 x 150mm | 6″ x 6″ |
| Pinwheel Insert (Basic White) | 70 x 70mm | 2.75″ x 2.75″ |
| Inside Mat (optional) (DSP) | 100 x 143mm | 4″ x 5.25″ |
| Inside Panel | 90 x 133mm | 3.75″ x 4.75″ |
Short on supplies? See something new you’d like to get? There’s no better time than the month of July (2024) because Stampin’ Up! is running BONUS DAYS!!! This means that for every $90 (AUD) spent in my Stampin’ Up! shop, you will get a voucher for $9 to redeem in August! Shop at bridgeta.stampinup.net
Instructions
- Cut all cardstock according to Cut Plan above.
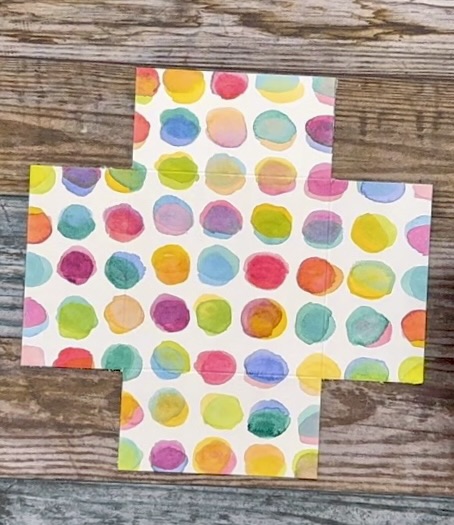
- Score square piece of DSP at 38mm (1.5″) from the edge on all four sides.
- Cut out the corner pieces along the score lines.
- On each edge, fold the top right corner down to the fold line to create a triangle flap.
- Turn DSP over and fold on crease lines, allowing the triangle bit to overlap the straight bit. Tuck the straight bit on the last one in to close your pinwheel pouch. (see video if this doesn’t make sense).
- Decorate the Pinwheel Insert with whatever you want – stamped images, sentiments, embellishments, etc.
- Decorate the Card Front however you want – leave space near the top for the pinwheel mat and pinwheel pouch. Stamp an sentiment, add a bow, put some adhesive backed jewels here… use your imagination!
- Affix the Card Front to the Card Base.
- Affix the Pinwheel Pouch to the Pinwheel Mat.
- Affix the pinwheel assembly to the Card Front.
- Optional: Affix the Inside Mat to the inside right side of the Card Base. I used the same DSP as for the pinwheel but with the opposite side facing up.
- Affix the Inside Panel (white) to the Inside Mat.
Step It Up Options:
- Use an embossing folder to dry emboss the Card Front for dimension and texture.
- Stamp a sentiment with versa mark to a piece of cardstock that matches or pairs nicely with the Card Base and use embossing powder and a heat tool to set it. Use dimensionals to affix it to the card base to give some height to the sentiment.
- Add embellishments such as ribbon, adhesive backed jewels, nuvo drops, stickles, etc.
Finished!
Supply List
Please consider shopping from my Stampin’ Up! store if you are based in Australia. The items used in making these cards are listed below. I included all three cardstock colours from the three samples featured in this post (except the Christmas card). You do not need all of them… I included them for those who wanted to know what I used. You only need one colour of cardstock and one coordinating piece of DSP to go with it. One of the reasons I love Stampin’ Up! is that their DSP and cardstock all coordinate beautifully – even the inks and markers coordinate! Supplies listed below are available and pricing is accurate at the time of posting, but these are subject to change. You can click on links below to view products or you can browse the whole range of Stampin’ Up! products at bridgeta.stampinup.net. The Winterly Treetops Suite featured in the Christmas Card will be available in September. Click HERE if you want to be added to the mailing list for catalogues.


Marcus, Polly and Hugo, the dogs of Drunk Dog Creative, want to remind you to subscribe to this blog, share with your friends, and follow Drunk Dog Creative on all the socials.
Woof woof. Sit. Stay. Follow us. Good human.
Need supplies?
You can shop for Stampin’ Up! products at https://bridgeta.stampinup.net. You can also click on any of the items in the supply lists in tutorial posts. A percentage of any profit from my SU sales is donated to Dachshund Rescue Australia, so you get great products at a good price and help gorgeous dogs like Hugo find their furever home!
Join my team!
If you spend over $169 why not consider joining my team as an Independent Demonstrator? You will get $265 worth of your choice of products for only $169 and be entitled to a minimum 20% discount on your future orders. Many people join just to be Hobby Demonstrators for the personal discount!


Leave a comment