
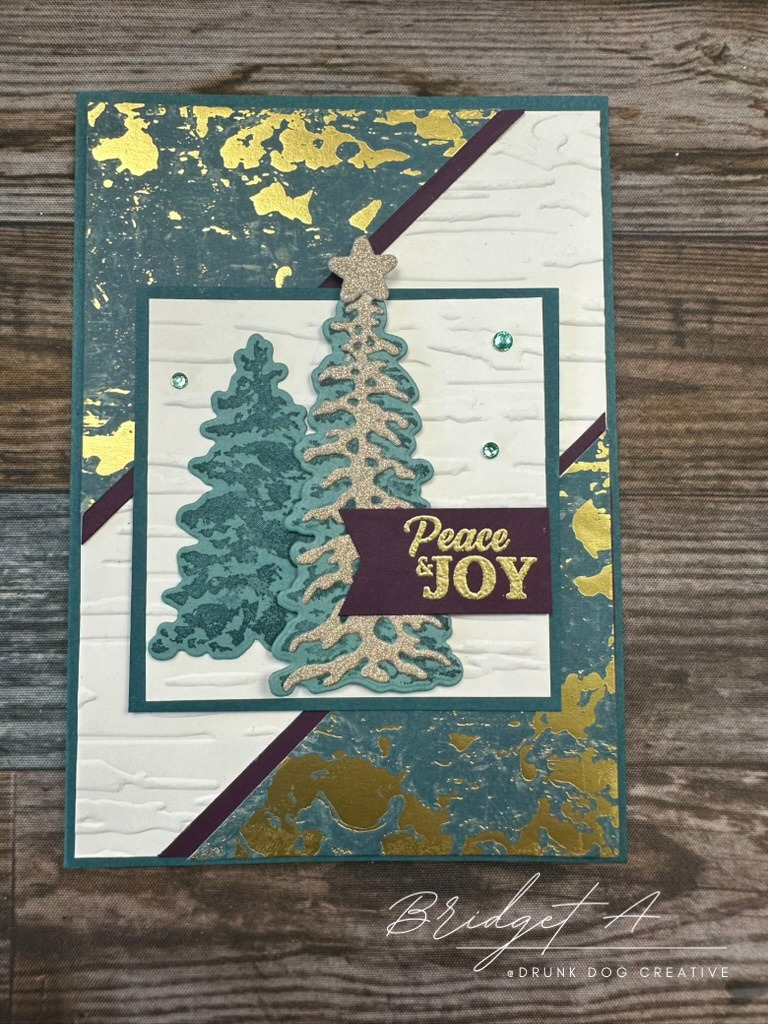
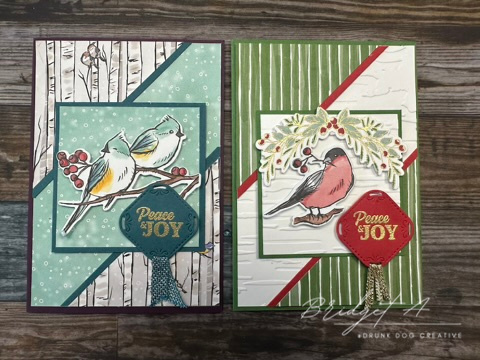
These cards are really stunning! They pair elegance to rustic to create a unique style of Christmas Card. Of course, the basic design can be used for any occasion, but I especially like the look of this for Christmas! I used the Season of Elegance Suite from Stampin’ Up! to make two card designs. That’s right… this is a two for one tutorial! The portrait card is the main card design in this post but I’ve included a bonus design of a landscaped card in the video tutorial! Be sure to watch the end for how to make the bonus card!
Feature Card
Bonus Card
Instructions for Feature Card
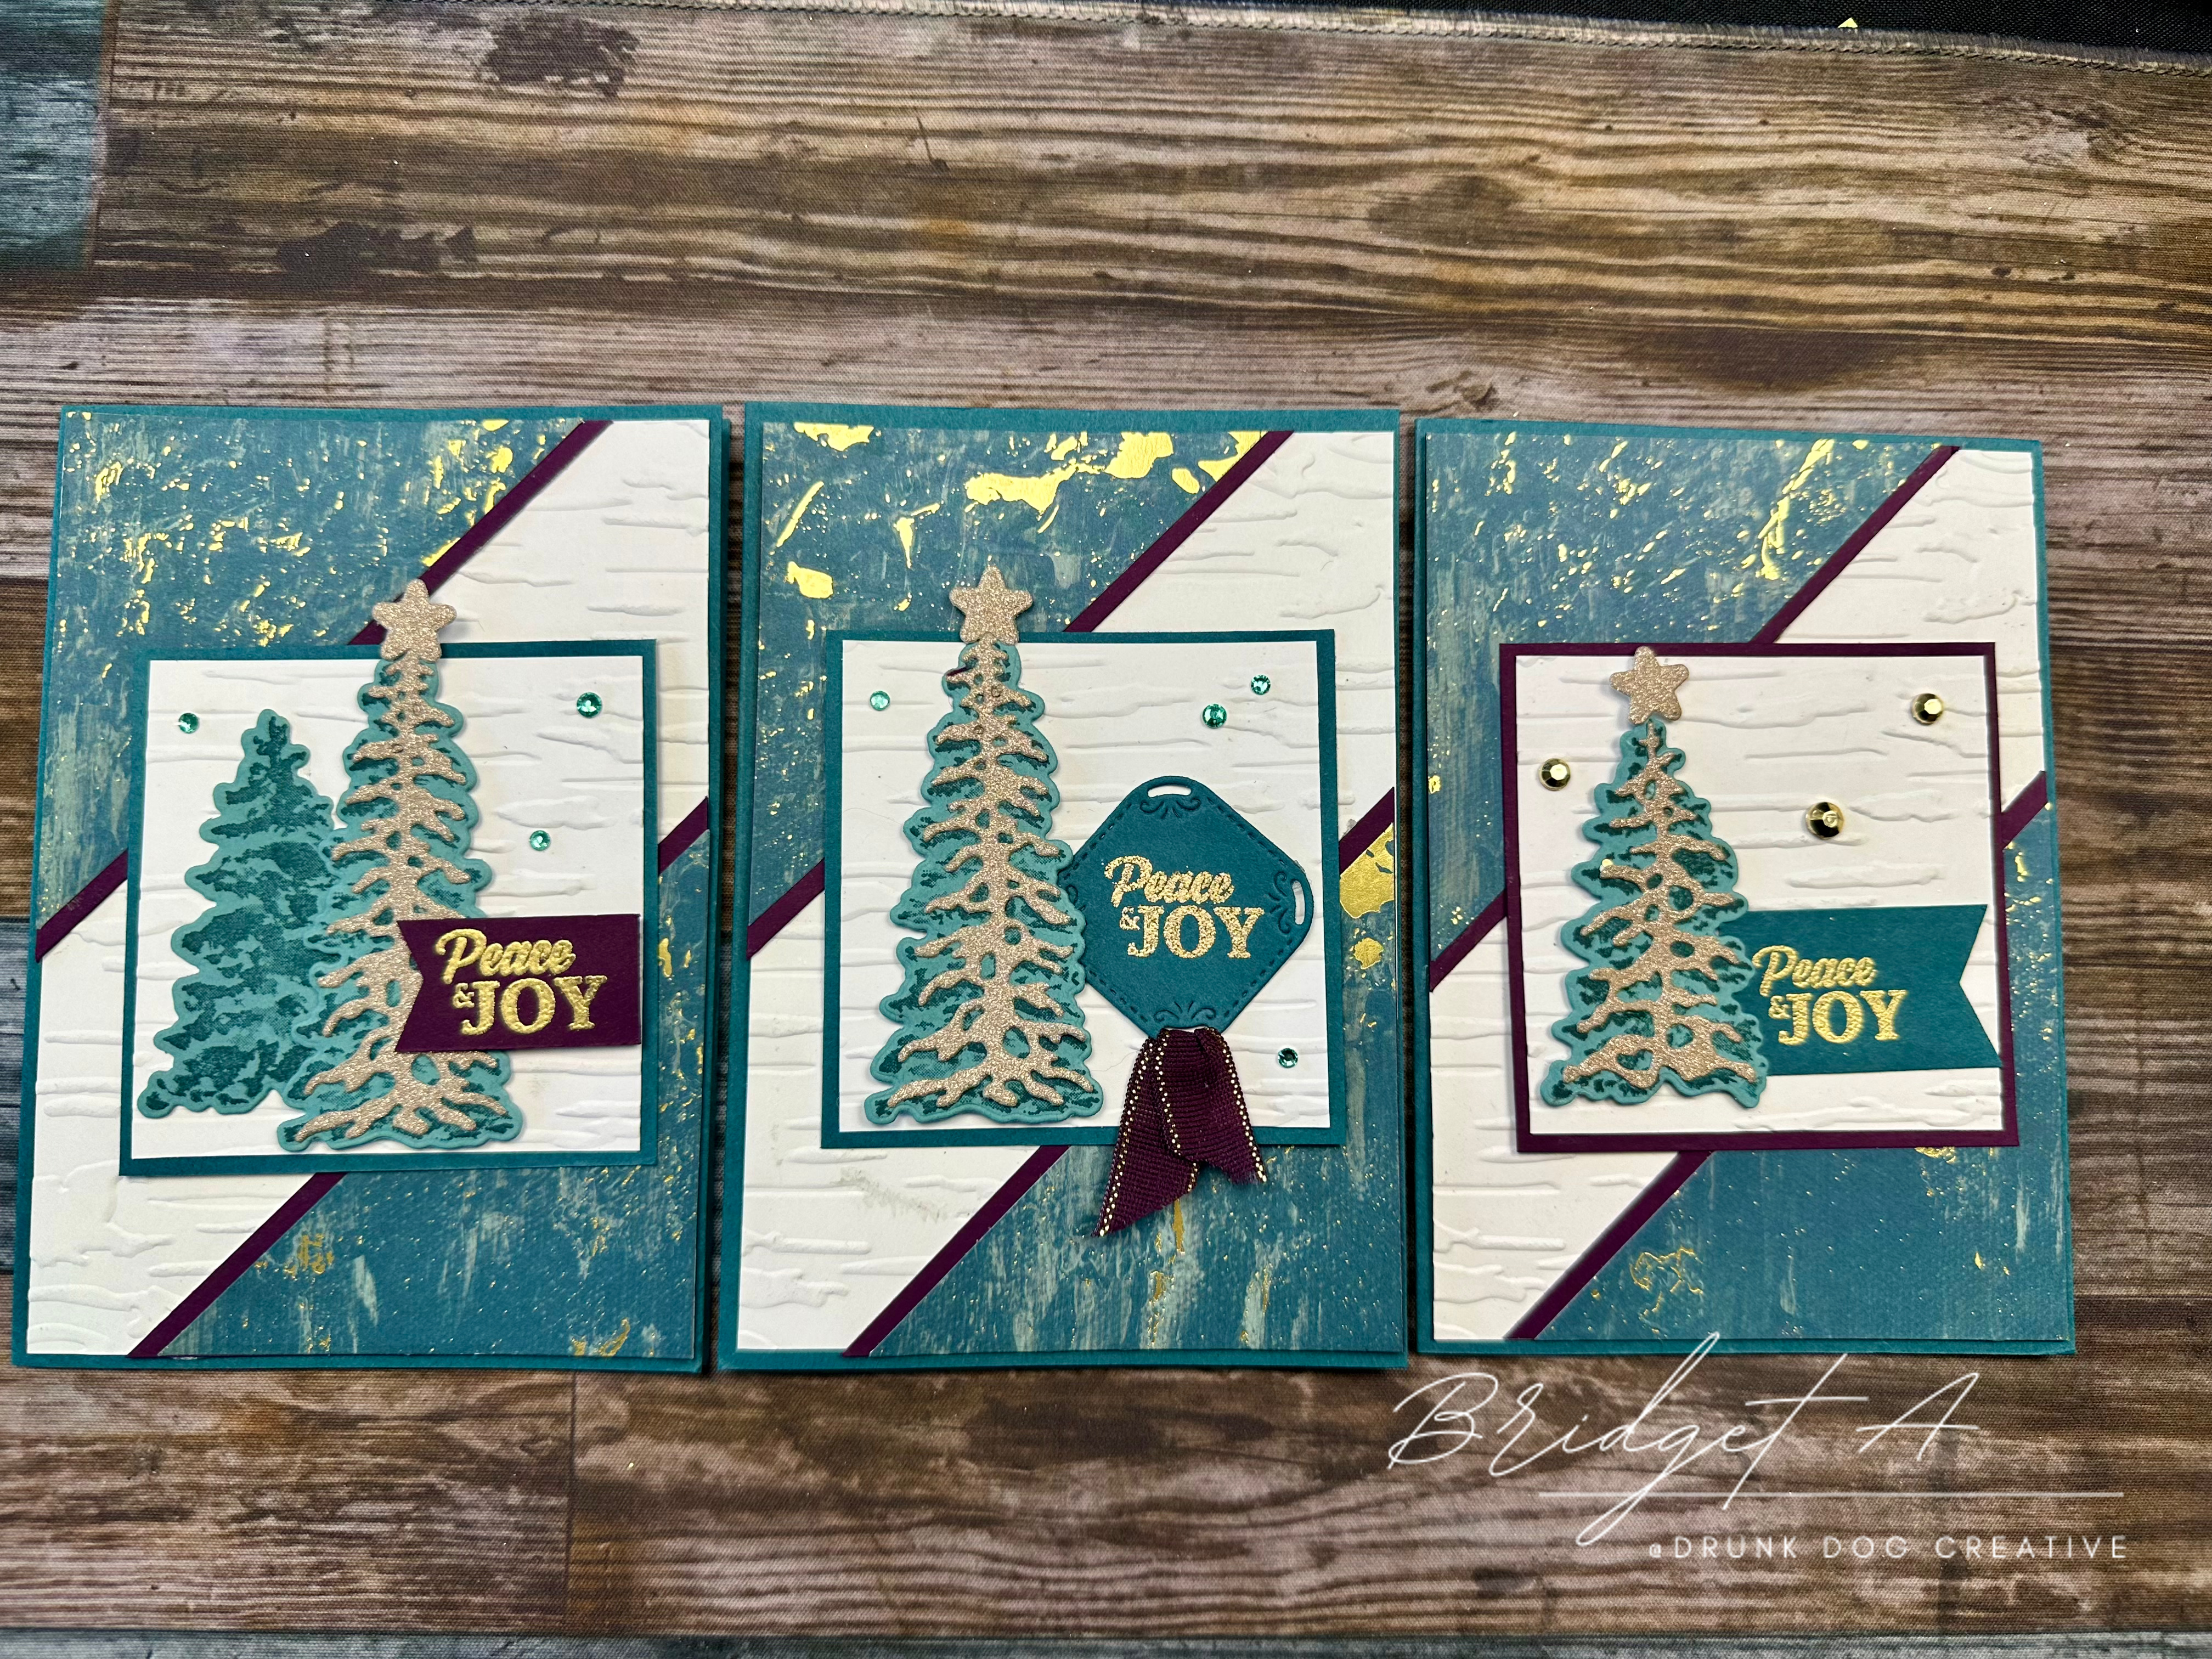
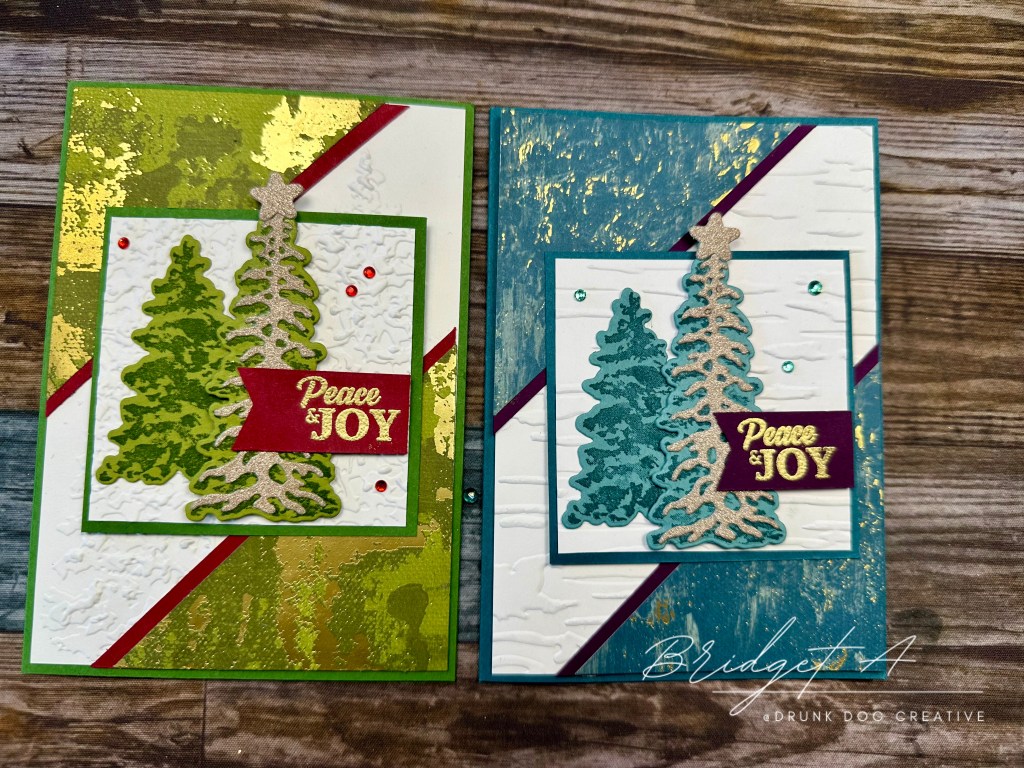
From the examples in the photos, you can see I’ve made a few variations on this theme. How you decorate the front of the card is up to you. The landscape card is a bonus make that I’ll tell you about at the end! I’ve also used two different colourways for the main card:
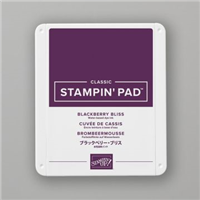
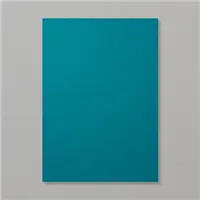
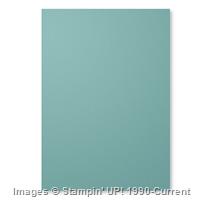
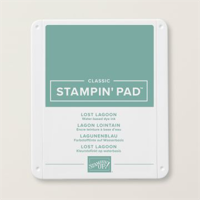
Colourway 1: Blackberry Bliss, Pretty Peacock, Lost Lagoon, Basic White
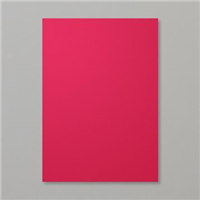
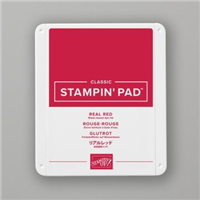
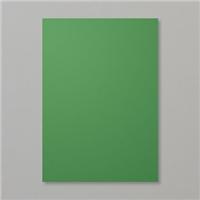
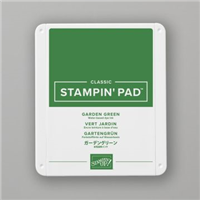
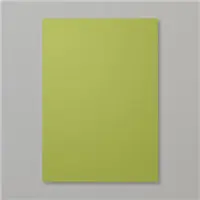
Colourway 2: Garden Green, Real Red, and Basic White
Below is a video tutorial for the feature card and the bonus card. While you are free to decorate the feature front of the main card any way you want, I do demonstrate how I did the trees and sentiment shown above. The cut plan and step by step instructions are given in Metric and Imperial below the video tutorial.
A note about Australian vs USA card sizes….
So, as you can probably tell from my accent in the video… I’m originally from the USA but I live in Australia and have done so for a long time. So, I’m very conscious of the differences between Aussie (and UK/Canada/etc) cards and USA cards and try to cater to both systems in my tutorials. It’s worth explaining why I don’t just ‘convert’ the metrics to imperial. Australia uses the metric system which includes an A4 paper size, while the USA uses the imperial measurement system and has a US Letter paper size. This means we have different standard sizes for cards. Both are based on cutting their standard paper size in half, then folding that in half. For us in Australia, this gives us an A6 card which, when folded, is 105mm wide by 148mm tall. For my friends in the USA, this gives them what they call an A2 card which is 4.25″ wide by 5.5″ tall. If I just converted the Aussie mm into inches, you would get a card that is 4.13″ wide by 5.83″ tall. So you can see it’s a completely different size to the USA card. If I just converted the metrics into imperial, my USA friends would end up with the wrong size card that wouldn’t fit in their envelopes. So, I usually make samples in both sizes and provide the cut plan in metric and imperial, so that whatever country you are in, you get the right size card that will fit your envelopes. When I’m giving instructions for making the card, particularly when demonstrating that in the video tutorials, I only use the Aussie card as an example. The instructions for putting it together are the same regardless of which size you are making. The only time I would NOT include the USA cut plan is if I am CASEing* a card made by another USA based demonstrator and have modified it for the Australian sizing. If I do this, I always include the website for the original card so you can pop over there and find out how to make it for the USA. I am a Professor for my ‘day job’ and in that world, plagiarism (publishing someone else’s work as your own) is highly frowned on so I just won’t do it. I will give credit where credit is due. 🙂
* CASE = Copy and Share Everything – a term we use in the Stampin’ Up! Demonstrator world to share ideas we’ve learned from others but putting our own spin on what we’ve done (and giving credit where it is due).
Video Tutorial
Cut Plan
| Cardstock | Metric (mm) | Imperial (inches) | Suggested Colour** |
| Card Base | 210 x 148 scored at 105 | 8.5 x 5.5 scored at 4.25 | Pretty Peacock or Garden Green |
| Card Front | 100 x 143 | 4 x 5.25 | Basic White |
| DSP | 80 x 80 | 3.25 x 3.25 | |
| Mat for DSP | 85 x 85 | 3.5 x 3.5 | Blackberry Bliss or Real Red |
| Feature Front | 75 x 75 | 3 x 3 | Basic White |
| Mat for Feature Front | 80 x 80 | 3.25 x 3.25 | Pretty Peacock or Garden Green |
| Inside Mat | 100 x 143 | 4 x 5.25 | Blackberry Bliss or Real Red |
| Writing Panel | 95 x 138 | 3.75 x 5 | Basic White |
| scraps of cardstock for sentiment | Blackberry Bliss or Real Red | ||
| scrap of Gold glitter cardstock | Gold |
** Suggested colour is based on the cards shown in photos here. There are further ideas in the video.
Assembly
- Take the Card Front and the Feature Front pieces and place them in an embossing folder and run through your die cut machine. I recommend the Painted Trees 3D Embossing Folder that is included with the Season of Elegance Suite (and also available separately) or the Birch Wood 3D Embossing Folder.
- Afflix the Card Front to the Card Base.
- Affix the DSP triangles to the DSP triangle mats aligning them to the pointy corner so that the mat only shows along the long edge. Using glue here is recommended over glue tape as it gives you time to wiggle them into place.
- Affix the combined triangles to the diagonal corners of the embossed Card Front (top left and bottom right) – align them right to the edges of the corner so that the Card Front only shows between the two triangles.
- Affix the Card Front to the Card Base.
- Affix the Feature Front to the Feature Mat.
- Affix the Writing Panel to the Inside Mat.
- Affix the inside combination from #7 to the inside of the Card Base.
- Stamp or decorate the Writing Panel any way you wish… or leave it blank.
At this point, you can decorate the Feature Front any way you want. Below are the instructions for how I did it for these cards. You can see from the photos that I played around with a few variations. Feel free to use your imagination and do it your way!
Decoration and Embellishment
- Stamp and die cut images of the small and medium trees from the Peaceful Evergreen Bundle. If using colourway 1, stamp using Pretty Peacock ink on Lost Lagoon cardstock. If using colourway 2, stamp using Garden Green ink on Old Olive cardstock.
- Die cut the medium size tree spiny version and the star (Peaceful Evergreen Bundle) in gold glitter paper or cardstock. Affix to the die cut of the medium tree that you did in step 1 above. Affix the star to the top of the tree.
- Affix the smaller tree to the Feature Front at the left edge.
- Affix the medium tree to the centre of the Feature Front. It will overlap the smaller tree to its left and the star will sit a bit above the Feature Front.
- Using Versamark Ink and Gold metallic embossing powder, stamp a sentiment to a scrap of paper and affix to the right of the middle tree, overlapping the tree and aligned with edge of the Feature Front.
- Add embelishments if desired (I used some adhesive backed embellishments from Stampin’ Up!)
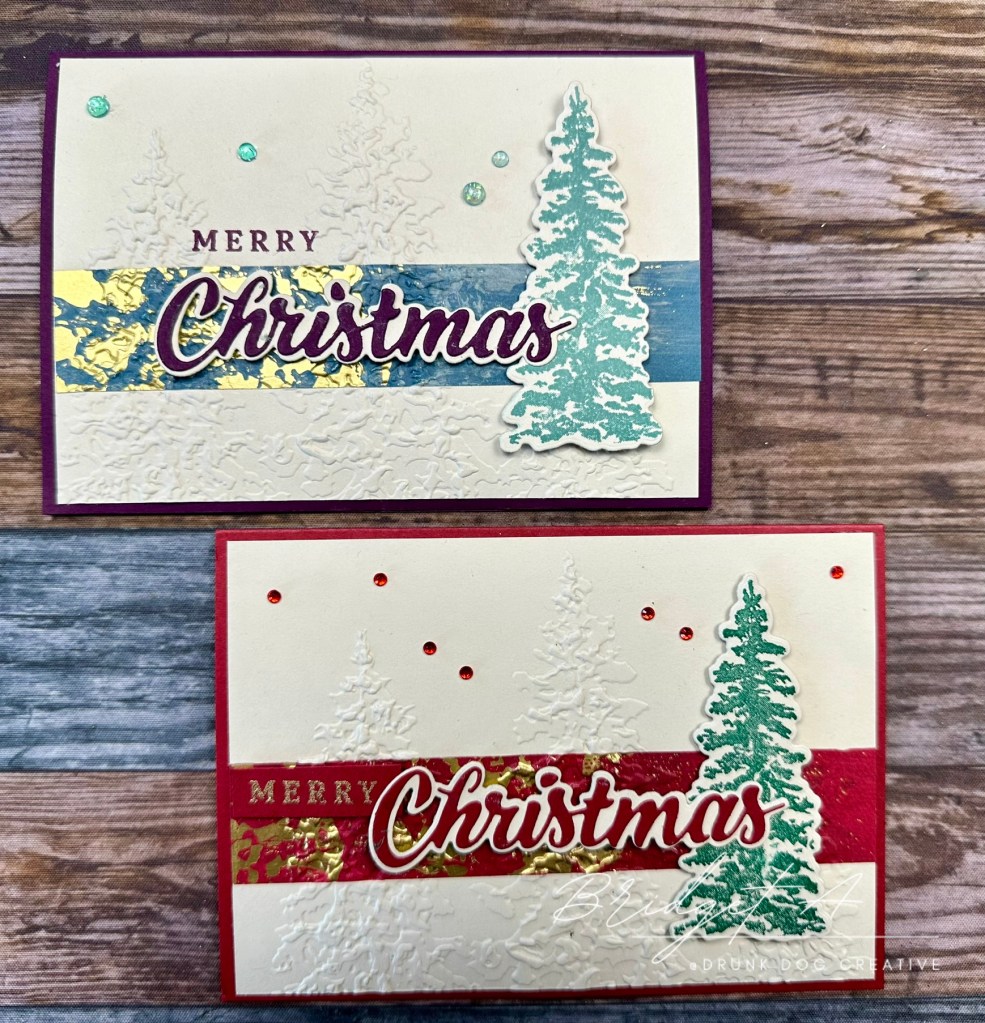
Other Examples
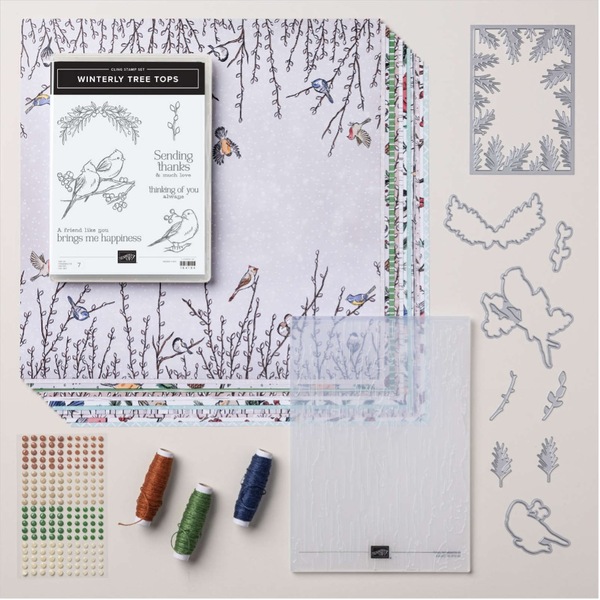
The basic card design can be used with other papers and designs for other occassions too. I used the Winterly Tree Tops Suite from Stampin’ Up! with this same design to make other Christmas cards….
Happy Making!
Supply List
Below are the supplies used to make these cards. Items in the Season of Elegance Suite can also be purchased individually. Feel free to click the links below or visit bridgeta.stampinup.net to browse products. Stampin’ Up! holds the copyright on photos of their products.


Marcus, Polly and Hugo, the dogs of Drunk Dog Creative, want to remind you to subscribe to this blog, share with your friends, and follow Drunk Dog Creative on all the socials.
Woof woof. Sit. Stay. Follow us. Good human.
Need supplies?
You can shop for Stampin’ Up! products at https://bridgeta.stampinup.net. You can also click on any of the items in the supply lists in tutorial posts. A percentage of any profit from my SU sales is donated to Dachshund Rescue Australia, so you get great products at a good price and help gorgeous dogs like Hugo find their furever home!
Join my team!
If you spend over $169 why not consider joining my team as an Independent Demonstrator? You will get $265 worth of your choice of products for only $169 and be entitled to a minimum 20% discount on your future orders. Many people join just to be Hobby Demonstrators for the personal discount!


Leave a comment