
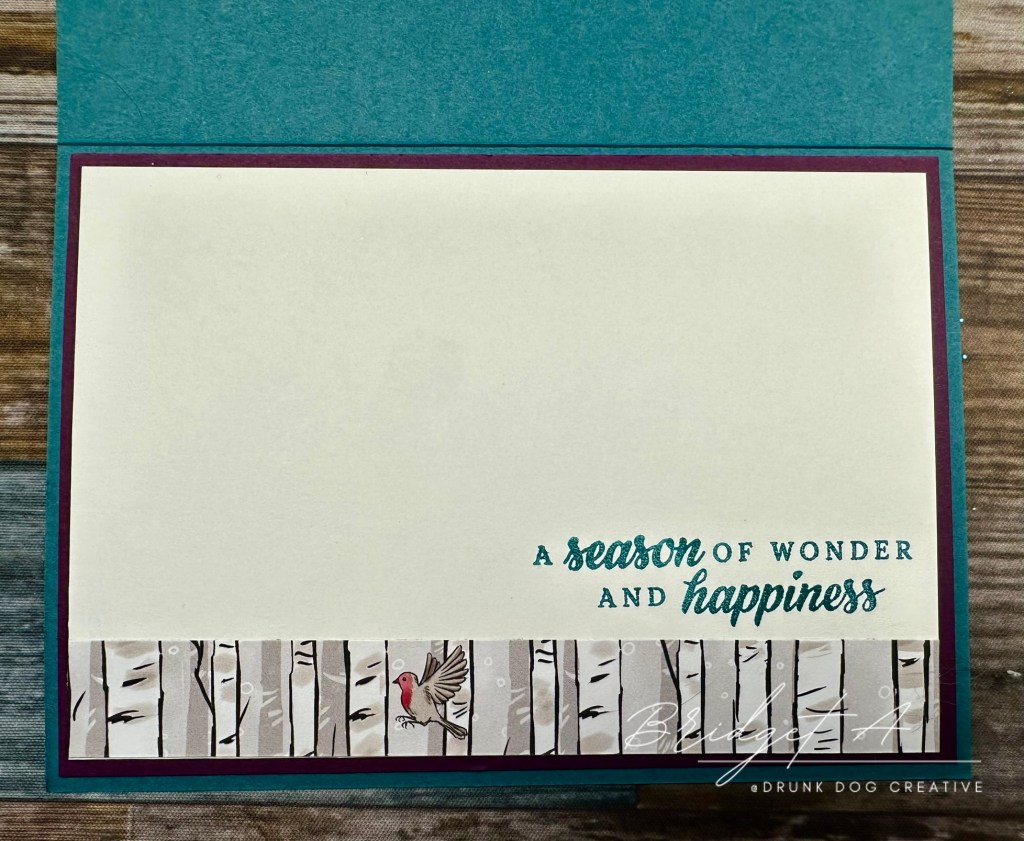
This Peace on Earth Christmas card design has been created using the Nests of Winter Suite from Stampin’ Up!. The centrepiece of the suite is the Winterly Tree Tops stamp and die bundle and the gorgeous Designer Series Paper. The great thing about this suite is that it doesn’t have to be used for just Christmas. It has non-Christmas sentiments and the designs are so versatile! The dies also cut out two of the birds from the designer series paper included in the suite! I’ve used a fairly common card layout to showcase the beautiful DSP but, of course, this design can be used for any occasion by mixing up the colours, papers, and embellishments! The other bundle I used is the Christmas Labels stamp and die bundle. This bundle creates some great ‘old world’ sentiments and labels and I knew it would be the perfect partner for Nests of Winter!
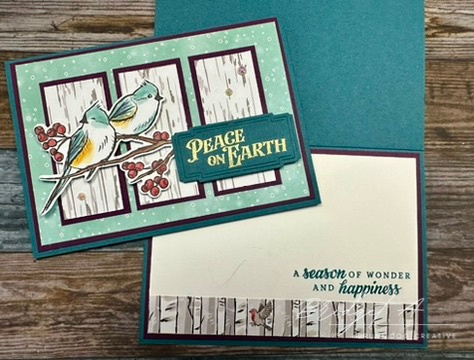

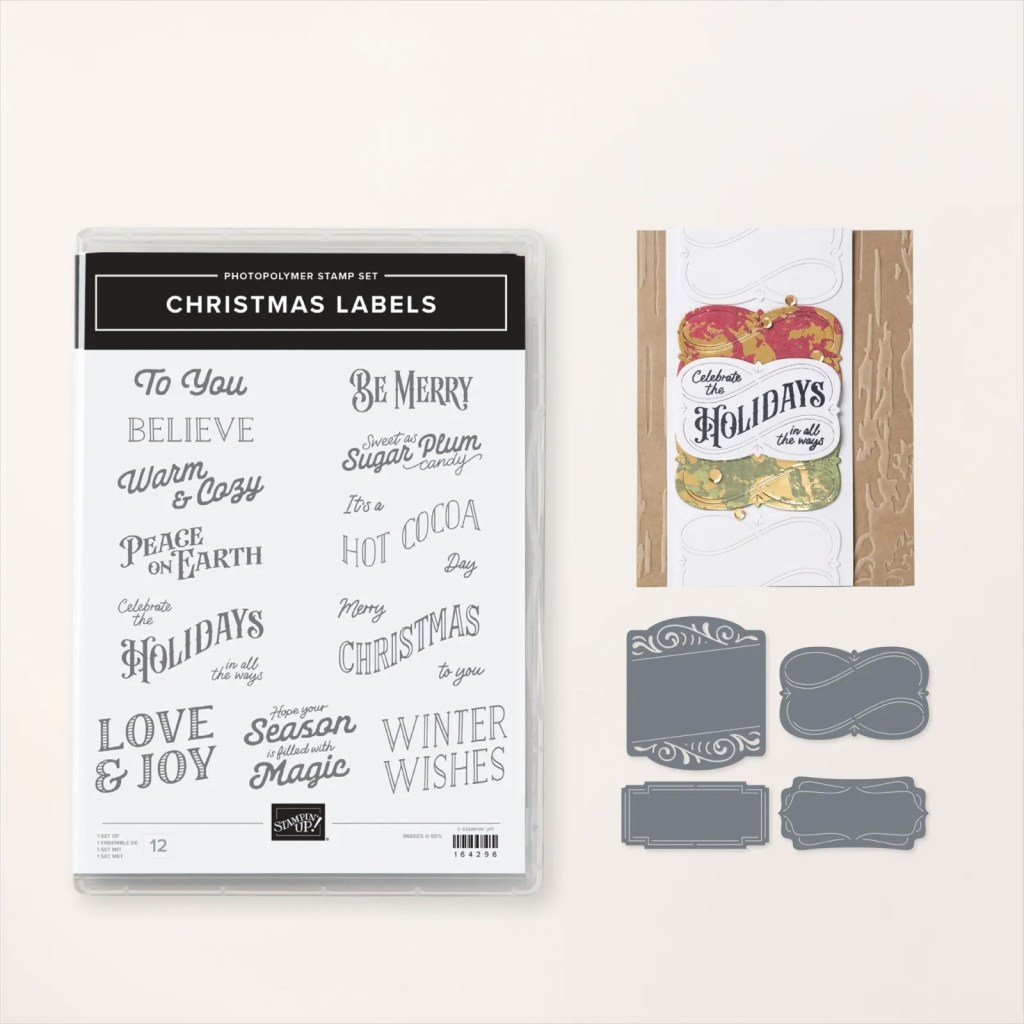
Images of products are (c) Stampin’ Up!
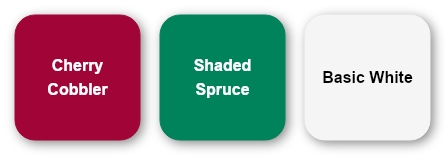
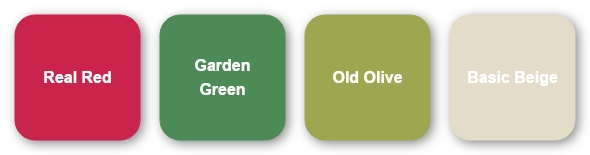
This year I decided to do a non-traditional colour scheme using Blackberry Bliss, Pretty Peacock, and Lost Lagoon with either Basic White or Basic Beige. I just love how these colour work together and how well they work with the DSP from Nests of Winter. That said, you can also use the more traditional Christmas Colours with this design and still produce a gorgeous card. I would recommend the following alternate colour groups:

Instructions
There is a youtube video which demonstrates how to make this card and shows off the elements of the Nests of Winter Suite. There are also written instructions below. The video uses metric measurements but has the USA measurements in subtitles. In Australia we use an A6 card size (based on A4 paper) whereas in the USA an A2 card size (based on Letter size paper) is used. So you can’t just convert the metrics to imperial as the final card sizes will be different. I’ve accounted for that in the video subtitles and in the written instructions as I am a dual citizen (USA/Australia) and work in both measurement systems. 🙂
Happy Making!
Video Tutorial
Cut Plan
| Cardstock | Metric (mm) | Imperial (inches) | Suggested Colour |
| Card Base | 210 x 148 scored at 105 | 8.5 x 5.5 scored at 4.25 | Pretty Peacock |
| Mat | 100 x 143 | 4 x 5.25 | Blackberry Bliss |
| Card Front (DSP 1) | 95 x 138 | 3.75 x 5 | Nests of Winter DSP – The one that looks like snowfall |
| Strips (DSP 2) | 30 x 70 | 1 x 2.75 | Nests of Winter DSP – the one that looks like birch wood |
| Strip Mats | 35 x 75 | 1.25 x 3 | Blackberry Bliss |
| Inside Mat | 100 x 143 | 4 x 5.25 | Blackberry Bliss |
| Writing Panel | 95 x 138 | 3.75 x 5 | Basic White Thick |
| Decorative Strip (Optional) | 15 x 138 | 5/8 x 5 | Nest of Winter DSP – the one that looks like rows of birds in trees. |
| Scrap for Sentiment | Blackberry Bliss |
Assembly
- Affix Card Front to Mat.
- Affix combined front (from step 1) to card base.
- Affix DSP2 strips to their corresponding mats.
- Affix the strip combination (from step 3) to the Card Front – place the middle strip so it is centred vertically and horizontally, then place the other two to either side, ensuring an even gap between the strips and a wider gap on the left and right edges of the card.
- Die cut the bird image from the DSP using the die in the Winterly Tree Tops bundle.
- Stamp a senimtent with versamark and use the embossing powder and a heat tool to set it.
- Affix the bird and the sentiment using Stampin’ Up! Dimensionals (foam adhesive dots).
- Affix the Writing Panel to the Inside Mat.
- Affix the combination (in step 8) to the inside of the card.
Optional:
- Add embellishments (adhesive backed embellishments, ribbon, etc) as you see fit.
- Add a 25 x 138mm (USA: 1″ x 3.75″) strip of DSP to the bottom of the writing panel.
- Stamp a sentiment inside the card.
- Stamp one of the bird images inside the card.

Supply List
The list below shows you the specific products used for this card. Click on the links to add to a cart or go to bridgeta.stampinup.net to browse products and project ideas. If you are not in Australia, please feel free to go to the Stampin’ Up! website in your country and find a local Independent Demonstrator!


Tools I Recommend!
In addition to the supply list above, there are some Stampin’ Up! tools and supplies I highly recommend all card makers and scrapbookers have in their stash! I tried so many brands before finding SU. The quality and value can’t be beaten. In fact, I became a Stampin’ Up! Independent Demonstrator because of the quality of the products and to get the personal discount on my own supplies. I joined mainly as a ‘hobby demonstrator’ for that discount, and donate most of my profits to Dachshund Rescue Australia. 🙂 If you want more info on the benefits of joining SU, click on “Join My Team” below!


Marcus, Polly and Hugo, the dogs of Drunk Dog Creative, want to remind you to subscribe to this blog, share with your friends, and follow Drunk Dog Creative on all the socials.
Woof woof. Sit. Stay. Follow us. Good human.
Need supplies?
You can shop for Stampin’ Up! products at https://bridgeta.stampinup.net. You can also click on any of the items in the supply lists in tutorial posts. A percentage of any profit from my SU sales is donated to Dachshund Rescue Australia, so you get great products at a good price and help gorgeous dogs like Hugo find their furever home!
Join my team!
If you spend over $169 why not consider joining my team as an Independent Demonstrator? You will get $265 worth of your choice of products for only $169 and be entitled to a minimum 20% discount on your future orders. Many people join just to be Hobby Demonstrators for the personal discount!


Leave a comment