

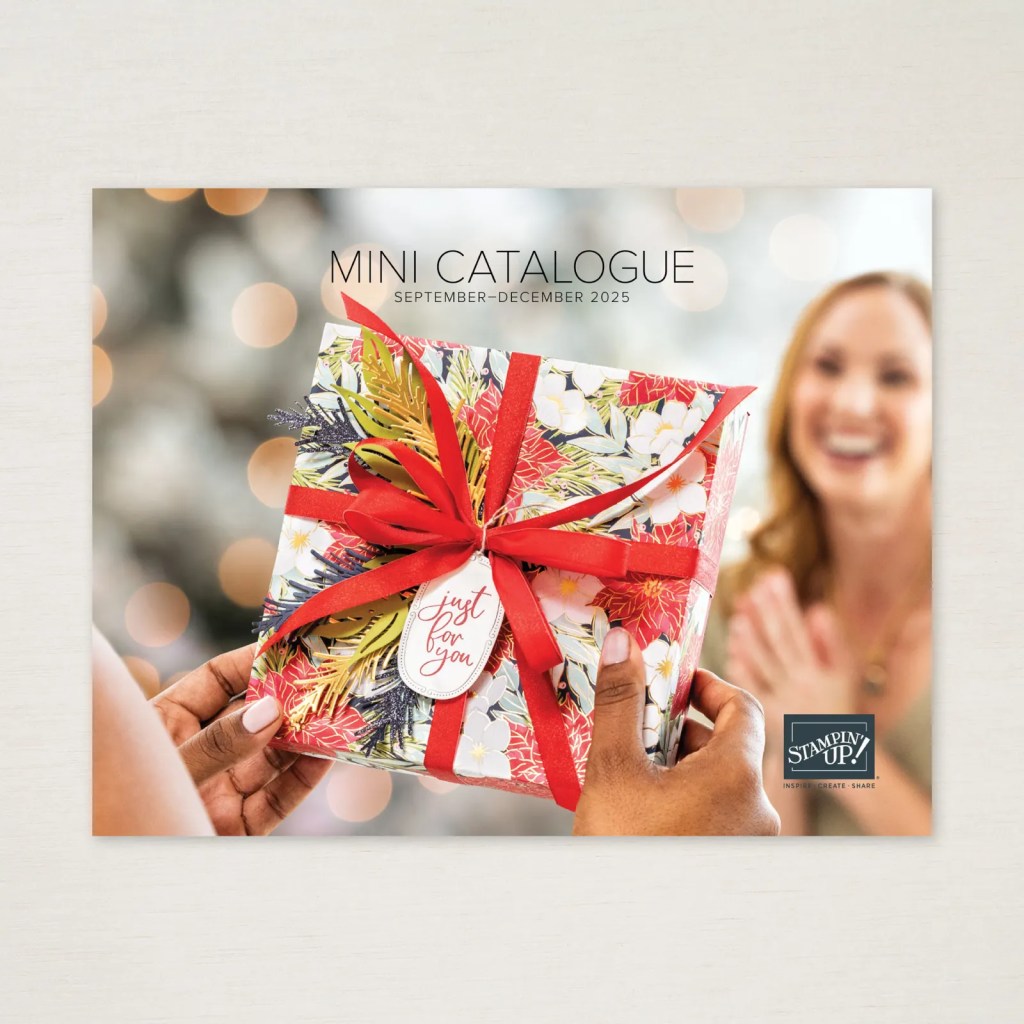
How adorable is this butterfly shaker card! This is made from products included in the Beautiful Bokeh Suite from Stampin’ Up! which is part of their January-April 2025 Mini Catalogue. So this is only available until the end of the catalogue period or while supplies last – so get in quick!
I have to say, I really love butterflies. They’ve always been special to me. Did you know that it is the act of struggling out of the cocoon that strengthens the butterfly’s wings enough to fly? If you help them out of the cocoon, they never develop the strength, and they are doomed to flop around and die quickly. It’s the struggle that gives them their strength and beauty. I’ve been through some hard things in my life, including losing my husband to a heart attack when I was just 26 years old. For me personally, the butterfly is a symbol that even the hardest circumstances can be used for good. It’s a symbol that God has a plan no matter how bad things seem. In fact, when I was 38 years old, I got my first, and only (so far!) tattoo… a butterfly… as a reminder that strength can be born out of adversity and to never give up. So, naturally, when I saw this suite in the catalogue, I just had to buy it!!
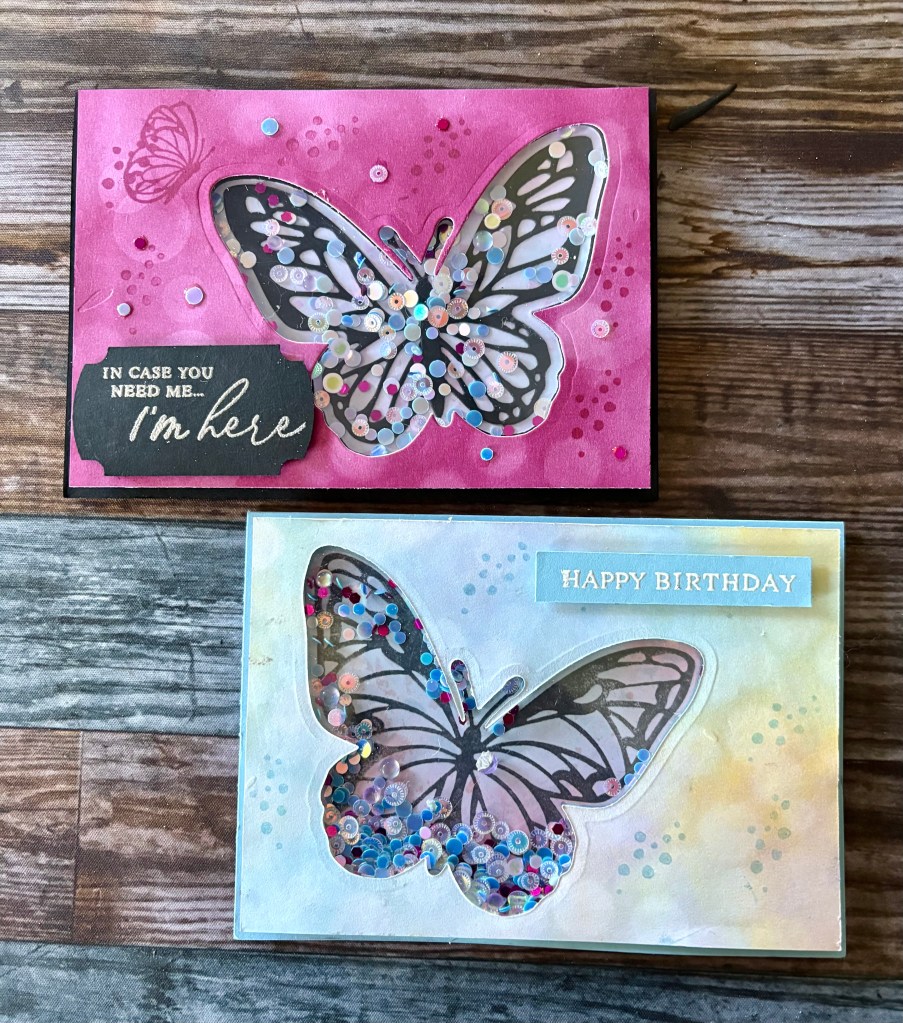
The first project I decided to make to share with you all, is this shaker card. The Itty Bitty Bokeh Mix embellishments that come with the suite make perfect shaker elements! And the sentiments in the stamp set mean this card is versatile for all sorts of occassions!
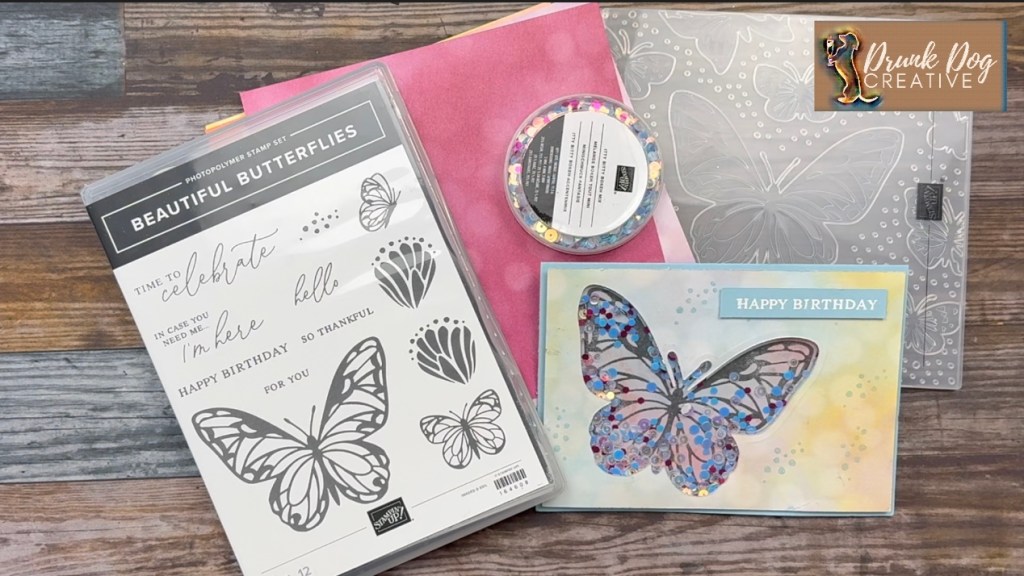
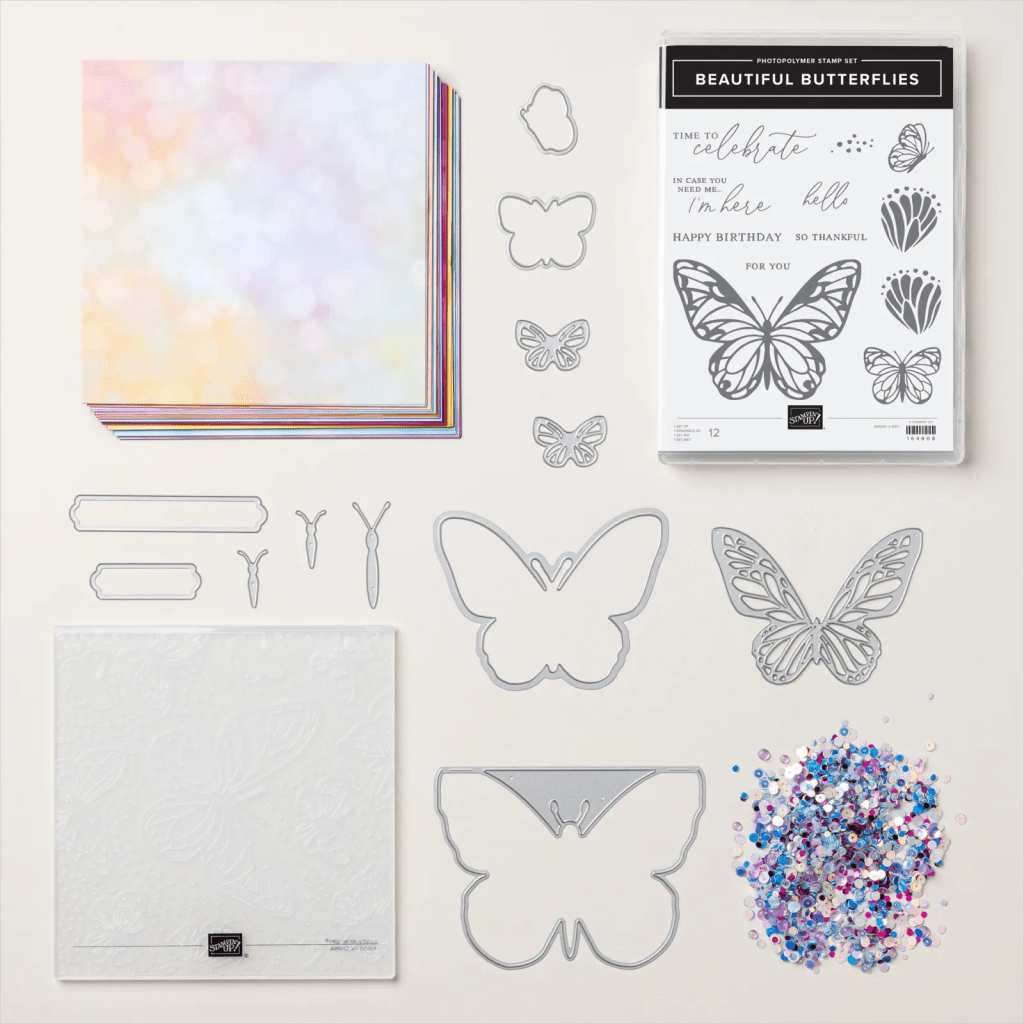
The Beautiful Bokeh Suite comes with the Beautiful Butterflies stamp and die bundle which also includes the Beautiful Butterflies Hybrid Embossing Folder , the Itty Bitty Bokeh Mix embellishments, and the Beautiful Bokeh Designer Series Paper. You can purchase this suite HERE.
The YouTube video has the full instructions for making this card including the basic design and some ideas for how to step it up a bit more. There’s also a surprise at the end for how to use one of the very special dies in the set. 🙂 The instructions on YouTube are in metrics for an Aussie A6 Card but the subtitles provide measurements in imperial for a USA A2 card. Click HERE to see what the difference is and why you can’t just convert the mm to inches.
Video Tutorial
Instructions
Here are the written instructions for creating this card. I do recommend watching the video though!
Cut Plan
The colours indicated for the cardstock and Designer Series Paper (DSP) below match the card in the video. Please feel free to use whatever colours and patterned paper you wish!
| Metric (A6 Card) in mm | Imperial (USA A2 Card) in inches | |
| Card Base (Basic Black) | 210 x 148 score at 105 | 8.5 x 5.5 score at 4.25 |
| Card Front (Beautiful Bokeh DSP) | 143 x 100 | 5.25 x 4 |
| Acetate | 141 x 98 | 5-1/8 x 3-7/8 |
| Inside Writing Panel (Basic White Thick) | 143 x 100 | 5.25 x 4 |
| Optional Inside strip (same as Card Front) | 143 x 25 | 5.25 x 0.5 |
Assembly
- Two options for step 1:
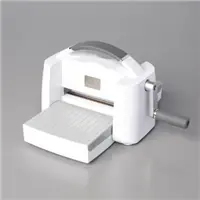
- if using the butterfly stamp, turn Card Front to the wrong side and stamp the butterly in Momento Tuxedo Black ink making sure to leave enough room for foam tape strips to fit between the butterfly and the edge of the Card Front. Place the butterfly die over the image and use mint tape to hold in place. Run through your die cutting machine.
- If using the die set, place the butterfly die on the front of the Card Front where you want the butterfly to be. Make sure to leave enough room for foam tape strips to fit around the cut out but not show outside the Card Front. Place the detail butterfly die and the large butterfly body die on the black cardstock. Run both through your die cutting machine.
- Two options:
- If you used the two dies, then glue the black butterfly detail to the cut out butterfly.
- Place the Card Front on the Card Base – do not use adhesive on the Card Front yet!. Put adhesive on the butterfly. Place the butterfly inside the cut out and press to affix to the Card Base. Gently lift away the Card Front.
- Take the foam tape strips and place them on the Card Base, around the outline of the butterfly. Leave a small gap between the edge of the butterfly and the tape but don’t leave a gap so big that the foam tape shows once the Card Front is put on the card. Add more foam tape strips on the Card Base to support the Card Front.
- place glue on the back of the Card Front, especially around the butterfly cut out. Carefully place the acetate on the back of the Card Front. Be careful not to smudge the glue so that it gets on the part of the acetate that is over the cut out.
- Place embellishments inside the foam tape on the butterfly. Do not overfill it. Be careful none of them stick to the foam strips.
- Carefully peel the paper off the foam strips – don’t jostle the embellishments!
- Carefully place Card Front onto the foam strips – remember, once it touches them, it’s stuck there forever so place it very carefully.
- If using the optional DSP strip on the inside, glue it to the Inside Writing Panel.
- Affix the inside writing panel to the inside of the card.
- Add a sentiment.
Optional ‘step it up’ ideas:
- Stamp images from the stamp set onto the paper strip inside the card using the same colour ink as the DSP.
- Stamp images from the stamp set onto the Card Front in the same colour ink as the main colour in the DSP – NOTE: DO THIS BEFORE STEP 7!!!
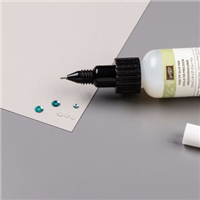
- Using the fine tip glue, affix some of the embellishments to the Card Front.
FINISHED!!!!

SUPPLY LIST


Marcus, Polly and Hugo, the dogs of Drunk Dog Creative, want to remind you to subscribe to this blog, share with your friends, and follow Drunk Dog Creative on all the socials.
Woof woof. Sit. Stay. Follow us. Good human.
Need supplies?
You can shop for Stampin’ Up! products at https://bridgeta.stampinup.net. You can also click on any of the items in the supply lists in tutorial posts. A percentage of any profit from my SU sales is donated to Dachshund Rescue Australia, so you get great products at a good price and help gorgeous dogs like Hugo find their furever home!
Join my team!
If you spend over $169 why not consider joining my team as an Independent Demonstrator? You will get $265 worth of your choice of products for only $169 and be entitled to a minimum 20% discount on your future orders. Many people join just to be Hobby Demonstrators for the personal discount!


Leave a comment