

There is something serenely beautiful, and special, about a vintage looking card. The colours and styles of this type of card is totally opposite what I would normally gravitate toward – jewel tones, geometric shapes, symmetry, etc. But when we make cards, we make them for other people – people whose tastes are often different to ours. The vintage and distressed look is not one I would naturally gravitate toward but every time I make a card in this style, I fall in love with it anyways. They are just so beautiful.

This tutorial will demonstrate a few different techniques that can be used together to make vintage and distressed cards. The instructions will be geared toward making the floral card pictured above, but you can use any colours and any stamps you already have with these techniques.
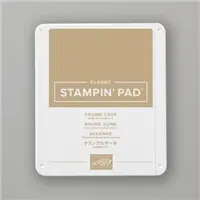
I’ve included the photo below to show you a variation that is different to the floral one. It uses more masculine colours for the cardstock – Mossy Meadow, Pecan Pie, and Basic Beige – and sets the card in a landscape orientation rather than portrait. Hopefully these designs will spark your imagination and you can look at the products you already have and create your own unique vintage and distressed card designs!

If you do want to replicate the card featured in the tutorial, I have included a supply list at the end of this blog. Unfortunately, some of the stamps I’ve used in this tutorial are from my stash, and not available anymore, but … the good news is… the main stamp set – Spotlight on Nature – IS still available! I didn’t realise this when filming the video… my mistake! The supply list below includes products that are available and is accurate at the time of publishing this blog.
So let’s get into the instructions for this card! The cut plan will be provided below in both metric (A6 metric card size for UK, Australia, Canada, etc) and imperial (A2 size for the USA). The techniques used to create the vintage and distressed looks are in the video. They are much easier to demonstrate than to put into words!
Cut Plan
| Metric (A2 Card) | Metric (A2 card) | Imperial (A6 Card) |
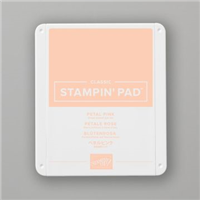
| Card Base (Petal Pink) | 148 x 210 mm scored at 105 mm | 8.5 x 5.5″ scored at 4.25″ |
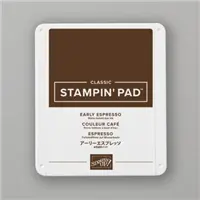
| Mat 1 (Early Espresso) | 100 x 143 mm | 4 x 5.25″ |
| Mat 2 (Very Vanilla) | 95 x 138 mm | 3.75 x 5″ |
| Mat 3 (Petal Pink) | 40 x 118 mm | 1.5 x 4.25″ |
| Card Front (Very Vanilla) | 75 x 113 mm | 2.75 x 4″ |
| Inside Mat (Early Espresso) – optional | 100 x 143 mm | 4 x 5.25″ |
| Inside Writing Panel (Very Vanilla) – optional | 95 x 138 mm | 3.75 x 5″ |
Video Tutorial
Please watch the video below for a demonstration of the vintage and distress techniques used for this card, as well as the decoration and assembly of the featured card.
Supply List
If you are in Australia, please feel free to shop at bridgeta.stampinup.net. Links to the products used in this tutorial are below. This information is current at time of publication and is subject to change. If you live outside Australia, please go to the Stampin’ Up! website in your country and find a local demonstrator who can help you with your purchase.


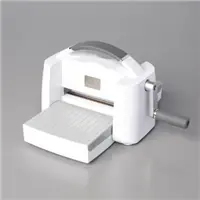
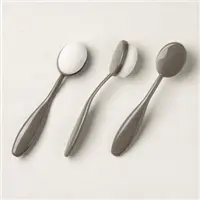
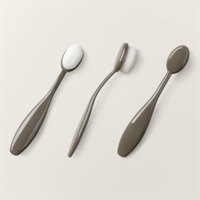
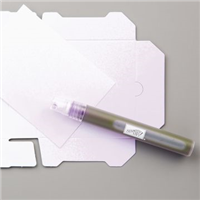
Essential Tools for Every Craft Room
The list below contains the tools that I would consider essential for every papercrafter’s happy crafty place. They are the things I use almost every day, over and over again. Of course, you having two Stampin’ Cut & Emboss machines is not necessary but I’ve included both sizes here anyways so you can choose what works best for you. Click on the links to find out more about each item. The information below is correct at the time of publication but is subject to change.


Marcus, Polly and Hugo, the dogs of Drunk Dog Creative, want to remind you to subscribe to this blog, share with your friends, and follow Drunk Dog Creative on all the socials.
Woof woof. Sit. Stay. Follow us. Good human.
Need supplies?
You can shop for Stampin’ Up! products at https://bridgeta.stampinup.net. You can also click on any of the items in the supply lists in tutorial posts. A percentage of any profit from my SU sales is donated to Dachshund Rescue Australia, so you get great products at a good price and help gorgeous dogs like Hugo find their furever home!
Join my team!
If you spend over $169 why not consider joining my team as an Independent Demonstrator? You will get $265 worth of your choice of products for only $169 and be entitled to a minimum 20% discount on your future orders. Many people join just to be Hobby Demonstrators for the personal discount!


Leave a comment