

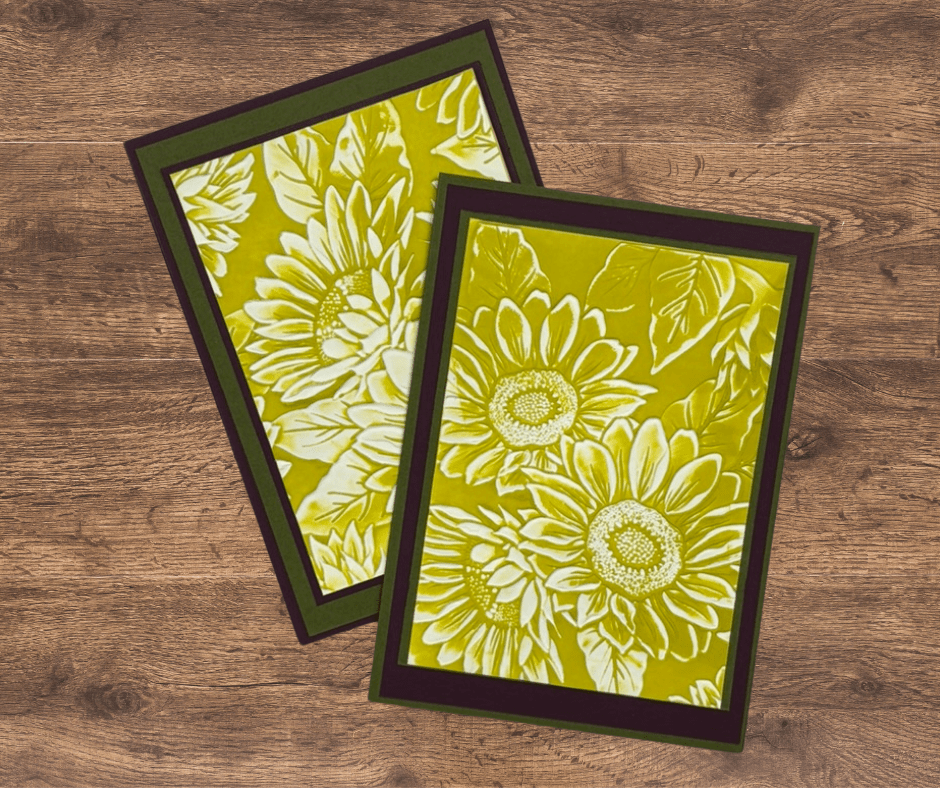
Here’s a great technique you can use with any embossing folder and an ink pad to make a very quick card front. I have used the brand new Sunflower 3D Embossing Folder and the new Darling Duckling ink pad from the 2025-2027 InColor Collection from Stampin’ Up!
Video: Mini Tutorial
Instructions

For the cards featured in this tutorial I used Blackberry Bliss, Mossy Meadow, and Basic White Cardstock. Because the embossed image makes TWO cardfronts, I cut the card base and mat from the Blackberry Bliss and Mossy Meadow but reversed them to make two slightly different card. In another example, I used some Very Vanilla as Mat 1. Feel free to experiment with any colour combination you like! Including the ink!

Cut Plan:
| Metric (AUS, UK, EU, etc) | Imperial (USA) | |
| Card Base | 254 x 178 mm scored at 127mm | 10″ x 7″ scored at 5″ |
| Mat 1 | 120 x 170 mm | 4.75″ x 6.75″ |
| Mat 2 | 110 x 148 mm | 4.5 x 6.25″ |
| Card Front | 148 x 210 mm (you will cut this in half after embossing and inking) | 4.25 x 6″ (you will cut this in half after embossing and inking) |
| Inside Mat (optional) | 120 x 170 mm | 4.75″ x 6.75″ |
| Inside Writing Panel | 110 x 148 mm | 4.5″ x 6.25″ |
Assembly:
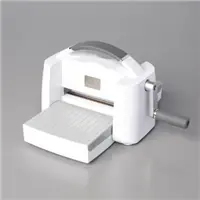
- Place Card Front in embossing folder and run through your die cutting machine.
- Take Card Front out of embossing folder and turn it over – yes, you are using the back of it as the front!
- Take your ink pad and lightly rub it over the Card Front until achieving the colour saturation level you are happy with.
- Cut the Card Front in half – you now have two Card Fronts!
- Affix Mat 1 to the Card Base.
- Affix the Card Front to Mat 2.
- Affix Mat 2 to Mat 1.
- Affix Inside Mat (optional) to inside of card.
- Affix Inside Writing Panel to inside of card.
- Decorate the front with sentiments and/or embellishments (optional)

Supply List
If you do not already have an Australian Stampin’ Up! Independent Demonstrator, I would be delighted to be yours! Availability and pricing of the products below is correct at the time of publishing this post, but are subject to change. You can also browse at bridgeta.stampinup.net. If you live outside Australia, please go to the Stampin’ Up! website in your country and search for a demonstrator near to you.


Marcus, Polly and Hugo, the dogs of Drunk Dog Creative, want to remind you to subscribe to this blog, share with your friends, and follow Drunk Dog Creative on all the socials.
Woof woof. Sit. Stay. Follow us. Good human.
Need supplies?
You can shop for Stampin’ Up! products at https://bridgeta.stampinup.net. You can also click on any of the items in the supply lists in tutorial posts. A percentage of any profit from my SU sales is donated to Dachshund Rescue Australia, so you get great products at a good price and help gorgeous dogs like Hugo find their furever home!
Join my team!
If you spend over $169 why not consider joining my team as an Independent Demonstrator? You will get $265 worth of your choice of products for only $169 and be entitled to a minimum 20% discount on your future orders. Many people join just to be Hobby Demonstrators for the personal discount!


Leave a comment