

✨ Add Depth and Dimension to Your Cards
If you love creating cards with rich texture and beautiful contrast, you’re going to fall in love with the Split Embossing Technique! This eye-catching approach combines two different embossing finishes on a single background—one soft and blended, the other crisp and detailed—to bring your designs to life.
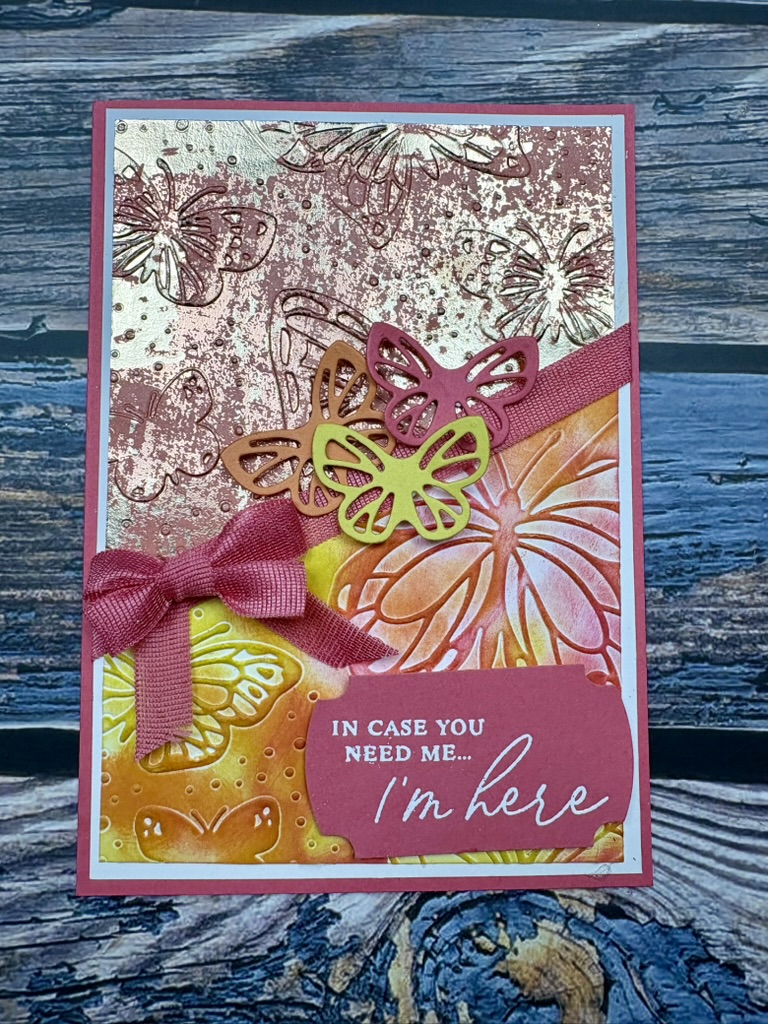
In the cards shown here, embossed panels are transformed into stunning works of art: warm autumn leaves and sunflowers burst from a rich chocolate base, while vibrant butterflies dance across softly ink-blended colour. The split embossing effect draws the eye and adds a touch of elegance and surprise to your handmade cards.
Join me in this tutorial to learn how to:
- Create a seamless blend between different embossed areas
- Add colour and depth with ink blending
- Layer die-cuts, ribbons, and sentiments for a polished finish
Whether you’re crafting for gratitude, friendship, or just because, this technique will help your cards look professional, dimensional, and absolutely beautiful.
Below is a video mini tutorial on the technique as well as written instructions. If you would like an add-free pdf of this tutorial, you can purchase one at my ETSY shop HERE. This helps support the costs of running this blog .
Video Mini Tutorial
This mini tutorial shows you the basic techniques. The instructions below add detail to turn the card fronts into cards.
Cut Plan
| Number To Cut | Metric (mm) For AUS, UK, EU, etc | Imperial (inches) USA | |
| Card Base | 2 | 210 x 148 Scored at 105 | 8.5 x 5.25 Scored at 4.25 |
| Mat (Outside and optional inside) | 4 | 100 x 143 | 4 x 5.25 |
| Card Front (light neutral colour) | 1 | 95 x 138 | 3.75 x 5 |
| Card Front (metallic or patterned) | 1 | 95 x 138 | 3.75 x 5 |
| Inside Writing Panel | 2 | 95 x 138 | 3.75 x 5 |
The split embossed front works best when one half is a light neutral cardstock colour like Basic White, Very Vanilla, or Basic Beige, and when the other half is a metallic or patterned (or metallic patterned) cardstock.

Instructions
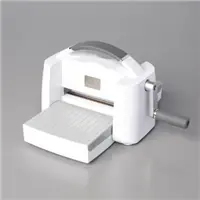
- Place the Card Front (light neutral colour) in the embossing folder and run it through your die cut machine.
- Place the Metallic cardstock in EXACTLY THE SAME PLACE in the embossing folder as the piece in step 1, and run it through your die cut machine. It is really important that both images exactly match each other.
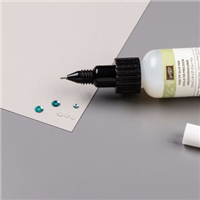
- With the neutral cardstock, use blending brushes and inks to add colour. Placement does not have to be exact to the image – feel free to be artistic here and even blend colours together.
- On each piece, measure and mark 4cm (1.5”) from the top on the right side. Then measure and mark 4cm (1.5”) from the bottom on the left side.
- Cut each piece diagonally from mark to mark.
- Swap pieces so that half is neutral cardstock and half is metallic. If the design does not have a specific direction, you can take the combo that has the metallic on top and turn it 180º so metallic is on the bottom. The Sunflower 3D embossing folder I used IS directional, but still worked fine when I turned it around. The Beautiful Butterflies embossing folder is also directional, and in a way that cannot be turned upside down, so the card shown has the metallic half at the top to illustrate how this looks.
- Affix the two halves to each card mat, lining them up to match with an even border all the way around.
- Cover the diagonal line with ribbon. Affix the ribbon to the back of each mat to hold it in place.
- Affix the mats to the card bases.
- Stamp or decorate the inside writing panel.
- Affix the inside writing panel to the inside mat (optional).
- Affix the inside mat to the inside of the card base.
- Decorate the card front with a bow, ephemera, sentiments, embellishments, etc. For the autumn card featured in the photo, I used the Irregular Weave (1cm) Trim from Stampin’ Up! across the diagonal and made a bow with it. (Need tips on tying perfect bows? Check out my post at https://drunkdogcreative.com/2023/05/31/how-to-tie-perfect-bows-with-zutter-bow-it-all-v3-0/ ). I also created a sentiment bundle using die cuts and embossing powder. For the Butterfly card I used die cuts from the Beautiful Butterflies stamp & die bundle. The embossing folder coordinates with this bundle and can also be purchased as part of the Beautiful Bokeh Suite.
Let your imagination run wild! Show us what you’ve created with this technique on our socials! Tag #ddc #splitembossing.

Supply Lists
There are two supply lists here. One is the products used to make these cards that are still available. I have listed the whole suite but also the parts you can get separately. The other list contains basic papercraft tools that everyone should have in their crafty arsenal!
You can check out all the SU products by scanning the QR code or going to bridgeta.stampinup.net.
* This information is accurate at the time of writing, but is subject to change.

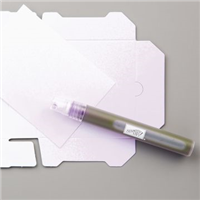
Some of the products used in these cards:


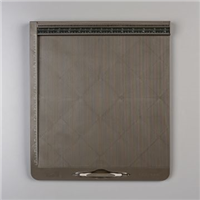
Tools everyone should have


Marcus, Polly and Hugo, the dogs of Drunk Dog Creative, want to remind you to subscribe to this blog, share with your friends, and follow Drunk Dog Creative on all the socials.
Woof woof. Sit. Stay. Follow us. Good human.
Need supplies?
You can shop for Stampin’ Up! products at https://bridgeta.stampinup.net. You can also click on any of the items in the supply lists in tutorial posts. A percentage of any profit from my SU sales is donated to Dachshund Rescue Australia, so you get great products at a good price and help gorgeous dogs like Hugo find their furever home!
Join my team!
If you spend over $169 why not consider joining my team as an Independent Demonstrator? You will get $265 worth of your choice of products for only $169 and be entitled to a minimum 20% discount on your future orders. Many people join just to be Hobby Demonstrators for the personal discount!


Leave a comment