

This weekend is a special one. Not only is it a long weekend (holiday weekend) for the King’s Birthday holiday, but it’s also my One Year Anniversary with Stampin’ Up! A year of learning and growing in papercraft techniques. A year of buying great products at such good prices. A year of helping others unleash their creativity. And a year of donating part of any profit to Dachshund Rescue Australia. It’s been a great year!
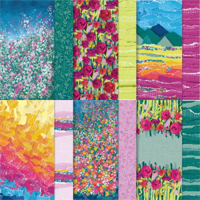
This weekend I also got to finally play with the new Masterfully Made Designer Series Paper which is on sale this month=\] I fell in love with the gorgeous colours and patterns so I couldn’t resist featuring it!
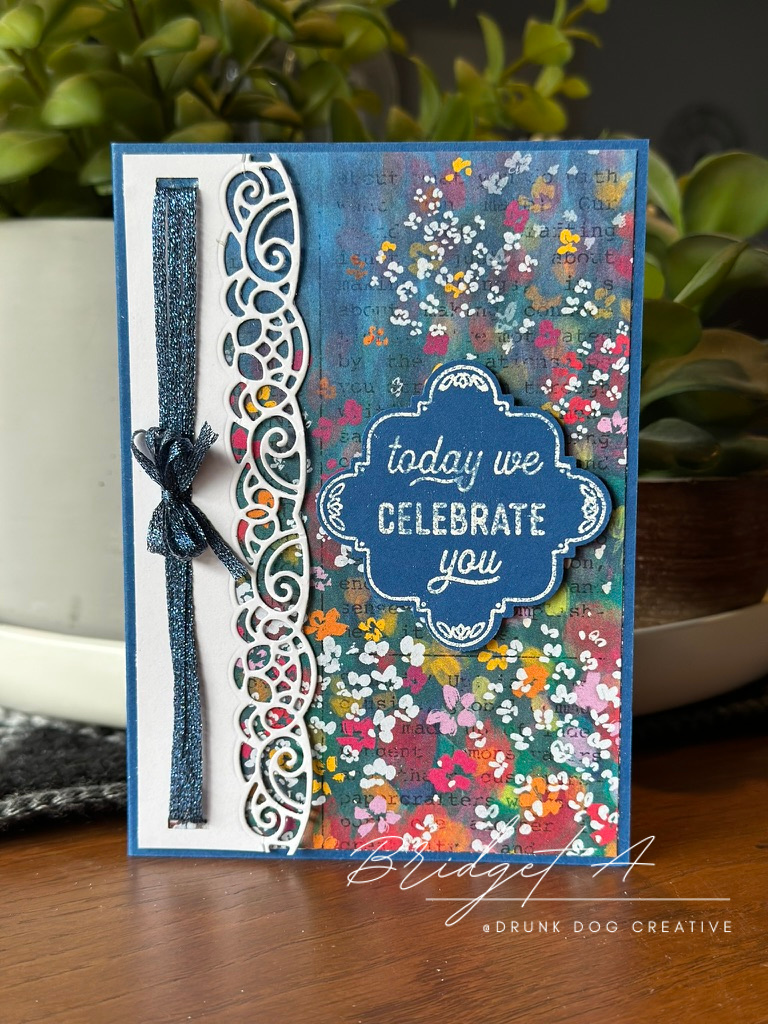
This sweet card has such a simple layout that it can be used for many occasions – just switch up the sentiment you use! In fact, you can easily use this layout with any paper, stamps and edging dies you already have at home. Here’s a few variations I made today…

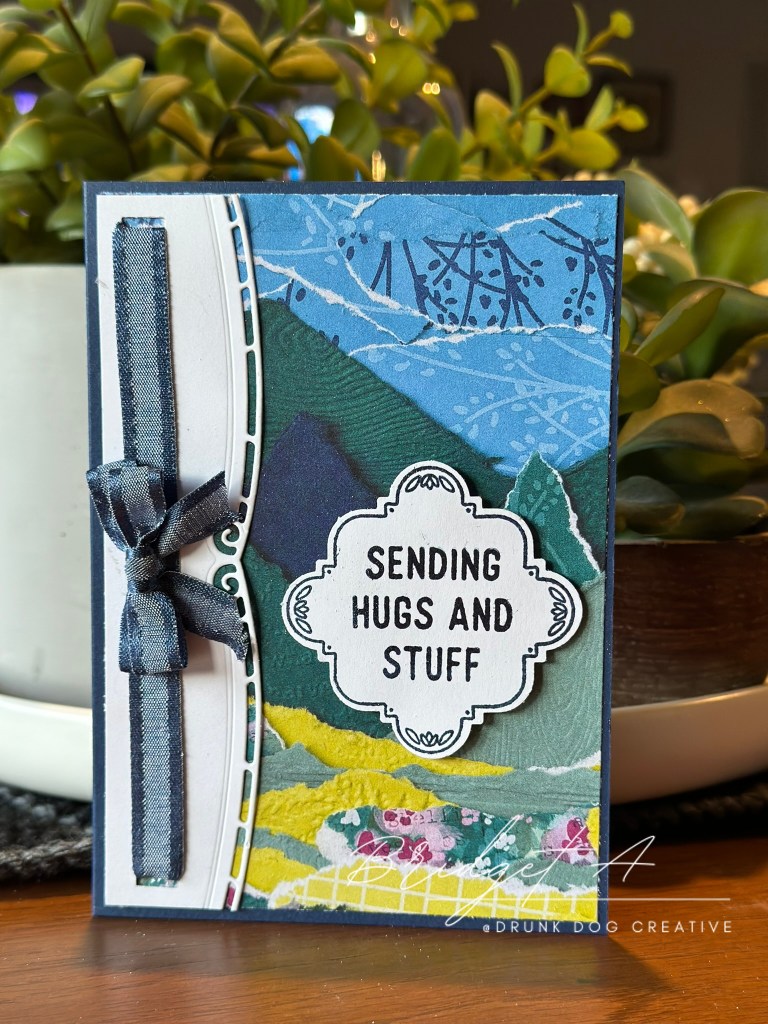

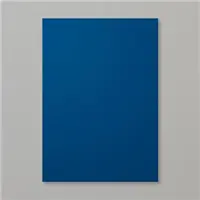
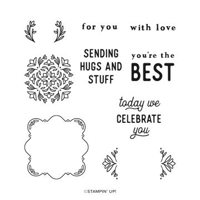
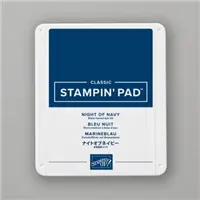
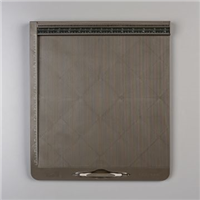
The middle card is made with Night of Navy ink, cardstock and ribbon. The one on the right has a sentiment from the Courage & Faith Stamp Set which is embossed in white on a simple rectangle cut from the Blueberry Bushel cardstock. All feature edge-cuts on the Basic White Thick cardstock from the Elegant Borders Die Set.
The video below shows how to assemble this card step by step. I’ve also included in this blog post the directions for an metric A6 size card (a common size here in Australia) and directions in Imperial measurements for making it as a USA A2 size card, which is similar. There is also complete supply list with links to my Stampin’ Up! Store.
The featured colours are:
Cut Instructions:

Metric Cardbase (Aussie A6 card): Cut A4 cardstock to A5 (148 x 210mm). Score in the middle and fold (card size 148 x 105mm).
Imperial Cardbase (USA A2 card): Cut letter size cardstock in half (8.5 x 5.5″). Score in the middle and fold (card size 4.25 x 5.5″).
Small piece of scrap cardstock for sentiment tag.
Metric: one piece at 38mm x 143mm (for front of card) and one piece at 95 x 138mm (for inside of card).
Imperial: 1.5 x 5.25″ (fro front of card) and 3.75 x 5″ (for inside of card).
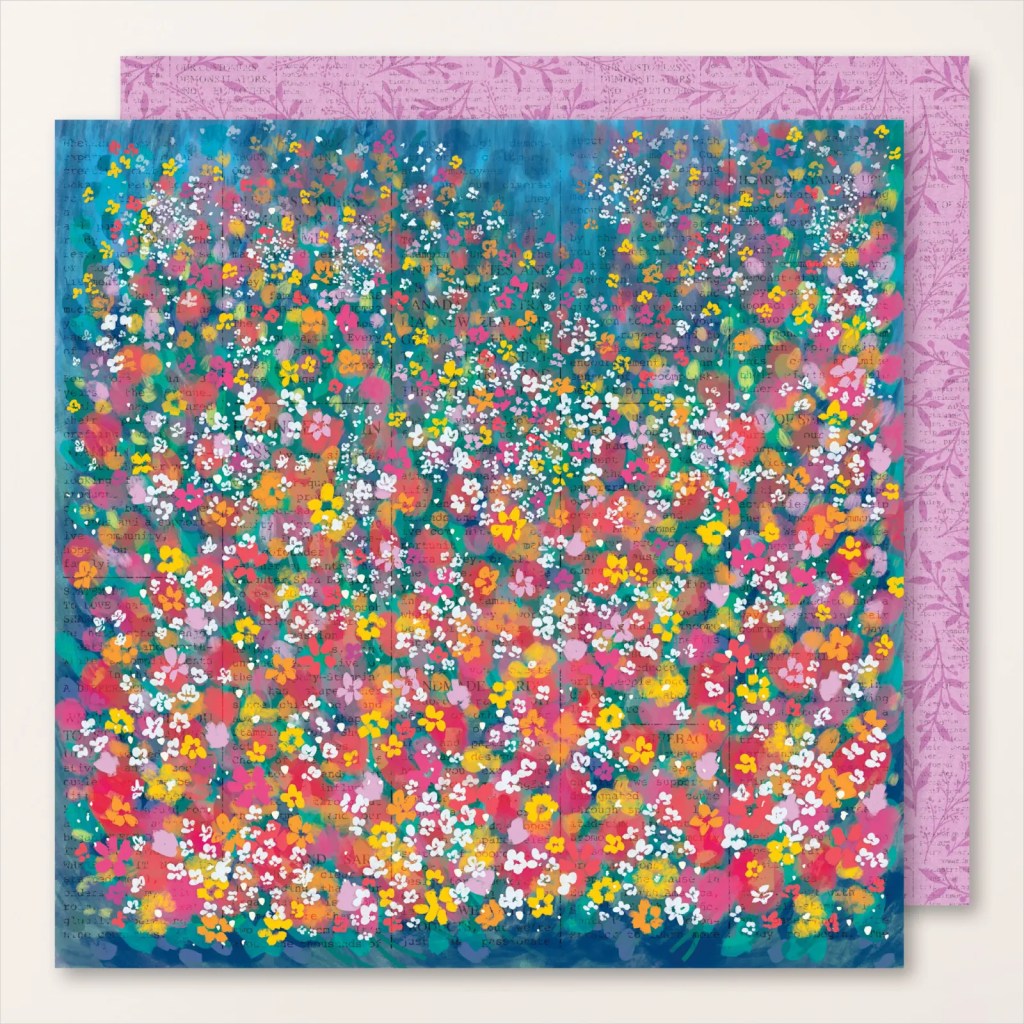
Metric: Cut a piece of patterned paper 100 x 143mm. I used the piece pictured at left from the Masterfully Made DSP.
Imperial: 4 x 5.25″
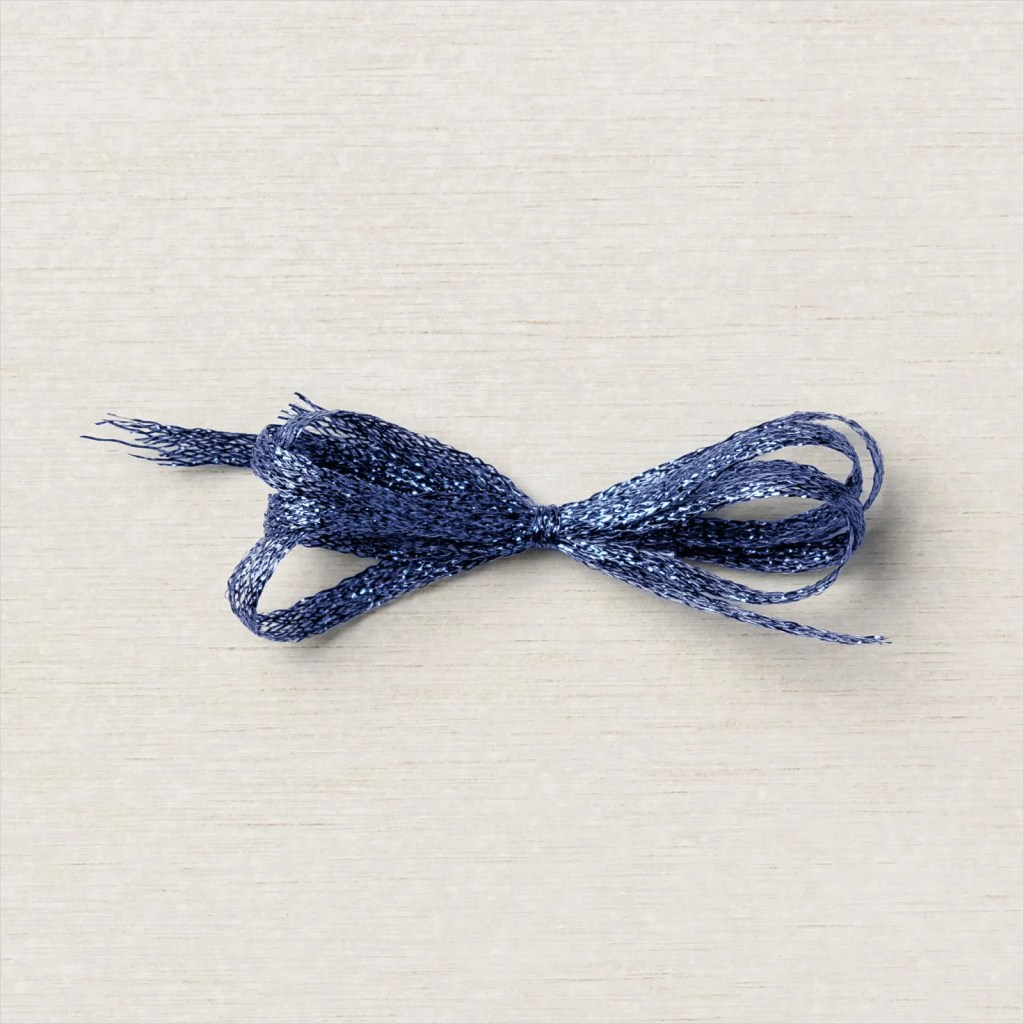
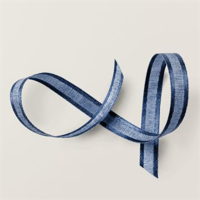
Starry Sky Metallic Ribbon: 3 pieces @ 18cm plus make one bow (1″ wide/2.5cm wide)
Assembly
- Affix DSP to cardbase.
- Die cut the edge from the small white cardstock piece (the 38mm x 143mm piece).
- Emboss your sentiment (and frame if you’re using the Handmade Hugs stamp set) on the scrap piece of cardstock with VersaMark. Cover with embossing powder, shake off excess, and set with heat tool. Set aside to cool down.
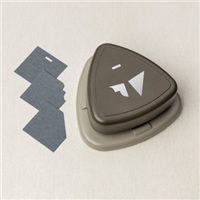
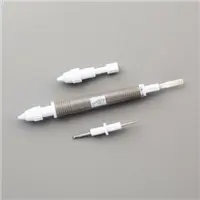
- If attaching ribbon through ribbon slots (like in the examples here), then punch the ribbon slots using the Very Best Trio Punch (see video for some tips!). Attach ribbon to the edge cut piece of white cardstock from step 2. Affix the bow with a Mini Glue Dot.
- Affix the front white cardstock (from steps 2 and 4) to the DSP, aligning the top, bottom and left edges.
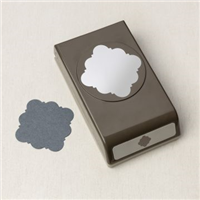
- Punch out the sentiment tag using the Handmade Tag Punch (alternatively cut whatever shape/size you want with scissors or a die).
- Affix sentiment to card front to the right of the white edge piece. You can affix it flat or raised. I decided to affix it with Dimensionals so th raised profile would add some dimension to the card.
- Affix the last piece of white cardstock to the inside of the card. Optional: punch fancy corners on the cardstock before affixing it. I used the Very Best Trio Punch for this.
- Optional: affix some embellishments on the cardfront. For one of the examples in the photos above, I used some flat backed sequins and some glue to scatter a few around the card. The DSP is so beautiful that it really doesn’t need embellishment but the sequins added a nice touch without ‘competing’ with the background.
- Finished!!!
Supply List
If you are in Australia and want to check out some of the products I used to make the three cards in this post, scroll through the list below and click on any of the links below to see them in my Stampin’ Up! store. Part of all profits is donated to Dachshund Rescue Australia. You can read more about that HERE.


Marcus, Polly and Hugo, the dogs of Drunk Dog Creative, want to remind you to subscribe to this blog, share with your friends, and follow Drunk Dog Creative on all the socials.
Woof woof. Sit. Stay. Follow us. Good human.
Need supplies?
You can shop for Stampin’ Up! products at https://bridgeta.stampinup.net. You can also click on any of the items in the supply lists in tutorial posts. A percentage of any profit from my SU sales is donated to Dachshund Rescue Australia, so you get great products at a good price and help gorgeous dogs like Hugo find their furever home!
Join my team!
If you spend over $169 why not consider joining my team as an Independent Demonstrator? You will get $265 worth of your choice of products for only $169 and be entitled to a minimum 20% discount on your future orders. Many people join just to be Hobby Demonstrators for the personal discount!


Leave a comment