
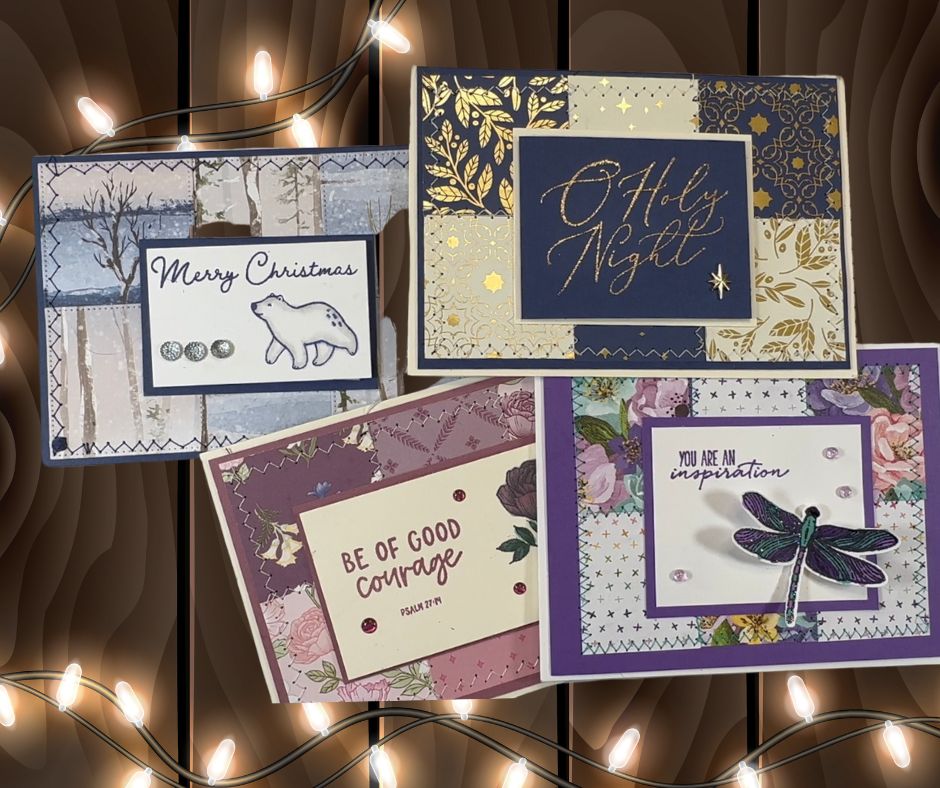
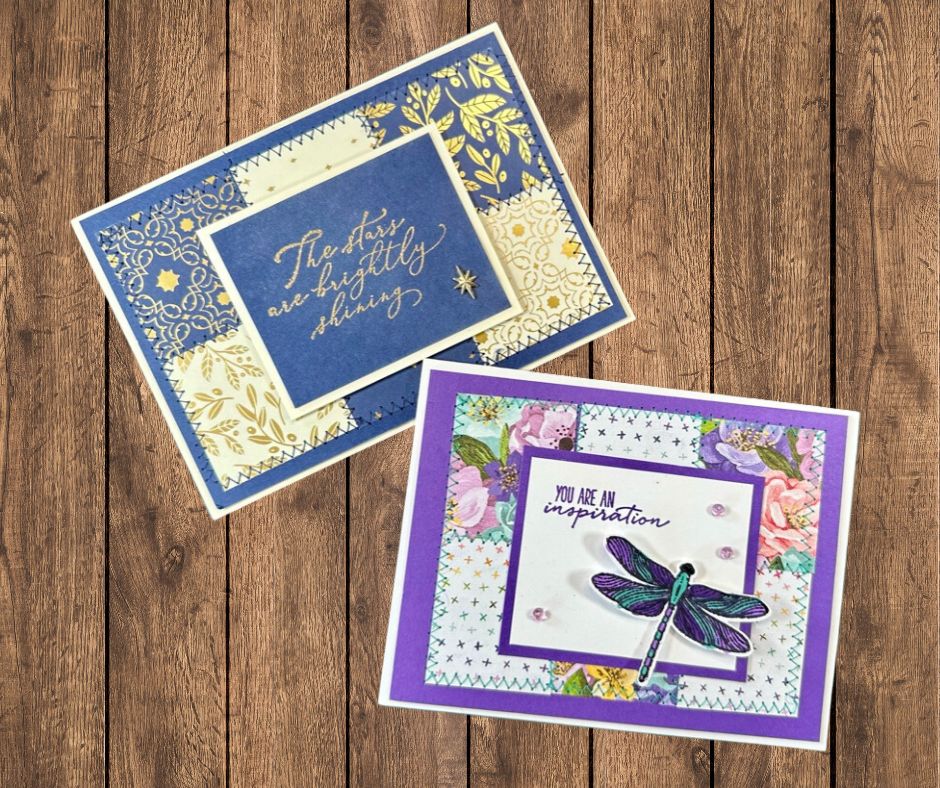
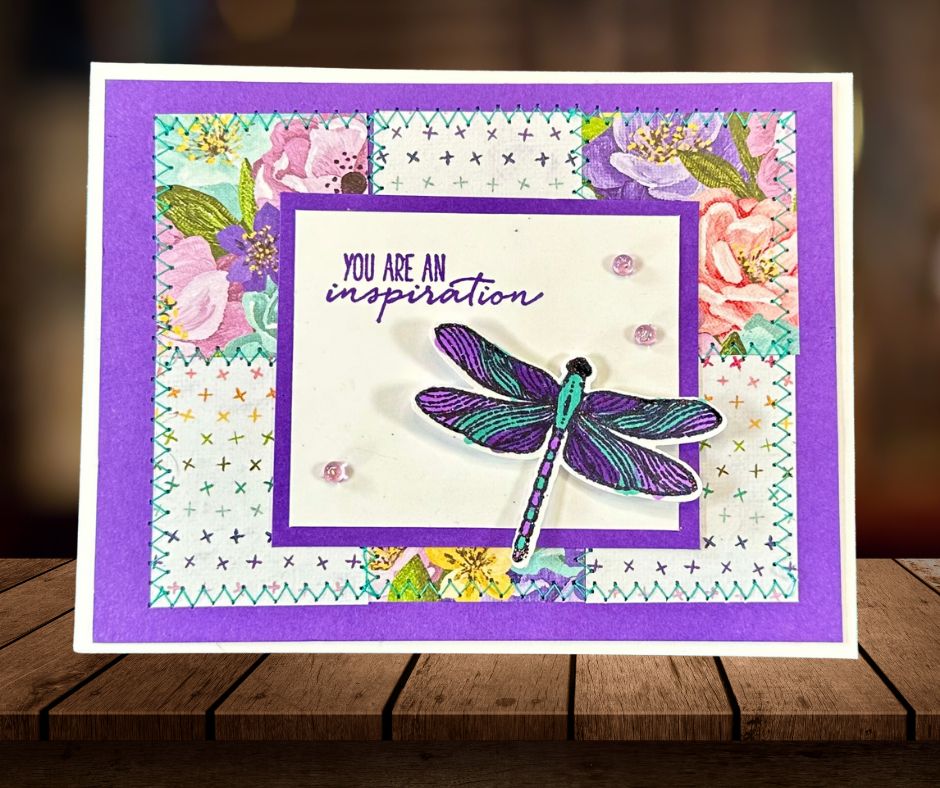
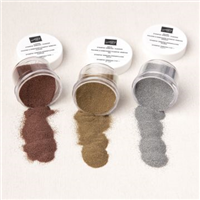
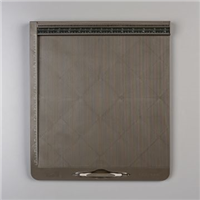
Do you have scraps of beautiful paper at home that you don’t want to throw out but you’re not sure what to do with them either? Well, here’s a scrapbuster card idea for you! It does require sewing the paper in a sewing machine, so for those of you who are multi-crafters like me, this one should be fun. Of course, sewing is the one craft that I try avoid whenever possible – I’m just not very good at it. The good news is, for this card, you don’t have to be good. Messy stitching just adds to the charm! Of course, if you don’t have a sewing machine, you can hand stitch the pieces or just glue them and leave it at that! But I think the stitching adds a little something special!
Video Tutorial
The video shows you the cut plan for both metric and imperial size cards. The assembly video concentrates on the metric card but the instructions are the same for the imperial cards.
Cut Plan
For both size cards, the ‘Quilted Pieces’ are your scrapbuster pieces. You can mix and match in any combination – all six different, 3 and 3, or any other combination.
Metric (A6 card – Australia/UK) – all measurements are in mm.
Base Cardstock:
- Card Base – 210 x 148 scored at 105
- Front Sentiment Panel – 75 x 60*
- Inside Writing Panel – 143 x 100 (Optional)
Contrast Cardstock:
- Front Mat – 143 x 100
- Sentiment Mat – 80 x 65*
Designer Series Paper / Patterned Paper:
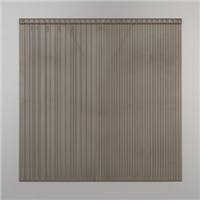
- Quilted Pieces – cut 6 pieces that are 45 x 45
- Inside Mat – 143 x 100
Imperial (A2 Card – USA) – all measurements are in inches.
Base Cardstock:
- Card Base – 8.5 x 5.5 scored at 4.25
- Front Sentiment Panel – 2.75 x 2.25*
- Inside Writing Panel – 3.75 x 5 (optional)
Contrast Cardstock:
- Front Mat – 4 x 5.25
- Sentiment Mat – 3 x 2.5*
DSP:
- Quilted Pieces – cut 6 pieces at 1.5 x 1.75
- Inside Mat – 4 x 5.25 (optional)
*The front sentiment mat and sentiment panel can be any size you like. It should be sized so that it doesn’t cover all of the ‘quilted’ pieces but large enough to carry whatever sentiment or stamped design you want. The size given gives you a balanced look but it is really up to you.
The quilted pieces are square for the metric card and rectangular for the imperial card. This allows more even coverage of the card front since the base sizes are different.
Instructions

- Cut all cardstock.
- Stamp and/or decorate the Front Sentiment Panel.
- Affix Front Sentiment Panel to Sentiment Mat and set aside.
- Place the Quilted Pieces on the Front Mat and play with them until they are in the order you want and aligned properly (leaving no gaps between them and an even border around the outer edge).
- Using repositionable adhesive, without moving the other pieces (if possible), or at least without moving the top left and bottom centre piece, stick down the top middle piece. This will be used to align the other pieces. Using repositionable adhesive, stick down the remaining pieces. I usually do the top left and centre bottom next which helps with overall alignment. Remove and adjust as needed to get an even border around the outside edge. If making the imperial card, the rectangular pieces should be placed vertically – the long edge going up and down.
- Once you are happy with the order and alignment of the quilted pieces, take the Front Mat with the quilted pieces to your sewing machine. Set the machine to a zig-zag stitch (width and length are up to you… try sewing on a scrap piece to get the size you want). Run the Card Front through the machine sewing around the outside edge of the group of quilted pieces then along each ‘seam’ (two columns from top to bottom and one row from left to right). Clip thread ends. It is up to you if you want a ‘precise’ look but I prefer a ‘messy’ look (mostly because I’m not good at sewing!). If you want to get fancy, and have actual quilting skills (I definitely do not!) you can actually do a freehand quilting pattern over the pieces as an option.
- Fold Card Base along score line – use a bone folder for a crisp fold.
- Affix the Card Front to the Card Base using your choice of adhesive.
- Affix the Front Sentiment panel with its mat to the front of the card.
Optional Steps:
- Affix inside writing panel to inside mat. Affix both to the inside of the card.
- Add embelishments as desired.
Supply List
This card is really designed to use up whatever scraps you already have in your stash. However, I’m including the supply list for the featured Christmas card I made in the tutorial.

Price: $17.50


Marcus, Polly and Hugo, the dogs of Drunk Dog Creative, want to remind you to subscribe to this blog, share with your friends, and follow Drunk Dog Creative on all the socials.
Woof woof. Sit. Stay. Follow us. Good human.
Subscribe to the Drunk dog Creative Blog
Get new posts delivered straight to your inbox!


Leave a comment