
With bonus embellishment tips!

Stash Buster Alert! We all have leftover paper in our stash that we didn’t use up in the projects we bought it for. We stare at it and feel guilty we didn’t use it. That’s what a stash buster project is for! And this is a good one!
Have you ever needed a gift bag and either didn’t have time to go to the shops or didn’t want to pay the ridiculous prices they charge for them? The solution is to make your own!
Using 12”x12” double sided paper, you can easily and quickly make a beautiful gift bag. These instructions can be easily adjusted to make different size bags just by changing one cut and one score line! You can leave them plain, or embellishm them with tags, sentiments, die cuts and more. The possibilities are endless.
Materials needed:
- One piece of 12″ x 12″ double sided patterned paper. I used Designer Series Paper by Stampin’ Up!
- Some ribbon or twine for handles
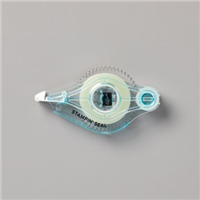
- Adhesive tape
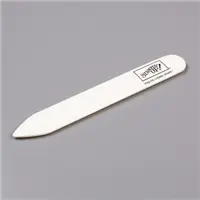
- Bone folder
- Scissors
- Paper trimmer and scorer
Instructions:
While this bag is simple to make, describing how to make it in words isn’t quite as easy. So here’s a video to show you how! The video also has bonus material on different embellishment ideas to take your bag next level.
Changing the Bag’s Dimensions:
You can easily change the dimensions of your bag – making it taller or shorter and wider and narrower:
- Where you cut your paper affects the height. You always want the full 12″ width of your sheet of paper, but you can cut it to any height from 4″ to the full 12″. Your bag will be shorter than the cut height as you lose height from the 1″ fold at the top and the bottom fold mechanism.
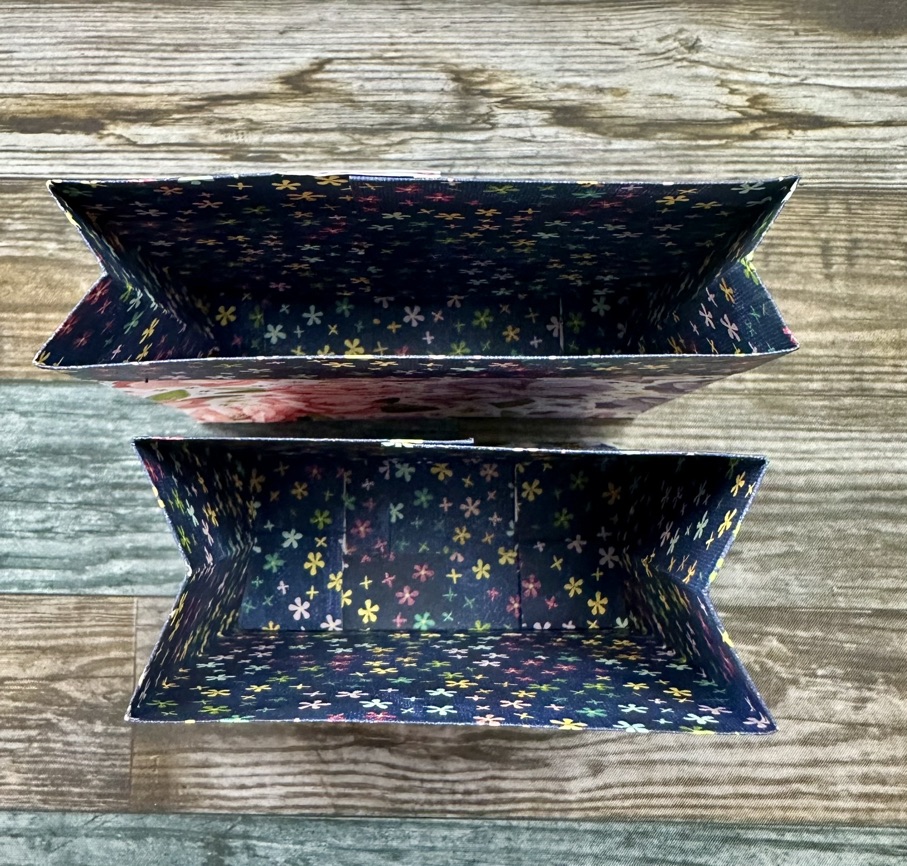
- Where you place the bottom score line affects the width, height and depth of the bag. I find a score at 1.5″ or 2″ suits the shorter bags (up to about 8″ -9″) while 2″ to 3″ is suitable for the taller bags (up to 12″). If you make the score line too wide for the height of the bag, the bottom fold mechanism will overlap and not close properly.
There’s no exact science for how to make what height and depth bag. Make a few bags, varying the cut line and bottom score line to get a feel yourself for how these affect the bag size. Some examples are below…
12″ x 9″ paper
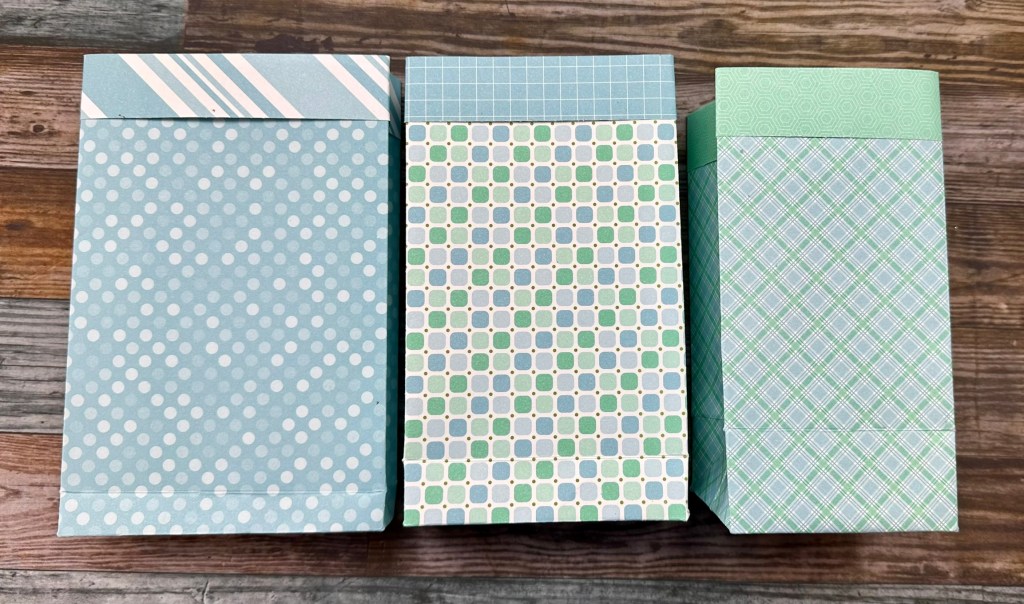

Scored at 3″ from the bottom gave me a bag that was approximately 3″ ![]() x 6.25″ (h) x 2.5″ (d).
x 6.25″ (h) x 2.5″ (d).
Scored at 2″ from the bottom gave me a bag that was approximately 4″ ![]() x 6.75″ (h) x 1.75″ (d).
x 6.75″ (h) x 1.75″ (d).
Scored at 1.5″ from the bottom gave me a bag that was approximately 4.5″ ![]() x 7″ (h) x 1.25″ (d).
x 7″ (h) x 1.25″ (d).
12″ x 6″ paper

Scored at 2″ from the bottom gave me a bag that was approximately 3.75″ ![]() x 4″ (h) x 1.75″ (d).
x 4″ (h) x 1.75″ (d).
Scored at 1.5″ from the bottom gave me a bag that was approximately 4.5″ ![]() x 4.25″ (h) x 1.25″ (d).
x 4.25″ (h) x 1.25″ (d).
Embellishments
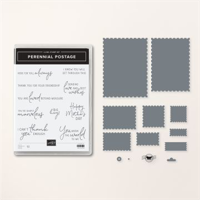
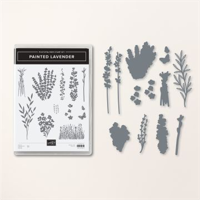
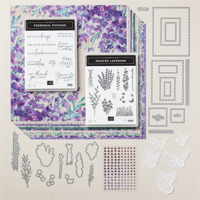
While these bags are adorable on their own, you can also embellish them for that extra special touch. Try adding tags, sentiments, die cuts, adhesive sequins or jewels, or flowers. In the video above I give some tips for how to more easily layer delicate die cuts like flowers and leaves as well as showcase some ideas for embellishments using stamps, dies, and papers from the new Perennial Lavender Suite from Stampin’ Up! This suits is part of the January to April, 2024 Mini Catalogue and is only availble until the end of the catalogue or while supplies last. Items in the suite can also be purchased individually. See the links in the Supply List below for more information!
Supply List
If you need supplies, and you’re in Australia, you can shop at bridgeta.stampinup.net. Below are links to the tools I used in this tutorial as well as to the stamp/die bundes, or even the whole suite for the lavender themed gift bag in the tutorial. That said, this project is designed so that you can use any double sided paper your stash! Remember, I donate a healthy portion of profit from my Stampin’ Up! sales to Dachshund Rescue Australia.


Marcus, Polly and Hugo, the dogs of Drunk Dog Creative, want to remind you to subscribe to this blog, share with your friends, and follow Drunk Dog Creative on all the socials.
Woof woof. Sit. Stay. Follow us. Good human.
Need supplies?
You can shop for Stampin’ Up! products at https://bridgeta.stampinup.net. You can also click on any of the items in the supply lists in tutorial posts. A percentage of any profit from my SU sales is donated to Dachshund Rescue Australia, so you get great products at a good price and help gorgeous dogs like Hugo find their furever home!
Join my team!
If you spend over $169 why not consider joining my team as an Independent Demonstrator? You will get $265 worth of your choice of products for only $169 and be entitled to a minimum 20% discount on your future orders. Many people join just to be Hobby Demonstrators for the personal discount!


Leave a comment