
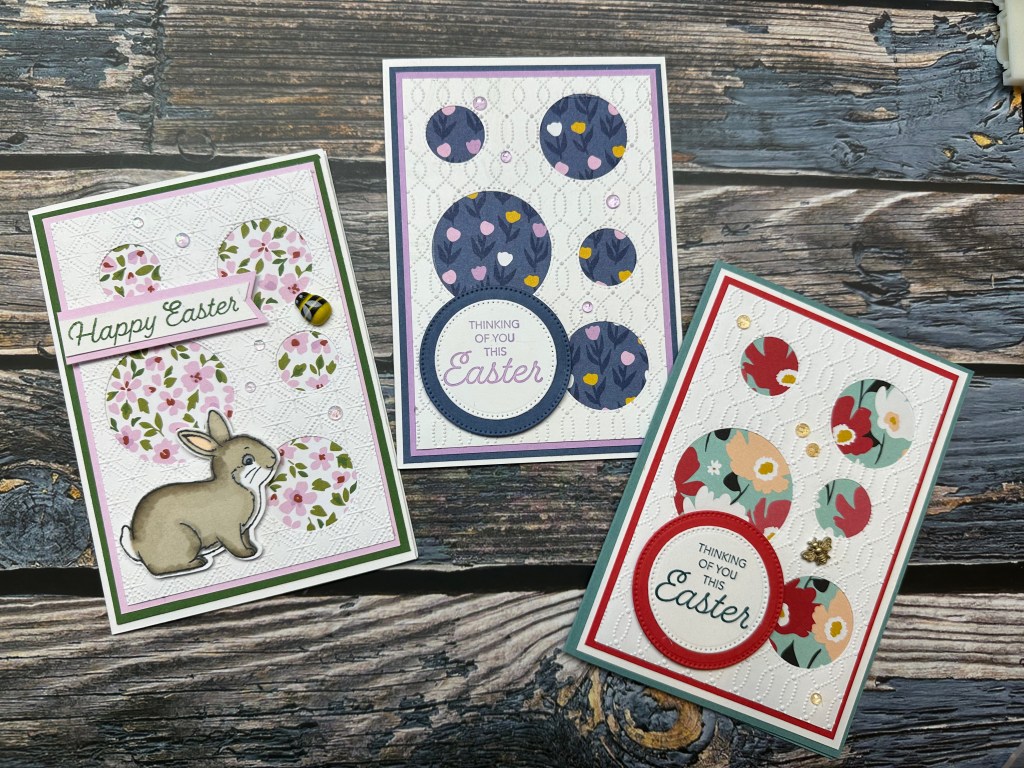
I designed these adorable cards for Easter, but their basic design is perfect for ANY occassion… and a great way to use up your Designer Series Paper (or any patterned paper you have in your stash!). It’s simple to make using a few die cuts and an embossing folder and is adaptable to any colour scheme you want!
Video Tutorial
The video below gives step by step instructions, and some bonus tips, for how to put this card together. Instructions are also below. The video gives the cut plan for an Australian A6 card in metric measurements. See below for the cut plan for USA A2 cards in Imperial measurements.
Cut Plan – Metric (Australian A6 Card)
Basic White Thick Cardstock
- Card Base: 148mm x 210mm scored at 105mm on long side
- Card Front: 90mm x 133mm
- Inside Writing Panel: 90mm x 133mm
- scrap for sentiment
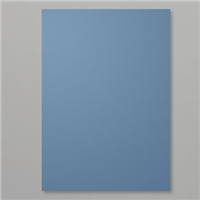
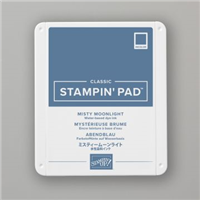
Coloured Cardstock 1 (Misty Moonlight in the video)
- Mat 1: 100mm x 143mm
- Inside Mat: 95mm x 138mm
- scrap for sentiment
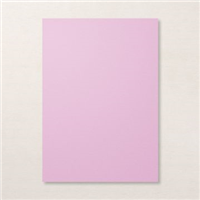
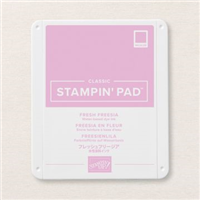
Coloured Cardstock 2 (Fresh Freesia in the video)
- Mat 2: 95mm x 138mm
Cut Plan – Imperial (USA A2 Card)
Basic White Thick Cardstock
- Card Base: 8.5″ X 5.5″ scored at 4.25″
- Card Front: 3.5″ x 4.75″
- Inside Writing Panel: 3.5″ x 4.75″
- scrap for sentiment
Coloured Cardstock 1 (Misty Moonlight in the video)
- Mat 1: 4″ x 5.25″
- Inside Mat: 3.5″ x 4.75″
- scrap for sentiment
Coloured Cardstock 2 (Fresh Freesia in the video)
- Mat 2: 3.75″ x 5″
Designer Series Paper (patterned Paper)
- Background: 3.25″ x 4.5″
Instructions
- Cut all cardstock according to cut plan.
- Affix Mat 1 to front of Card Base.
- Affix Mat 2 to front of Mat 1.
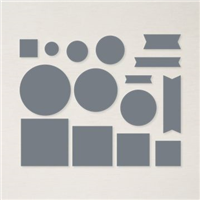
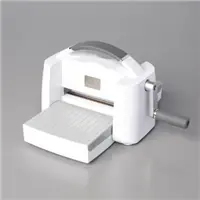
- Die Cut Card Front – arrange dies to make 5 circles in 3 different sizes and run through die cut machine (see Video for tips on placement).
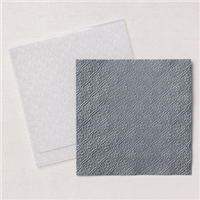
- Emboss Card Front – place in embossing folder and run through die cut machine. Always emboss AFTER die cutting as the pressure from die cutting can flatten the embossing.
- Place glue on the back of the card front and affix the Background piece (patterned paper) to the back of the Card Front (design side down).
- Affix Card Front to Card Base.
- Affix Inside Mat to inside of Card Base.
- Affix Writing Panel to Inside Mat.
- Using one of the circles die cut out of the Card Front, stamp a sentiment on it.
- Die Cut a larger circle from Mat 1 Cardstock (optional: use the Mat 2 colour).
- Affix the sentiment to the coloured circle.
- Affix sentiment to Card front using Dimensionals (or other foam tape).
Optional:
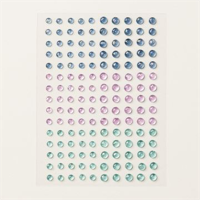
- Decorate card front with embellishments (sequins, jewels, dots, ribbon, etc) as desired.
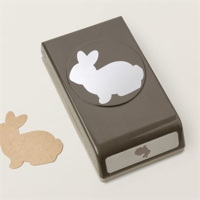
- Use different die cuts and/or different sentiment shapes such as the easter bunny in the photo above.
Happy crafting!
Bonus Video: Making the Easter Bunny
This short bonus video demonstrates how I made the Easter Bunny using the Stampin’ Blends alcohol markers.
Supply List
The list below contains the Stampin’ Up! products I used to make these cards. Click on the product to view them in the store or go to bridgeta.stampinup.net to shop. I donate part of all profit to Dachshund Rescue Australia.


Marcus, Polly and Hugo, the dogs of Drunk Dog Creative, want to remind you to subscribe to this blog, share with your friends, and follow Drunk Dog Creative on all the socials.
Woof woof. Sit. Stay. Follow us. Good human.
Need supplies?
You can shop for Stampin’ Up! products at https://bridgeta.stampinup.net. You can also click on any of the items in the supply lists in tutorial posts. A percentage of any profit from my SU sales is donated to Dachshund Rescue Australia, so you get great products at a good price and help gorgeous dogs like Hugo find their furever home!
Join my team!
If you spend over $169 why not consider joining my team as an Independent Demonstrator? You will get $265 worth of your choice of products for only $169 and be entitled to a minimum 20% discount on your future orders. Many people join just to be Hobby Demonstrators for the personal discount!


Leave a comment