
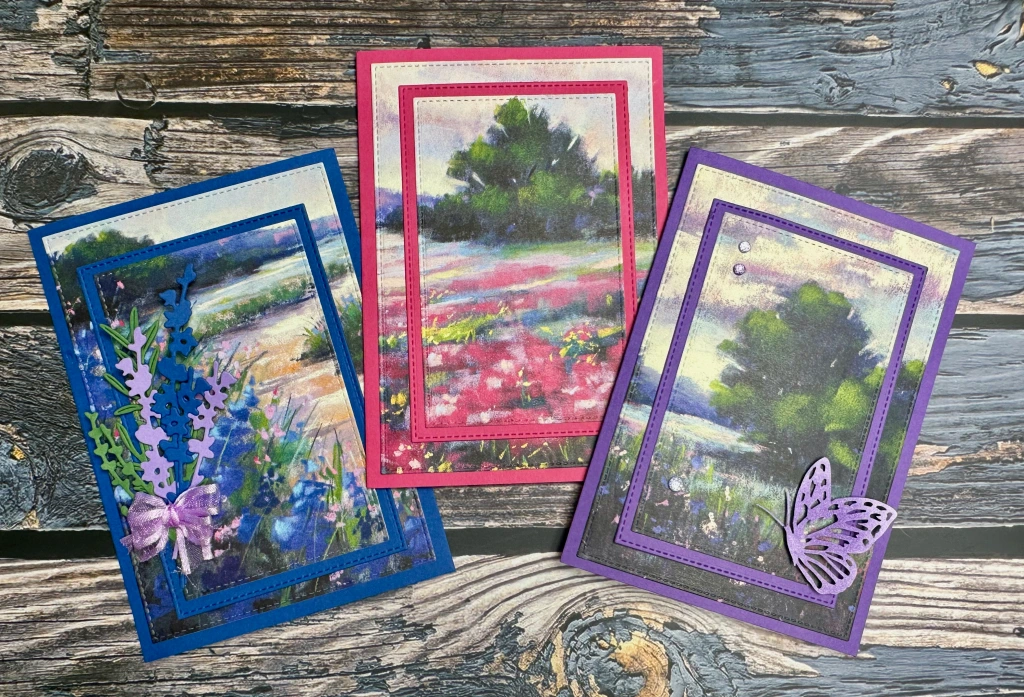
This is a fabulous stash buster card to use up some Designer Series Paper (DSP)/Patterned paper. It’s a card you can make multiples of quickly and easily. I leave mine ‘blank’ and when I need a card in a hurry, I can use it as is, or I can add embellishments and/or sentiment tags to personalise it to the person and situation.

I’ve made these using the Meandering Meadow 6″x6″ DSP by Stampin’ Up! This paper is in the current 2023-2024 Annual Catalogue which ends on 30 April 2024. It coordinates beautifully with a whole range of colours!
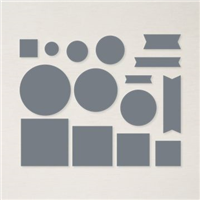
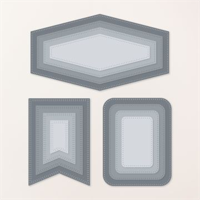
The easiest way to make these cards is to use nested dies in 3 sizes:
- A die that will cut the image to a size that fits the card front with a small border left all the way around.
- A die that will cut the middle out of the image to create a smaller image to ‘pop out’ and creat the framed illusion.
- A die that will cut a ‘mat’ from cardstock just a little bit bigger than the die #2 above.
You can use any nested dies you might already have; you can even experiment with different shapes! I used a stitched die from my stash for the Australian sized cards. For the USA sized card in the picture below, I used a scalloped and stitched die for the middle of the image and the mat, but just used the paper trimmer for the DSP as I didn’t have a die large enough in that set. You can also manually cut the middle image out with a paper trimmer (see the video for some tips on this) if you don’t have a nested die set. That said, it is faster and easier to use nested dies.

Video Tutorial
It’s probably helpful to watch the video tutorial below. It has some hot tips (and a couple of exciting announcements!) that are not in the instructions below. The Cut Plan for both metric and imperial sized cards is given in the video and in the written instructions.
Instructions
Please see Tutorial Video above for the differences between cutting the DSP, DSP cut out, and Mat manually vs using nested dies to cut them out.
Cut Plan – Metric (Australian/UK/Canada/Etc)
Card Base: 210mm x 148mm scored at 105mm
DSP: 95mm x 138mm (or use Die)
DSP cut out: 68mm x 112mm (or use Die)
Mat (same cardstock as Card Base): 78mm x 121mm (or use Die)
Optional Inside Writing Panel (white cardstock): 95mm x 138mm
Cut Plan – Imperial (USA)
Card Base: 8.5″ x 5.5″ scored at 4.25″
DSP: 4″ x 5.25″ (or use Die)
DSP cut out: 2.5″ x 3.5″ (or use Die)
Mat (same cardstock as Card Base): 2.75″ x 3.75″ (or use Die)
Assembly
- Cut all cardstock and DSP according to cut plan above – either manually, with nested dies, or a combination of the two.
- Use liquid glue to affix the Frame section (the outer rectangle of the DSP) to the Card Base.
- Use liquid glue to affix the cut out section of the DSP to the Cardstock Mat (this creates the card front).
- Use liquid glue or stamp ‘n seal to affix the card front to the Card Base on top of the DSP ‘frame’. You can easily align this by looking at the image and ensuring the front and the ‘frame’ align at key points in the image itself. You can also affix the Card Front with Dimensionals if you want it to pop out even further.
- Affix the optional inside writing panel to the inside right side of the Card Base.
Optional:
Step it up by decorating with a sentiment, die cuts, ribbons and/or other embellishments. See the bonus video near the end of the Tutorial Video for some ideas or let your own imagination run wild!
Happy crafting!
A note about Australian vs USA card sizes….
So, as you can probably tell from my accent in the video… I’m originally from the USA but I live in Australia and have done so for a long time. So, I’m very conscious of the differences between Aussie (and UK/Canada/etc) cards and USA cards and try to cater to both systems in my tutorials. It’s worth explaining why I don’t just ‘convert’ the metrics to imperial. Australia uses the metric system which includes an A4 paper size, while the USA uses the imperial measurement system and has a US Letter paper size. This means we have different standard sizes for cards. Both are based on cutting their standard paper size in half, then folding that in half. For us in Australia, this gives us an A6 card which, when folded, is 105mm wide by 148mm tall. For my friends in the USA, this gives them what they call an A2 card which is 4.25″ wide by 5.5″ tall. If I just converted the Aussie mm into inches, you would get a card that is 4.13″ wide by 5.83″ tall. So you can see it’s a completely different size to the USA card. If I just converted the metrics into imperial, my USA friends would end up with the wrong size card that wouldn’t fit in their envelopes. So, I usually make samples in both sizes and provide the cut plan in metric and imperial, so that whatever country you are in, you get the right size card that will fit your envelopes. When I’m giving instructions for making the card, particularly when demonstrating that in the video tutorials, I only use the Aussie card as an example. The instructions for putting it together are the same regardless of which size you are making. The only time I would NOT include the USA cut plan is if I am CASEing* a card made by another USA based demonstrator and have modified it for the Australian sizing. If I do this, I always include the website for the original card so you can pop over there and find out how to make it for the USA. I am a Professor for my ‘day job’ and in that world, plagiarism (publishing someone else’s work as your own) is highly frowned on so I just won’t do it. I will give credit where credit is due. 🙂
* CASE = Copy and Share Everything – a term we use in the Stampin’ Up! Demonstrator world to share ideas we’ve learned from others but putting our own spin on what we’ve done (and giving credit where it is due).
Guess what?
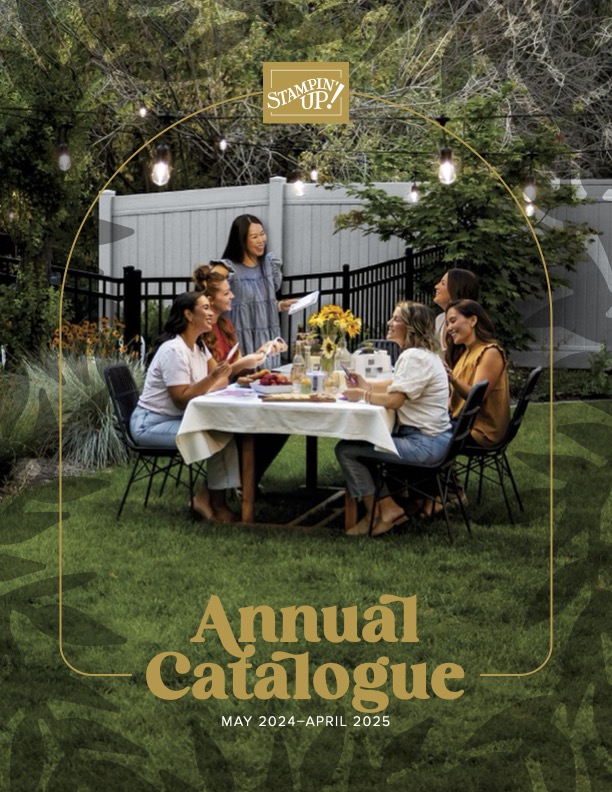
In April, the new 2024-2025 Annual Catalogue will be released with items available for purchase from 1st May 2024. I’ve had a sneak peek at the new catalogue and it is FABULOUS. It not only has great new products, including the brand new InColour collection of 5 new colours for 2024-2026, but lots of great ideas and tips to help cardmakers whether you are brand new or a seasoned pro. If you want the new catalogue, send me an email with your full name, address, and email address and I’ll send you the new catalogue! If you just can’t wait and want early access to the catalogue and the chance to buy some of the products a month sooner, email me and ask me about becoming a demonstrator or visit THIS PAGE for more information. Did you know that many people, including myself!, join Stampin’ Up! as Hobby Demonstrators for the personal discount? Check out the Join My Team page and see if this is for you!

The other big news is that some items from the 2023-2024 Annual Catalogue and the January – April 2024 Mini Catalogue will be retiring soon. From the 9th of April you can go to my store and check out what items are retiring… some will be up to 60% off then! But get in quick as once supply is exhausted, they are gone forever. If you want to know what is retiring, download the pdf’s below:
Supply List
The links below will add the product to a shopping cart in my Stampin’ Up! shop where you can also browse for other products and ideas. The suggested products below are available at the time of publication, but availability and prices are subject to change. This shop is open to anyone ordering in Australia. If you live in other countries, please visit your country’s Stampin’ Up! website to find your local demonstrator! I donate a portion of my profits from this shop to Dachshund Rescue Australia.


Marcus, Polly and Hugo, the dogs of Drunk Dog Creative, want to remind you to subscribe to this blog, share with your friends, and follow Drunk Dog Creative on all the socials.
Woof woof. Sit. Stay. Follow us. Good human.
Need supplies?
You can shop for Stampin’ Up! products at https://bridgeta.stampinup.net. You can also click on any of the items in the supply lists in tutorial posts. A percentage of any profit from my SU sales is donated to Dachshund Rescue Australia, so you get great products at a good price and help gorgeous dogs like Hugo find their furever home!
Join my team!
If you spend over $169 why not consider joining my team as an Independent Demonstrator? You will get $265 worth of your choice of products for only $169 and be entitled to a minimum 20% discount on your future orders. Many people join just to be Hobby Demonstrators for the personal discount!


Leave a comment