


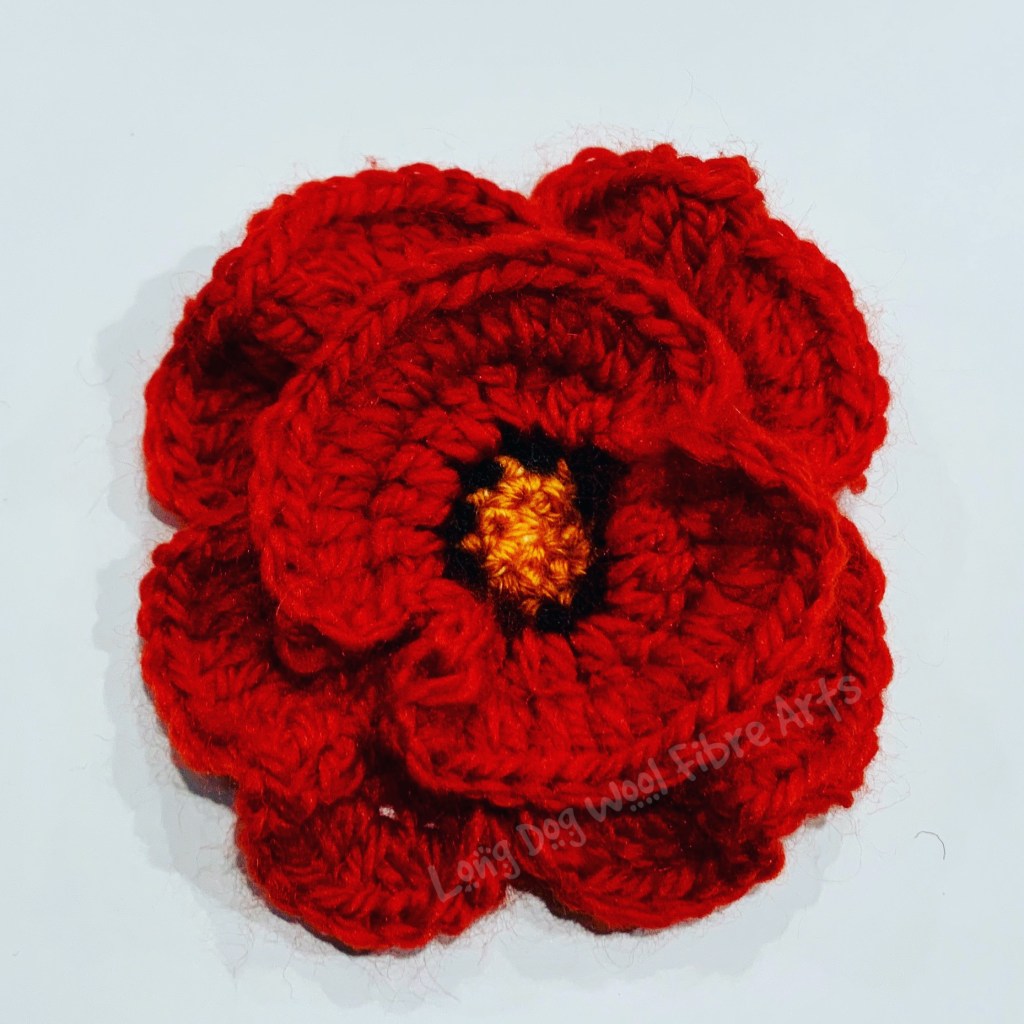
The poppy is a symbol used in most Commonwealth nations for Remembrance Day. In Australia, we also wear them for Anzac Day. This year, because of the global pandemic, most ANZAC Day ceremonies are either cancelled or will be held with no spectators because of lockdowns and social distancing rules. There is a movement here to display poppies on our letterboxes instead, and to stand at the end of our individual driveways while the dawn service is broadcast. While many in the crochet community have good patterns for small poppies that can be worn as a brooch, I couldn’t find any patterns for larger poppies. So this week I designed this one. After many attempts that weren’t quite right, I reduced the number of rounds to make the petals but used a chunky yarn and large hook to get the effect I wanted.
This pattern is designed with popcorns (smaller 3 double crochet versions) in the middle to represent the stamen of the poppy. I’ve included bonus substitute instructions for that round if you don’t want to do the popcorns (see photo ).
Pattern
The pattern below is written using USA crochet terms. A free downloadable pdf is available on Ravelry in either USA or UK terms. You can find it here.
Materials
This is where I usually give very specific information on what materials to use in the pattern including yarn brands and alternatives. But this is a stash busting pattern so you might already have what you need on hand. You only need very small amounts of Colours A and B and some of Colour C. You will not use a whole ball of yarn even for the main colour (C).
If you’re not digging something out of your stash at home and are going to buy something, Scheepjes Chunky Monkey works very well with this pattern as it gives both size and stiffness that works well for the poppies. The red poppy pictured was made using Chunky Monkey and a 9.0mm hook.
Typically Colour A is yellow or orange (variegated ombre yarns work well for this too), Colour B is black and Colour C is red (or white, or purple).
I used a very chunky yarn for mine as I wanted them quite large. For smaller poppies, you can use thinner yarn. Use whatever hook is recommended for the yarn you are using. You can also go up one or two sizes if you want a bigger, looser, poppy.
You also need a yarn needle for weaving in ends.
Abbreviations and Explanations
- ch = chain
- slst = slip stitch
- fpslst = front post slip stitch
- sc = single crochet
- dc = double crochet
- st = stitch (or sts = stitches)
- sp = space
- sk = skip
- pc = popcorn stitch
Special Stitch Explanations:
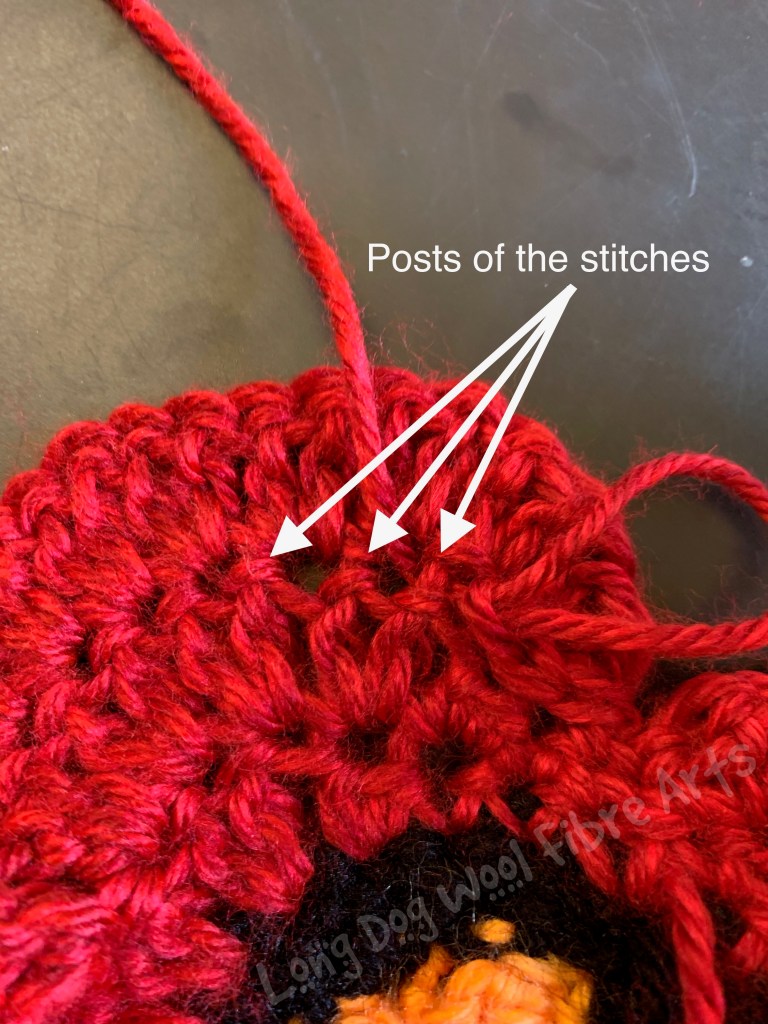
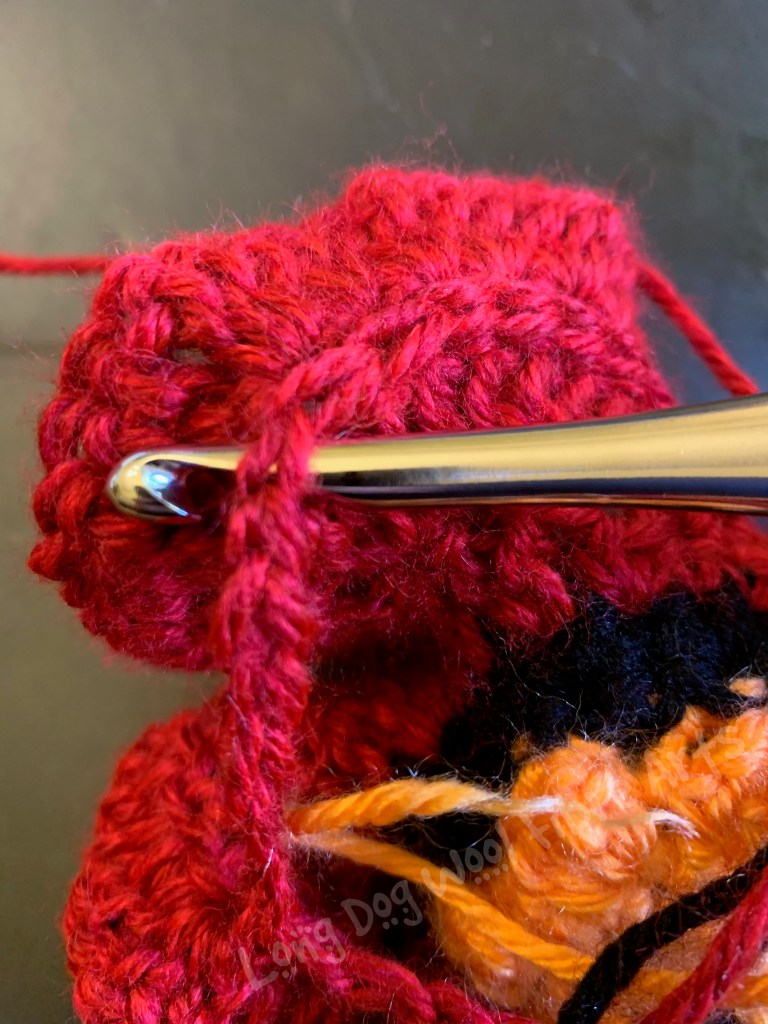
Front Post Slip Stitch (fpslst) – in round 6, you will be working around the posts of the stitches created in round 4 rather than in the stitches in round 5 like you normally would. This allows you to create some long chain spaces (4 of them) behind the petals already created for the next group of petals to be anchored in to give the poppy the layered look. This is very similar to doing front post double crochets which many of you will be familiar with (if not, have a look at the Long Dog Wool stitch tutorial on fpdc before you attempt the fpslst in this pattern… it can be found at https://longdogwool.com/2020/04/04/front-post-and-back-post-stitches-a-long-dog-wool-stitch-tutorial/).
For this stitch, you will work around one of the posts of the stitches. Insert the hook from front to back in the space just before the post you are working around, then bring it out the other side so the post is in front of the hook, yarn over and pull up a loop then slip it through the loop already on the hook (like in a normal slst). Sometimes this is easier to do if you turn the fabric and work vertically rather than horizontally.
Popcorn Stitch (pc) – In round 2 you will make 3dc-popcorn stitches. Most popcorns have 5 double crochets but this pattern uses only 3 double crochets. If you are unfamiliar with the popcorn stitch, there is a Long Dog Wool video tutorial that demonstrates this technique here: https://longdogwool.com/2020/04/04/how-to-do-bobbles-popcorns-and-puff-stitches/
For the poppy, I inserted the hook from back to front to finish the popcorn (the video is the opposite way). You can do it either way – it changes the texture of the stitch so do whichever way you prefer yourself! All popcorns can be pushed out to the side opposite the one they naturally form on. For the poppy, you will need to push it out to the other side. I recommend doing this at the end as it will get in your way as you work the next round or two.
The 3dc-popcorn is made by doing 3 dc in one stitch, then dropping the loop off your hook, inserting your hook into the first dc, picking up the dropped loop, then pulling it through the first dc. You finish off with a ch 1.
Instructions
Starting with Colour A, make a Magic Circle.
R1: 6 sc in magic circle. Join with slst to first sc (6)
R2: ch 1 (does not count as a stitch here or throughout), 2 sc in same st as join, pc in next st, *2 sc in the next, pc in next stitch* Join with slst to first sc (9)
R2 Alternative: If you do not want to do the pc sts, then ch 1, 2 sc in same st as join, 1 sc in next st, *2sc in next st, sc in next st, repeat from * to end, join with a slst into first sc of round.
Change to Colour B.
R3: ch 1, 2 sc in same st as join, sc in each of next 2 stitches, *2 sc in the next st, sc in each of next 2 stitches, repeat from * to end, slst to first sc (12)
TIP: Make sure you do a sc in the ch at the top of the pc st, not in the side of the pc.
Change to Colour C.
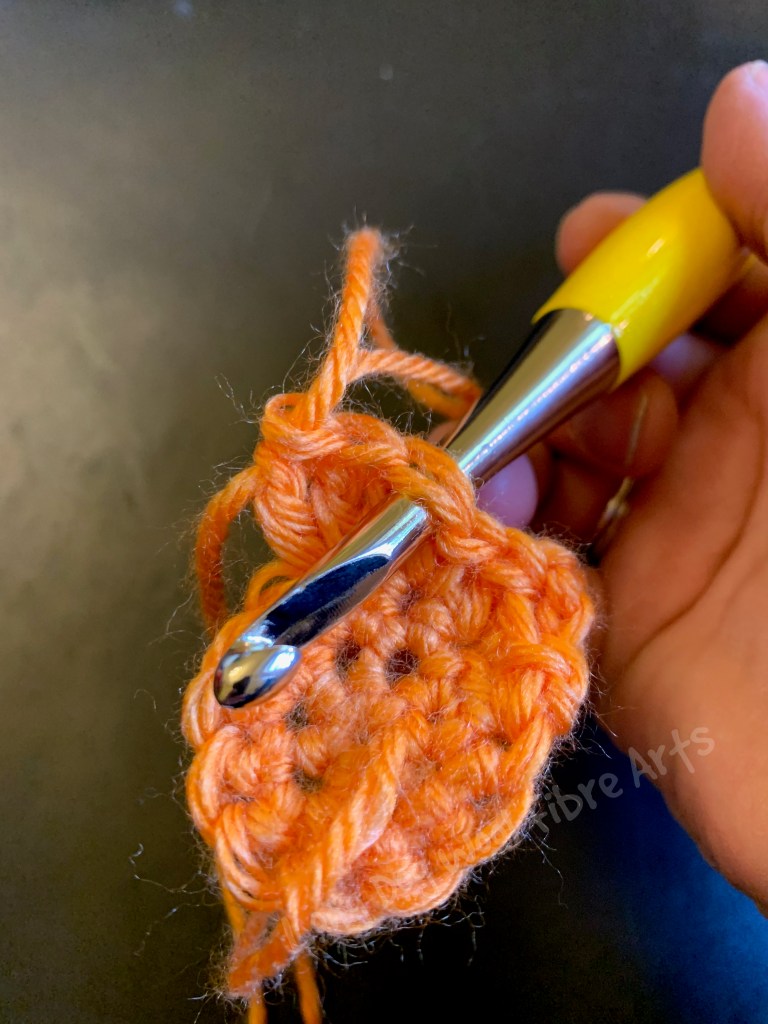
R4: ch 1, 2 dc in the same st as join, 2 dc in each of next 4 stitches, ch 1, slst in next stitch, ch 1, 2 dc in each of next 5 stitches, ch 1, sl st in the last st of the round.
R5: slst into ch sp, ch 1, 2 dc in each of the next 10 stitches, ch 1, slst into ch sp, slst into slst of previous round, slst into ch sp, ch 1, 2 dc in each of the next 10 sts, ch 1, slst into ch sp, slst into slst at the start of the round.
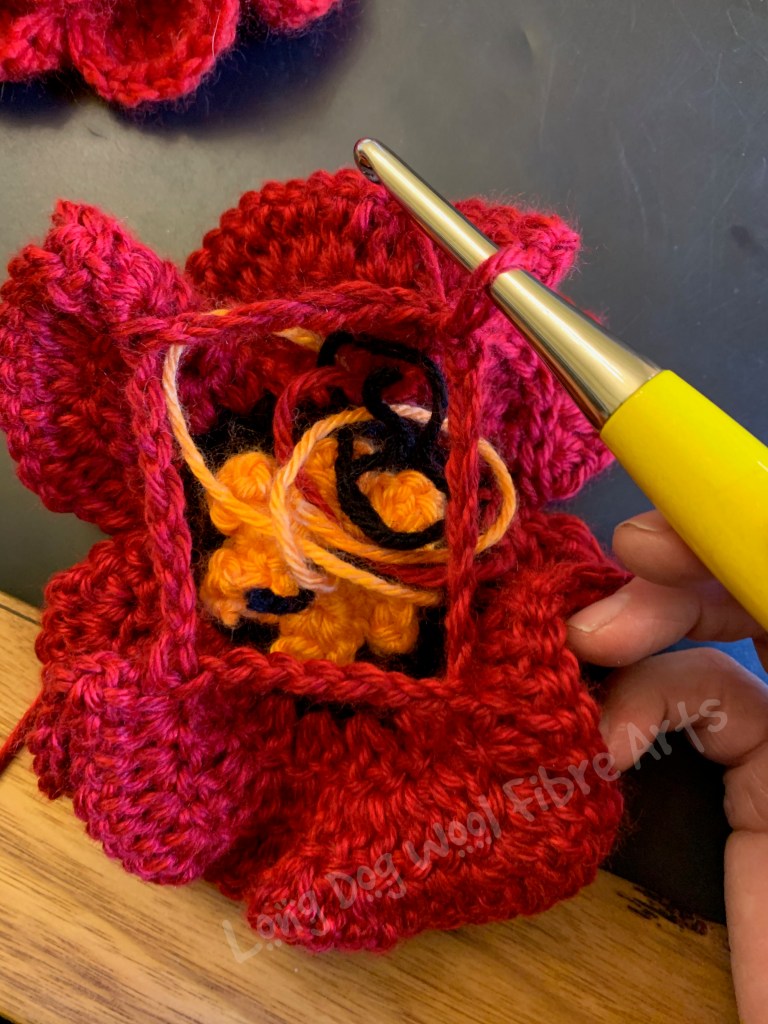
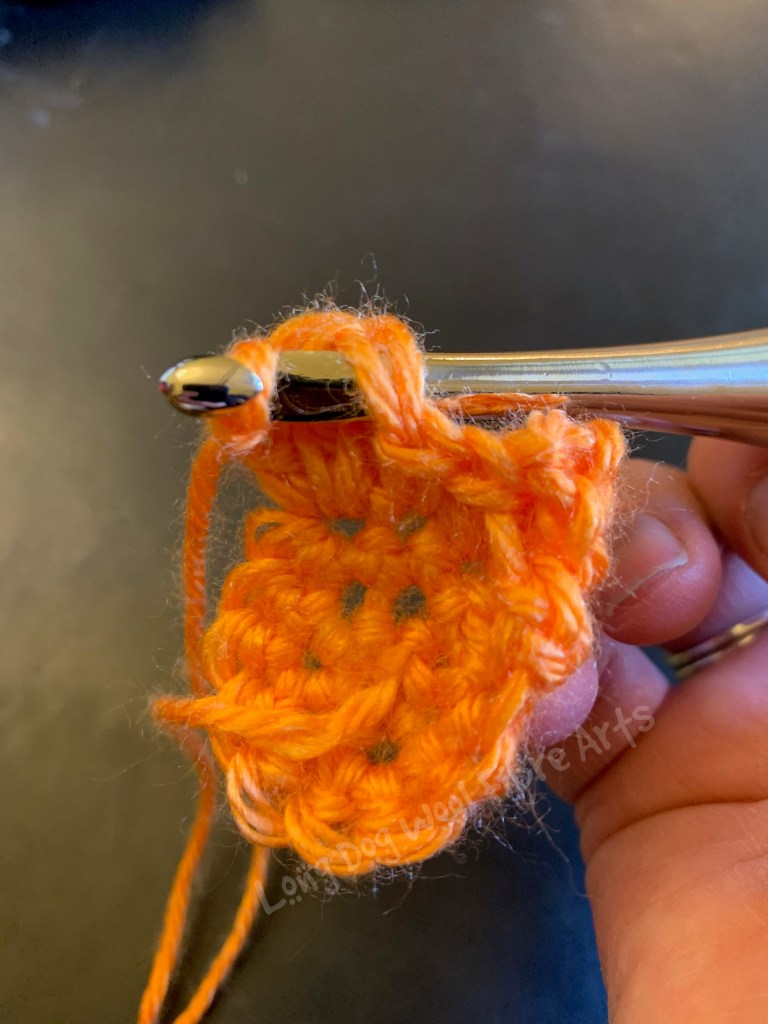
Tip: you will be working the next round (R6) on the back side of the poppy. You will work this round into the posts of the stitches of R4. When you get to the slsts at the ends of the petals in R4, be careful not to lose your line and accidentally cross rounds. It can be hard to distinguish posts at the slsts between petals BUT this row does not have to be ‘exact’ in the number of posts you skip. In fact, some variation can enhance the final look of the poppy. At the end of this round, you will have 4 chain spaces to work the next petals into.
R6: turn, fpslst into each of the next 4 posts of R4, ch 5, skip 4 posts, fpslst in next post, ch 5, skip 5 posts, fpslst into next post, ch 5, slst into last slst of the original four of this round. (4 ch-5 spaces)
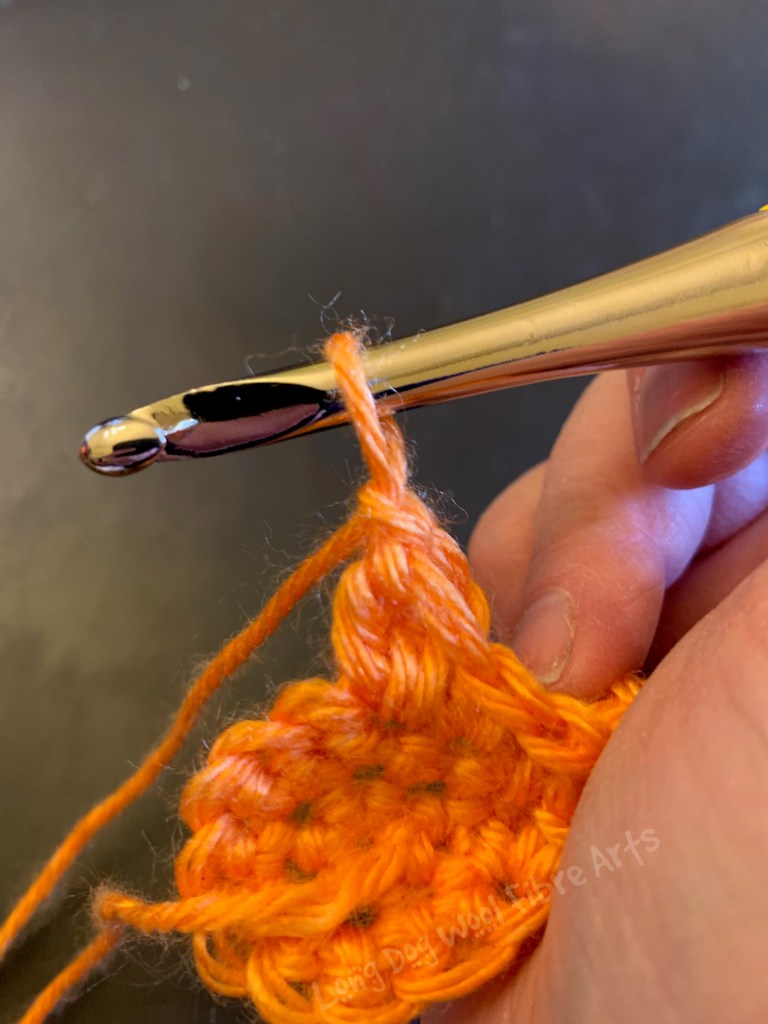
R7: Turn [work the rest of the rounds on the front side of the poppy] slst into first ch 5 space, ch 1, 10 dc in ch 5 space, ch 1, sl st into same space *sl st into next ch 5 space, ch 1, 10 dc in ch 5 space, ch 1, slst into same space, repeat from * 2 more times (4 petals).
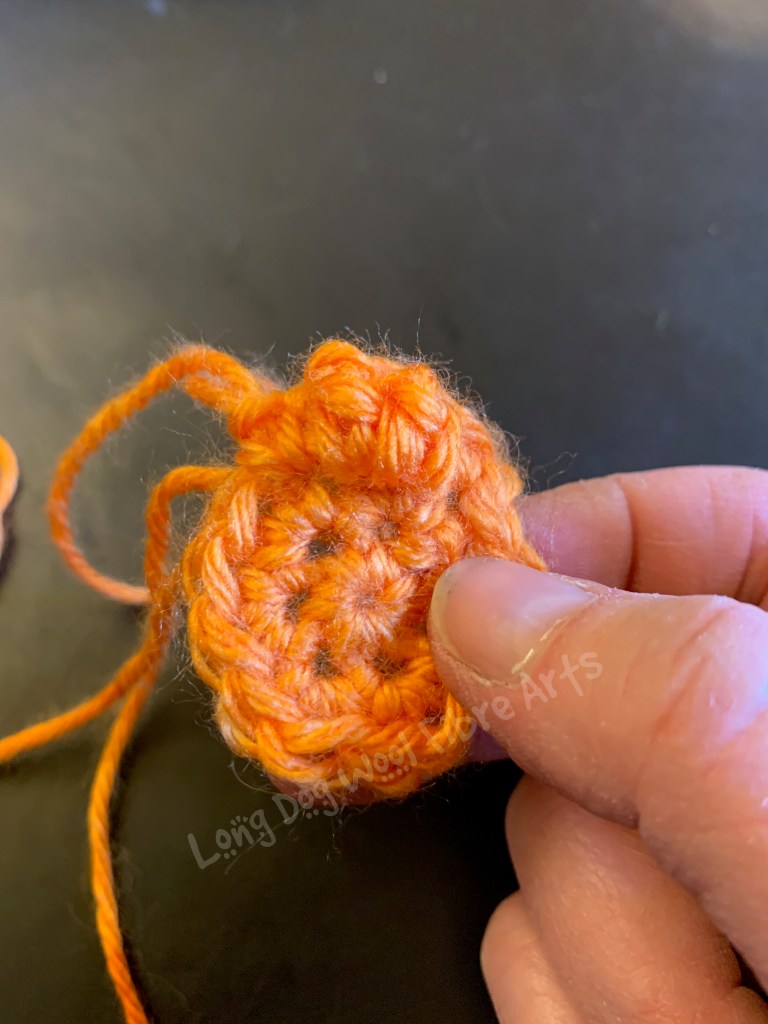
R8: slst into first slst from previous round, slst into ch sp [formed by the ch 1 from the previous round], ch 1, 2 dc in each of the next 10 sts, ch 1, slst into ch 1 sp, *slst into next slst, slst into slst from R7 in the next ch sp, slst into ch sp, ch 1, 2 dc in each of the next 10 sts, ch 1, slst into ch sp, slst into next slst, repeat from * twice more, join with a slst to first slst of the round.
Fasten off and weave in ends.
You can also make these with thinner yarn and smaller hooks to wear as a brooch or to decorate accessories like handbags and shoes. I will be placing these on my letterbox this weekend in honour of ANZAC Day. I hope you will join me.


Leave a comment