

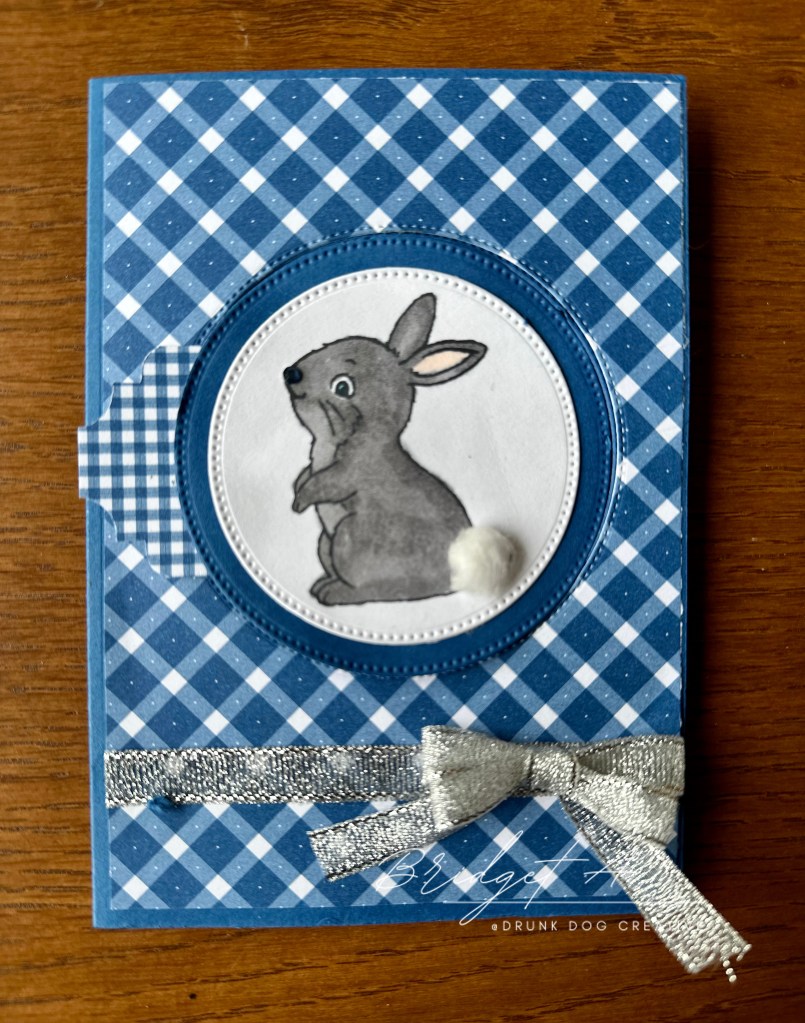


Hello everybody! A little while ago I posted a fun fold card that included a shaker element (check it out HERE). I’ve been asked to post a tutorial on how to do a similar card without the shaker element so I’m doing that today! This is a Circle Fun Fold Card. It has a circular feature that forms part of the flap that keeps the card closed.
This card design is SO versatile! The circle feature allows you to be really creative:
- stamp images or sentiments on it
- put die cuts on it
- use embellishments on it
- use moulded Paper Magiclay items on it
This card is also great for stash busting those patterned papers you have at home! You need two different patterned papers – one for the card front and one for the tab that the circle sits on. For variety you could also try:
- plain cardstock that you have stamped an image on to create a pattern (try stamping cardstock with the same colour ink for a subtle background.
- cardstock that has been embossed using an embossing folder
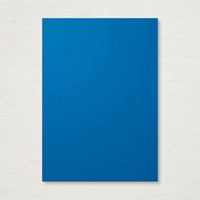
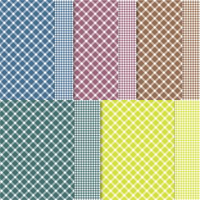
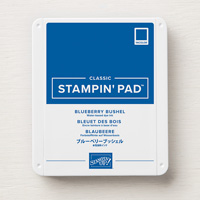
For the example shown, I’ve used a monochrome colour scheme – Blueberry Bushel cardstock and Glorious Gingham Designer Series Paper (DSP) which has a different pattern on each side, I used one piece, cut the sizes required, and flipped one over to give me two different patterns. Even though I’ve used low contrast paper choices here, the card also really pops when you use high contrast between your cardstock and patterned papers. So you can have a sweet subtle look, or a bold look. Like I said, it’s a very versatile design!
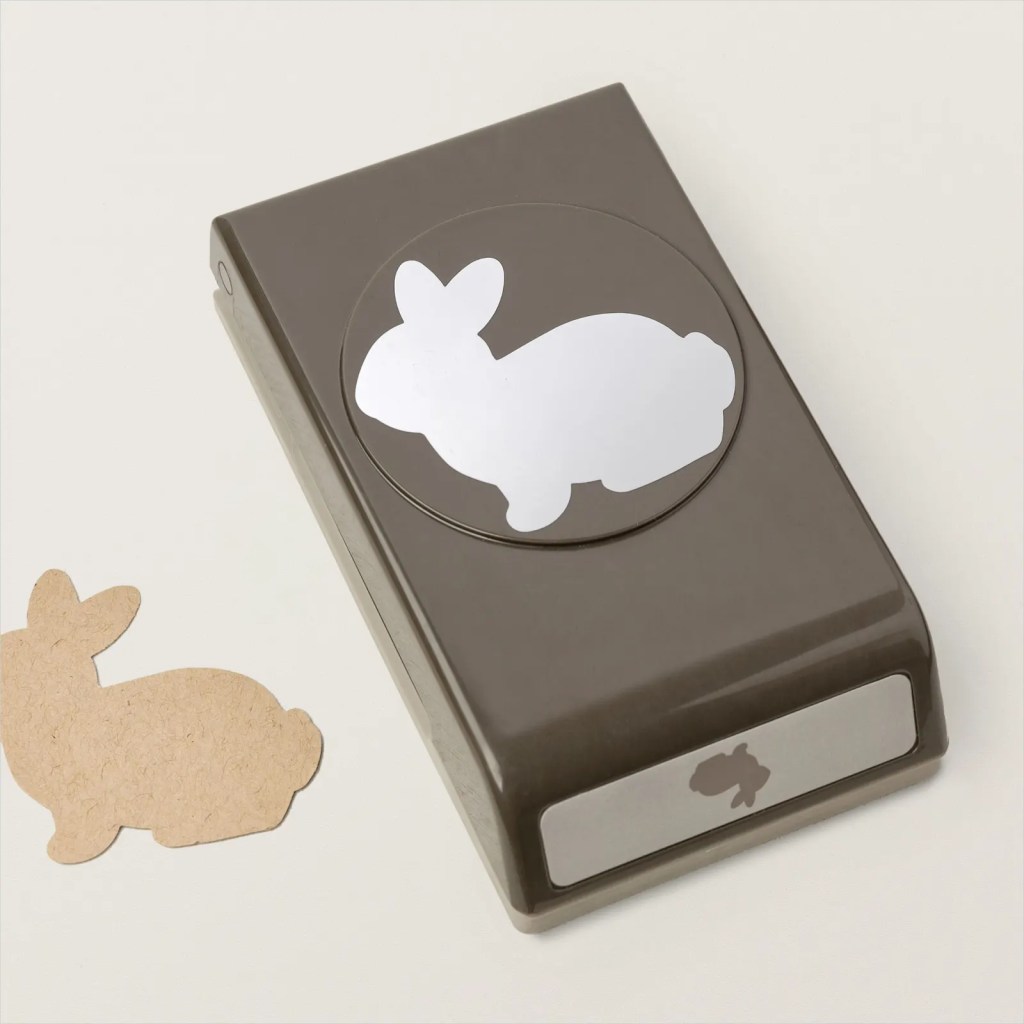
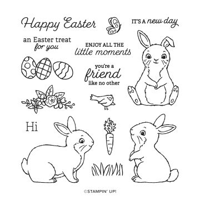
As for the stamps I used… I adore this “Easter Bunny’ set from Stampin’ Up! (which also has a coordinating punch). Even though I bought it for making Easter cards, you can see that with the sentiments included in the set, you can use it for so much more than Easter. That’s something I really appreciate about Stampin’ Up! – even their seasonal products are designed to have uses all year long; not just for that particular holiday. This is great value for money!

By the way….for the bunny’s tail… I just pulled a little bit of cotton from a cotton ball, rolled it in my fingers and then glued it to the tail of the bunny. Simple but adorable!
A full SUPPLY LIST with links to my Stampin’ Up! Store is included at the bottom of this post. If you’re in Australia, and shop with me, then I donate part of the profit I receive to Dachshund Rescue Australia. If you’re not in Australia, I highly recommend you find a local Stampin’ Up! independent demonstrator (through your country’s SU website). Their products are such good quality and such good value.
Better yet, why not join as a demonstrator yourself? There are no ongoing obligations and you get at least 20% off your future purchases, plus early access to new product releases! To join, you get to choose $235 worth of products and pay just $169. For the month of June, however, there is a joining bonus and you get to choose $283 worth of products and just pay $169! To find out more or sign up, visit HERE.

How to Make the Circle Fun Fold Card
Usually I give instructions for both Imperial and Metric card sizes because I know I have supporters who live around the world. While I live in Australia, I was born and raised in the USA so I can easily move between the two measurement systems. However, the original inspiration for this card came from an American SU independent demonstrator. I adapted it, not only to the metric system, but to work with an A6 Australian card size which is different to an American A2 card size. Yes, even our ‘normal’ card sizes are different, not just the system we use to measure with. A simple conversion from Imperial to Metric would be just too easy. ☺️ So, I am giving credit where credit is due. If you want the USA instructions for this card, head over to THIS PAGE and see the original Amerian version of this card by Dawn’s Stamping Thoughts.
Cut Plan

Assembly
Cut all cardstock and DSP.
- Position Contrast paper on base card (with card open) with REPOSITIONABLE/REMOVABLE glue tape.
- Die cut a 75 mm circle through both layers. You will use the circle from the base cardstock. The other circle from the contrast paper can be put in your stash for future use.
- Die cut a 65 mm circle from the scrap cardstock. (Note: I used the Stylish Shapes Die set from Stampin’ Up! which adds a lovely stitch detail around the circles.)
- Affix Contrast paper/cardstock to card base ensuring circle cutouts match up exactly.
- Fold Tab at score line.
- Place adhesive on short end of fold on the back of the tab and affix to back of Inside Writing Area cardstock, centering it in the circle. Hint: place inside sentiment cardstock in place, close card and use the circle to guide placement of the tab. It needs to be centred.
- Affix inside writing area cardstock to inside of card base.
- Bring tab through circle and close card front.
- Affix 65 mm circle to 75 mm circle.
- Affix joined circles onto tab, making sure it is nested inside the circle cut out of the front of the card.
- Open card and stamp sentiment on inside writing area, being sure it will be hidden by the tab.
- Trim or punch end of tab to any decorative shape you like.
- Decorate circle and card front as desired.
And you’re finished!
I hope you enjoyed making this card. I’d love to see your versions! Tag them with #ddccircle on socials!
If you want to download a pdf of the instructions for future reference, click on the link below:
Supply List
You can find all the products I used to make this card below. Product availability and pricing is accurate at the time of publication. However, Stampin’ Up! do retire products periodically in which case, once they’re gone, they’re gone. Prices, including sales and specials, are also subject to change.


Marcus, Polly and Hugo, the dogs of Drunk Dog Creative, want to remind you to subscribe to this blog, share with your friends, and follow Drunk Dog Creative on all the socials.
Woof woof. Sit. Stay. Follow us. Good human.


Leave a reply to Circle Fun Fold CHRISTMAS Card. – Drunk Dog Creative Cancel reply