Learn how a paper distresser and a touch of ink can instantly add depth, texture, and character to your handmade cards!
Sometimes it’s the smallest details that make the biggest difference.
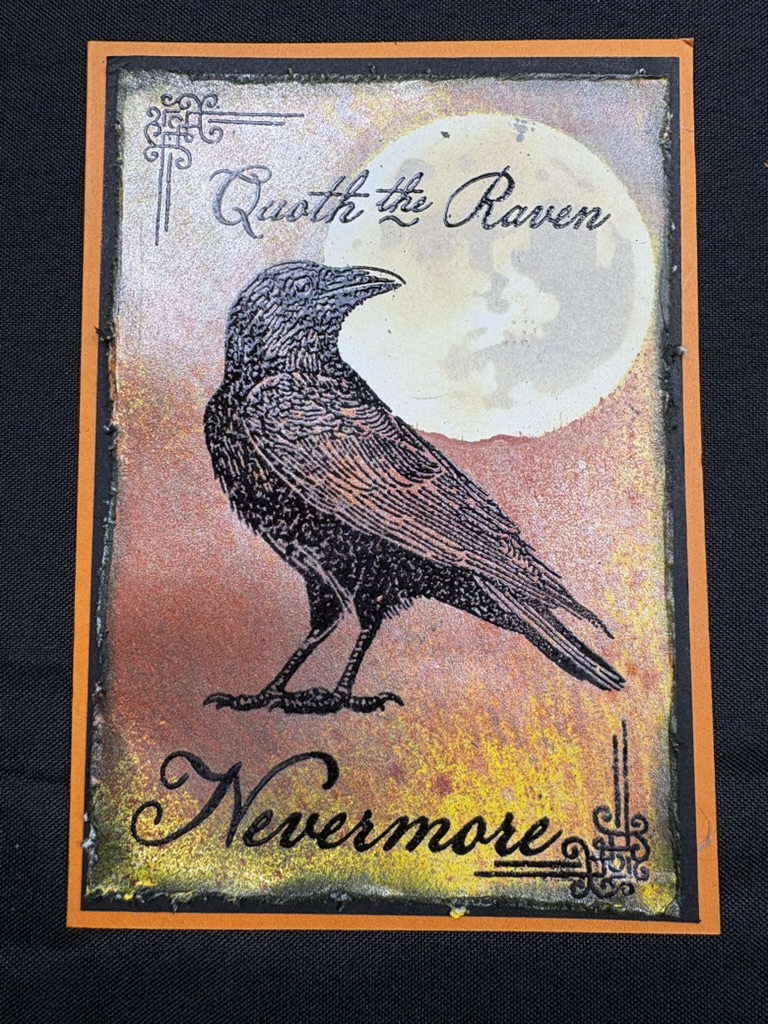
Even though I live in Australia, I have a lot of family and friends in the USA (where I was born) so I am making some Halloween Cards to send to them. When I was creating this card featuring Edgar Allan Poe’s famous raven, it felt like it needed just a little something extra. The design was finished, but the clean-cut edges looked a bit… well… too clean!
The solution was incredibly simple.
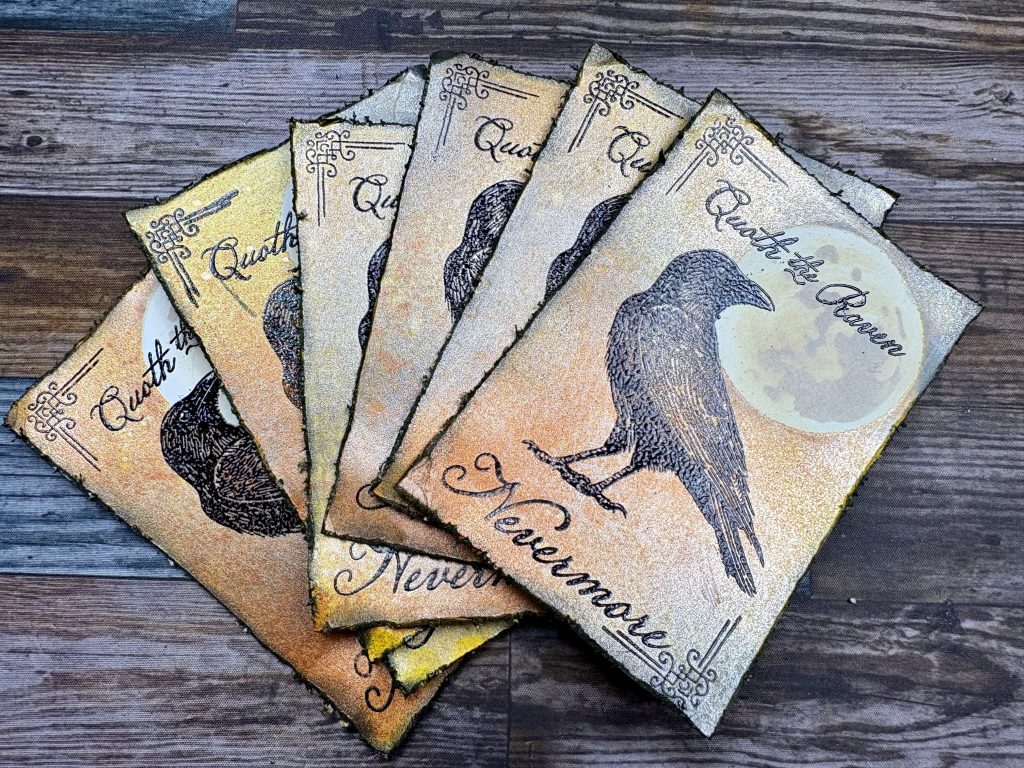
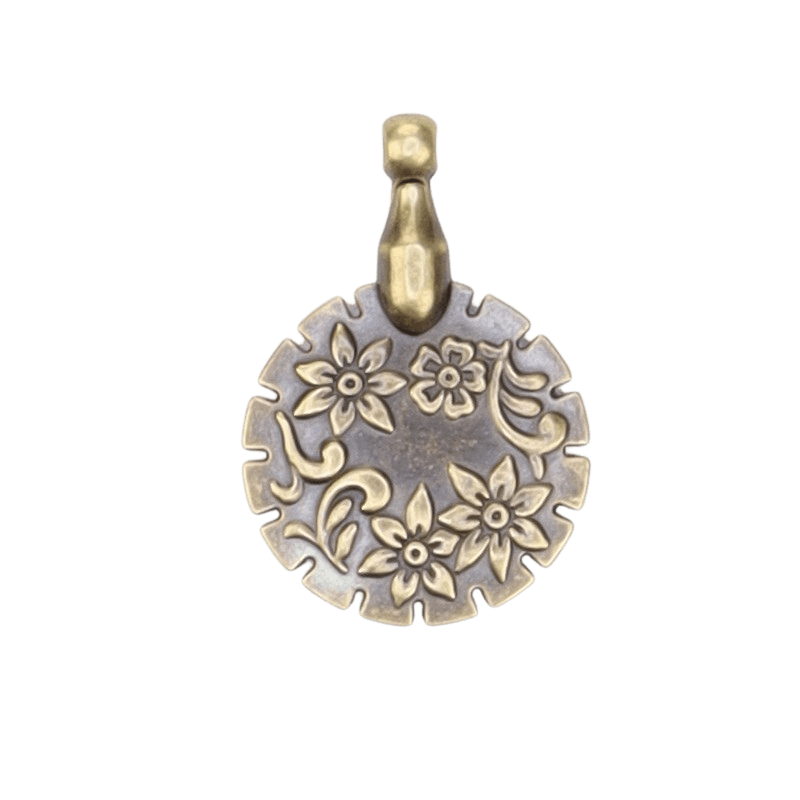
I grabbed my paper distresser and roughed up the edges of the card. Then I lightly blended grey ink around the distressed edges. In less than a minute, the card had a completely different feel.
Instead of looking crisp and modern, it suddenly had an aged, weathered appearance that perfectly suited the spooky Halloween theme.
Why distress your card edges?
Distressing adds texture, depth and character. It helps draw the eye into the focal image while softening the hard lines of the cardstock.
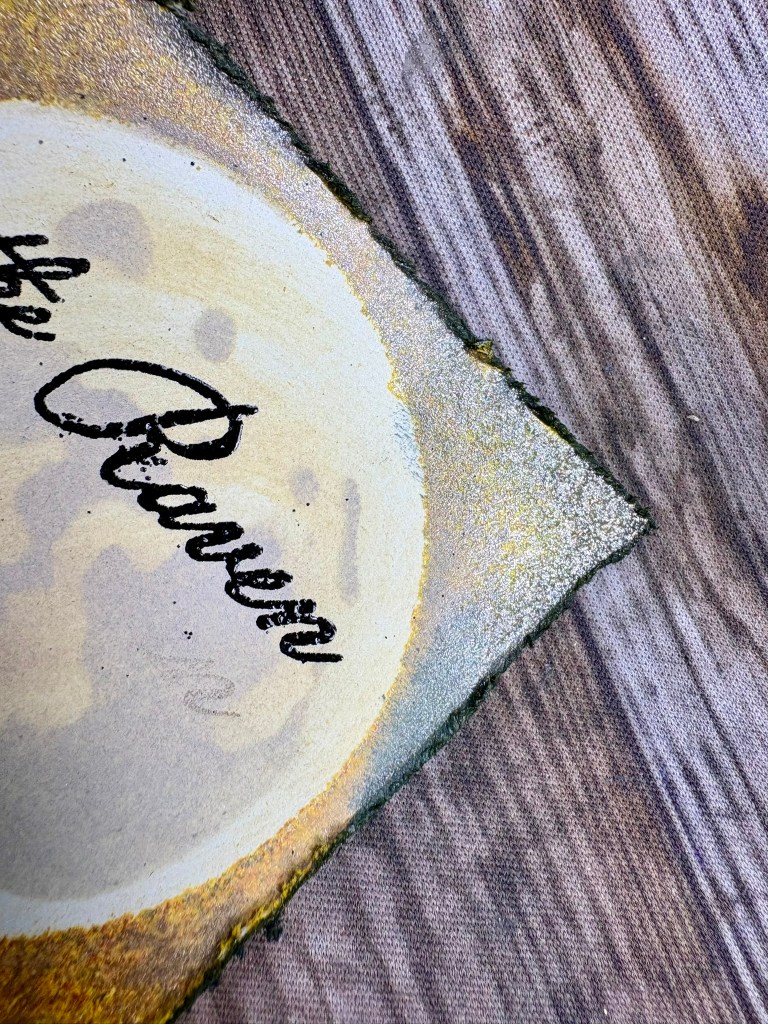
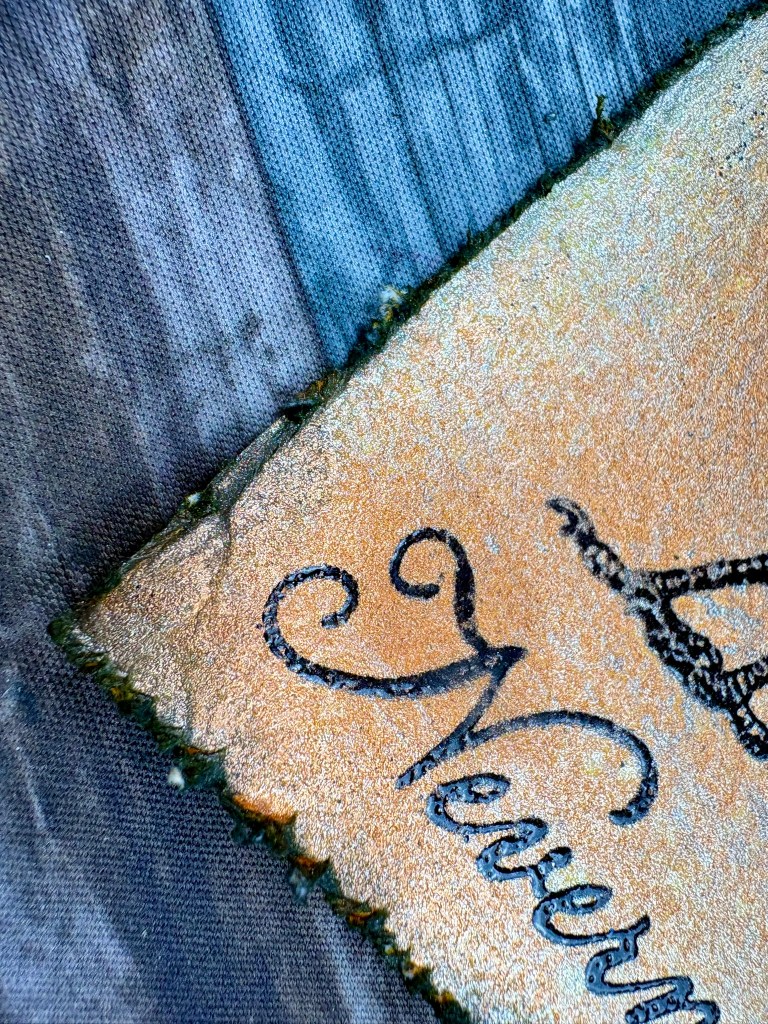
For Halloween projects, distressed edges create a wonderfully eerie, worn look. But this technique isn’t limited to spooky cards.
It’s also perfect for:
- Vintage cards
- Masculine cards
- Heritage and family history layouts
- Nature-themed projects
- Mixed media work
- Steampunk designs
- Rustic and shabby chic styles
In other words, it’s one of those techniques you’ll find yourself using again and again.
What I used
For this card I used:
- A paper edge distresser
- Basic Grey ink
- A blending tool
- Basic White A4 Thick Cardstock
- Basic Black and Pumpkin Pie Cardstock
- Raven’s Tale Stamp Set
- Glue tape
Simply roughen the edges of the cardstock, then lightly blend ink around the distressed areas until you’re happy with the effect. You can stop with a subtle worn look or build up the ink for something much darker and more dramatic.
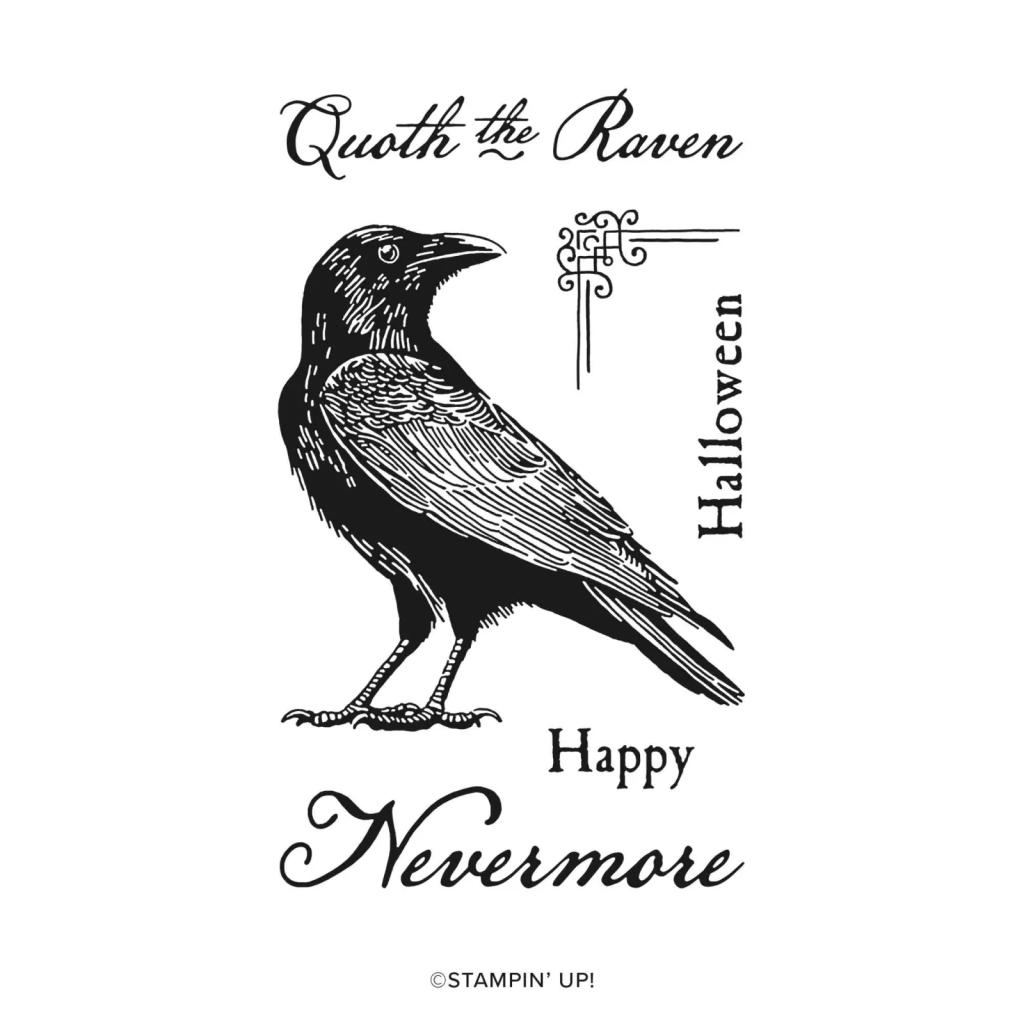
The Raven’s Tale stamp set is part of the Stampin’ Up! July online exclusives. It’s only available while stocks last. I know we don’t necessarily do Halloween cards in Australia, but I can think of so many ways to use this stamp set besides Halloween! Tag #drunkdogcreative in your makes and show me how you used this stamp set or this technique! Check out the stamp set HERE.
Watch the technique
I’ve put together a very short video showing exactly how I distress the edges and apply the ink.
▶ Watch the tutorial here:
Sometimes the quickest techniques are the ones that have the biggest impact. If you’ve never tried distressing the edges of your cards before, I’d encourage you to give it a go—you might be surprised how much it transforms your projects.
Happy crafting!
Supply List
Stampin’ Up! supplies used to make this card are listed below with links. Or you can browse bridgeta.stampinup.net. If you’re in Australia and looking for a Stampin’ Up! demonstrator who loves sharing ideas, tips and inspiration, I’d love to welcome you to my little crafty community. ❤️
Raven’s Tale Photopolymer Stamp Set (English) – 168245
Price: $34.00
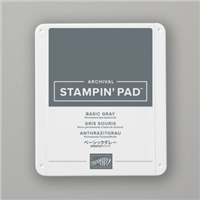
Basic Gray Classic Stampin’ Pad – 149165
Price: $19.25
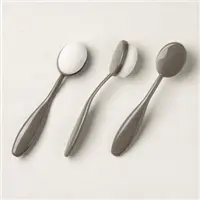
Price: $30.00

Basic White A4 Thick Cardstock – 159230
Price: $30.00
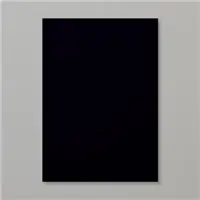
Basic Black A4 Cardstock – 121688
Price: $25.00
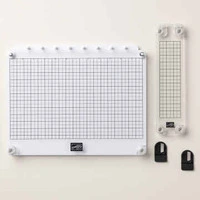
Price: $86.00
Stampin’ Positioner Grid Paper – 169442
Price: $27.00
Price: $15.75

Marcus, Polly and Hugo, the dogs of Drunk Dog Creative, want to remind you to subscribe to this blog, share with your friends, and follow Drunk Dog Creative on all the socials.
Woof woof. Sit. Stay. Follow us. Good human.
Need supplies?
You can shop for Stampin’ Up! products at https://bridgeta.stampinup.net. You can also click on any of the items in the supply lists in tutorial posts. A percentage of any profit from my SU sales is donated to Dachshund Rescue Australia, so you get great products at a good price and help gorgeous dogs like Hugo find their furever home!
Join my team!
If you spend over $169 why not consider joining my team as an Independent Demonstrator? You will get $265 worth of your choice of products for only $169 and be entitled to a minimum 20% discount on your future orders. Many people join just to be Hobby Demonstrators for the personal discount!






Leave a Reply