

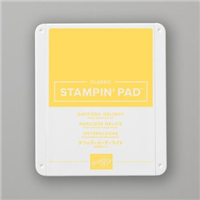
This week I am demonstrating an easy to make card, that doesn’t use a lot of products and makes great use of black on colour. This Choose to Shine card is also my entry into the #JustAddInk Challenge. This week’s theme: to use three Stampin’ Up! colours – Parakeet Party, Tahitian Tide, and Daffodil Delight.
Often when we make cards, we use a white or vanilla background and stamp images in colour, or in black and colour them in with markers. Well, this week is the reverse of that. We start with a coloured background and stamp a black image onto it. This creates a striking contrast with minimal effort! I used Black Sparkle embossing powder which gives it a little bit ‘extra’ but you can use plain black embossing powder which will still have that striking contrast to the brightly coloured background. For the sentiment, I reversed this and stamped the sentiment with VersaMark on black cardstock and used Silver Tinsel embossing powder. The sparkle is fabulous… I’ve included a video as the photo just doesn’t do it justice! There’s even a surprise guest appearance by Hugo, my gorgeous rescue dog and one of the dogs of Drunk Dog Creative.
Now most of you know that I am a multi-crafter and only discovered Stampin’ Up! about a year ago. So I still have stamps and products from ‘other’ brands. Did I stop using them when I became a Stampin’ Up! Independent Demonstrator? Nope. Because my parents raised me with the ‘waste not want not’ philosophy. Of course, I really wish I had found SU at the START of my papercraft journey instead of two years into it as there are a lot of products I would just not have bought – stuff that I have since thrown out or donated to a local school program. But there are also some things that I genuinely love – like the set of dog stamps featuring today’s poodle, or the sentiment on this card. Stampin’ Up! have great products that are good value so now I mostly buy from them, but I still have some old favourites I continue to use. And there’s nothing wrong with that.
What I love, love, love about Stampin’ Up! is the colour coordination – inks, papers, embellishments, markers, etc all come in the same colours. That makes putting together beautiful cards really easy. But I also love that SU’s products mix beautifully with things I already had… so they won’t go to waste!
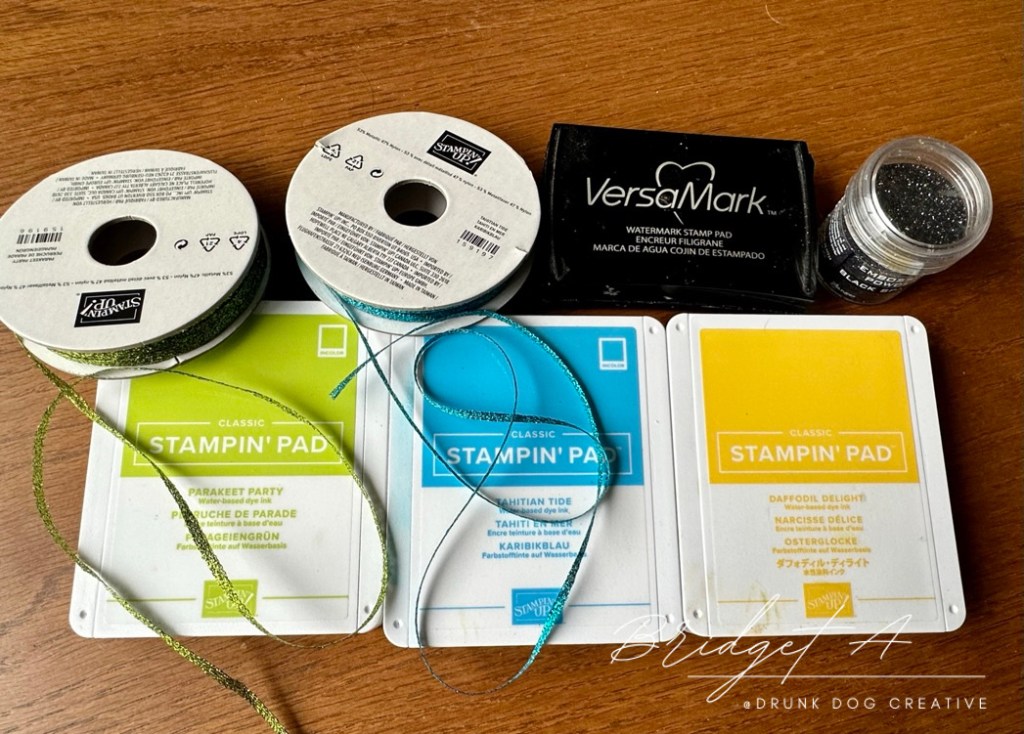
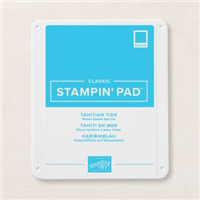
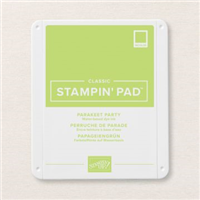
This week’s card uses just a few products with the star of the show being the ink pads in our three challenge colours with coordinating metallic ribbon in Parakeet Party and Tahitian Tide. Those two colours are part of the In Colour 2022-2024 set while Daffodil Delight is part of our permanent range of colours. A complete list of SU products used is at the bottom of this post.
Stampin’ Up! Supply List


Instructions:
This is a technique tutorial so feel free to use any combination of three brightly coloured inks and any stamped image/sentiment you want. You can use plain black embossing powder or sparkly black like I have. The point is to contrast a bright colourful background with a black stamped image which can then be embellished with little pops of colour if you want to.
One note on measurements for this tutorial…. I usually craft using metric measurements since I live in Australia, but sometimes with cardmaking, it’s easier to use the Imperial system. This week’s card is a 5×7″ card so I’m using the imperial measurements here.
Cut the following pieces of Cardstock:
- Basic White Thick Cardstock – 4 x 6″ (card front)
- Basic White Thick Cardstock – 4.5″ x 6.5″ (inside of card)
- Basic Black Cardstock – 10 x 7″ scored at 5″ (this forms the card base)
- Basic Black Cardstock – 4.25 x 6.25″ (inner mat)
- Metallic Silver Cardstock – 4.75 x 6.75″ (outer mat – you can also use Basic White or any of the feature colours here).
Create Blended Background:
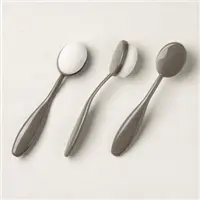
Using blending brushes, blend colour from the three ink pads onto the white card front. Feel free to use whatever blenders are in your stash, but if you’re looking to buy some or upgrade, the SU Blending Brushes are the bomb!
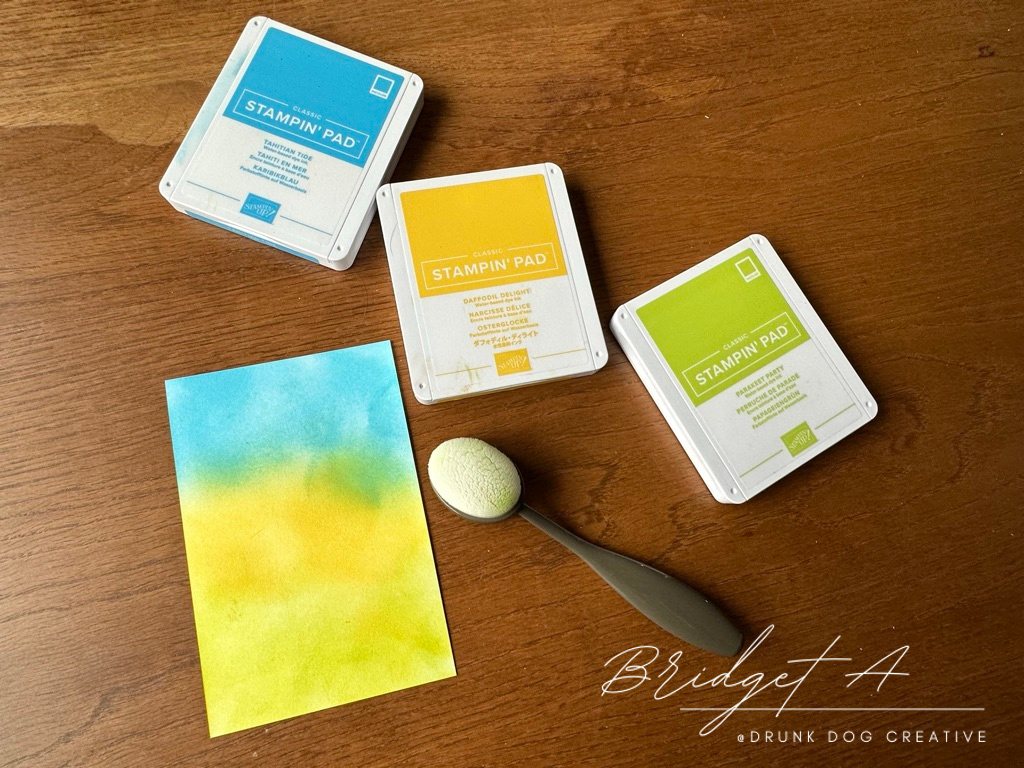
Hints: I start with the lightest colour first and work to darkest.
It’s best to use light pressure and work in circular motions, starting off the side of the cardstock and blending onto it so you don’t get sharp lines or circles.
- Rub the blending brush across the Daffodil Delight ink pad and lightly brush it, in circular motions, across the middle of the cardstock. You can go back and deepen the colour so keep it light for now.
- Rub another blending brush across the Tahitian Tide ink pad and lightly brush from the top of the cardstock, using a circular motion, until it meets and slightly overlaps the Daffodil Delight.
- Repeat the previous step using Parakeet Party moving from the bottom of the card until it slightly overlaps the Daffodil Delight.
- Go back over any areas you want to add more depth to with more of the ink.
- Let the ink dry thoroughly before stamping and embossing any images on it.
Stamp and Emboss Image

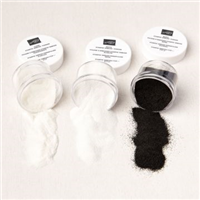
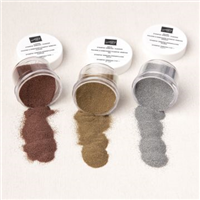
This part is pretty simple! Stamp your image or images with VersaMark and then heat emboss with black embossing powder. I used Black Sparkle from Ranger but any black embossing powder will work. If you don’t have one, try Stampin’ Up! Embossing Powder which comes in Basics set (white, black and clear) and Metallics Set (copper, gold and silver).
I’ve used the funky poodle stamp from a Dylusions Puppy Dog Tales stamp set. Almost any stamp will work depending on what imagery you like. You can try florals, butterflies, geometrics…. anything.
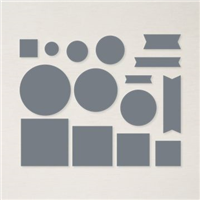
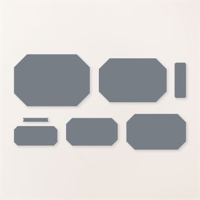
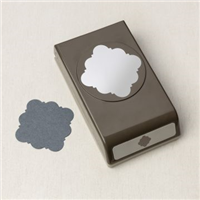
The sentiment is from Dylusions “Quintessential Quotes” set and is stamped on black cardstock using Versamark and Silver Tinsel embossing powder from Ranger. I then fussy cut the sentiment out and used Dimensionals to affix it to the card front. If you don’t like fussy cutting, you can die cut or punch a piece of black cardstock. I especially love SU’s Stylish Shapes dies and the brand new Countryside Corners die set. The Handmade Tag punch, which coordinates with the Handmade Hugs stamp set, is another great tool for making sentiment backgrounds. You can click on them below to check them out on the website.

Assembly
Using Stampin’ Seal, or whatever glue tape or glue you prefer, affix the silver metallic outer mat to the Basic Black card base. Then affix the Basic Black inner mat to the silver mat. Finally affix the card front to the inner Basic Black mat.
I used silver metallic cardstock for the inner mat because of the ‘shine’ theme, but Basic White works very well too. Of course, you could use one of the colours of cardstock that matches the ink colours, but this type of card really pops when using black and white, black and silver, or black and gold.
Affix the sentiment using SU Dimensionals or foam tape of your choice. The foam backing of the dimensions lifts the sentiment cardstock up off the card front which helps give the card dimension and texture.
Finally, affix the last piece of Basic White cardstock to the inside of the card for an area to write your message on.
Finishing Touches
It’s often enough to leave the card front as simple as black on colour. However, if you want to add a few little embellishments, go ahead! Just remember, less is more!
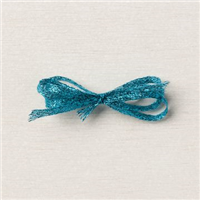
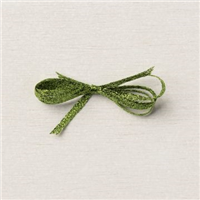
I used Tahitian Tide and Parakeet Party 1/8″ Metallic Woven Ribbon to make a tiny multi-loop bow to put on the Poodle’s tail. (See what I mean about SU’s colour coordination! ) I then added a dot of Torquoise Stickles to the poodle’s eye and a dot of Black Diamond Stickles to the poodle’s nose. These embellishments are just enough to give the card a little something ‘extra’.
And there you have it! A black on colour card! I’d love to see your makes using this technique… so feel free to use #DDC on your projects on socials!

Marcus, Polly and Hugo, the dogs of Drunk Dog Creative, want to remind you to subscribe to this blog, share with your friends, and follow Drunk Dog Creative on all the socials.
Woof woof. Sit. Stay. Follow us. Good human.
Need supplies?
You can shop for Stampin’ Up! products at https://bridgeta.stampinup.net. You can also click on any of the items in the supply lists in tutorial posts. A percentage of any profit from my SU sales is donated to Dachshund Rescue Australia, so you get great products at a good price and help gorgeous dogs like Hugo find their furever home!
Join my team!
If you spend over $169 why not consider joining my team as an Independent Demonstrator? You will get $265 worth of your choice of products for only $169 and be entitled to a minimum 20% discount on your future orders. Many people join just to be Hobby Demonstrators for the personal discount!


Leave a comment