


I know ‘Christmas in July’ is becoming a bit overused these days…but… I live in Australia where it actually IS Winter… and I live in a part of Australia where it is actually freezing cold. So it really does feel like Christmas should be in July.
July is also the month when I start making my Christmas cards. I know it seems early, but the first two years I got into cardmaking, I left it till later in the year and… eek! It was always a rush to get them done right up to the last minute. Because, you know, life happens. So by starting them in July, a) it’s cold as heck out so it puts me in the Christmas mood, and b) if ‘life’ happens, I still have time to get it done without the mad rush at the end.
So this year, you all benefit from my Christmas in July celebrations. I have designed not just one Christmas Card, but THREE cards for this post this week! Jackpot!
The three cards are:
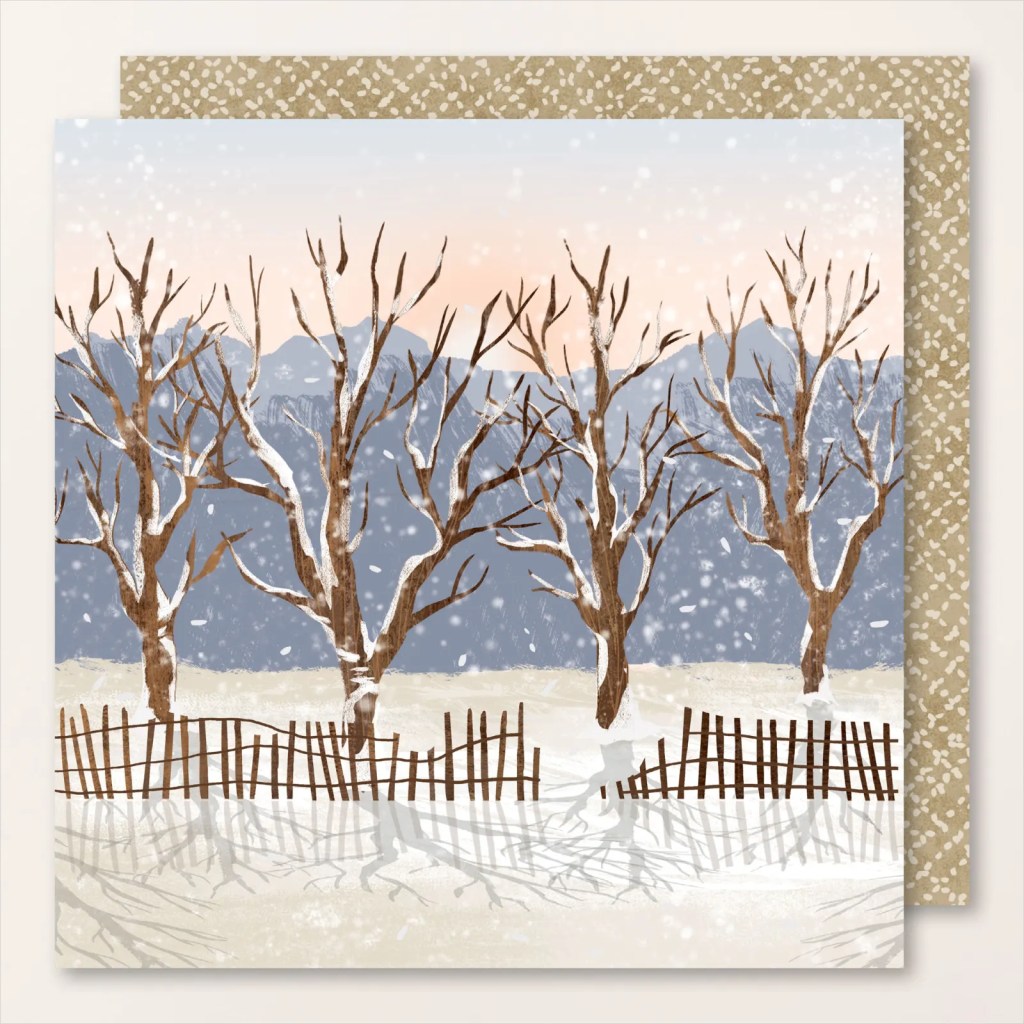
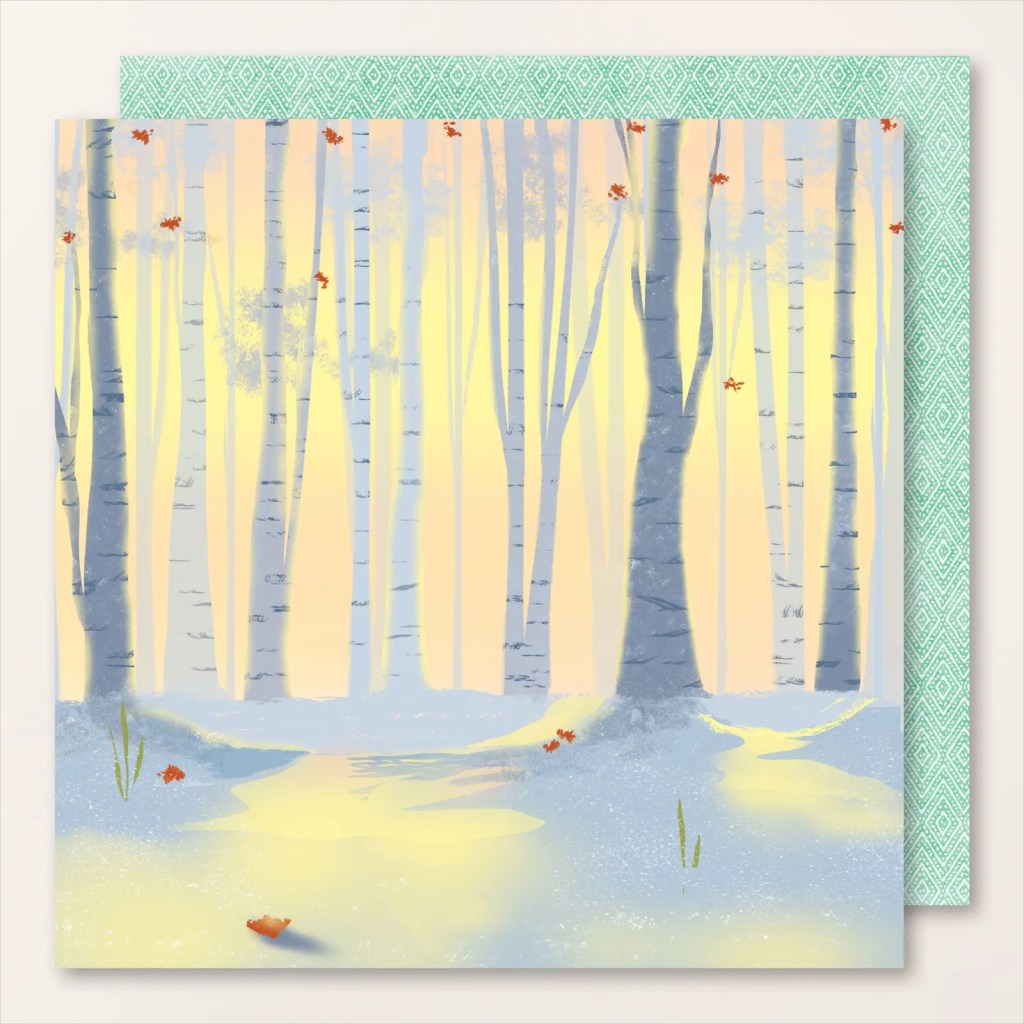
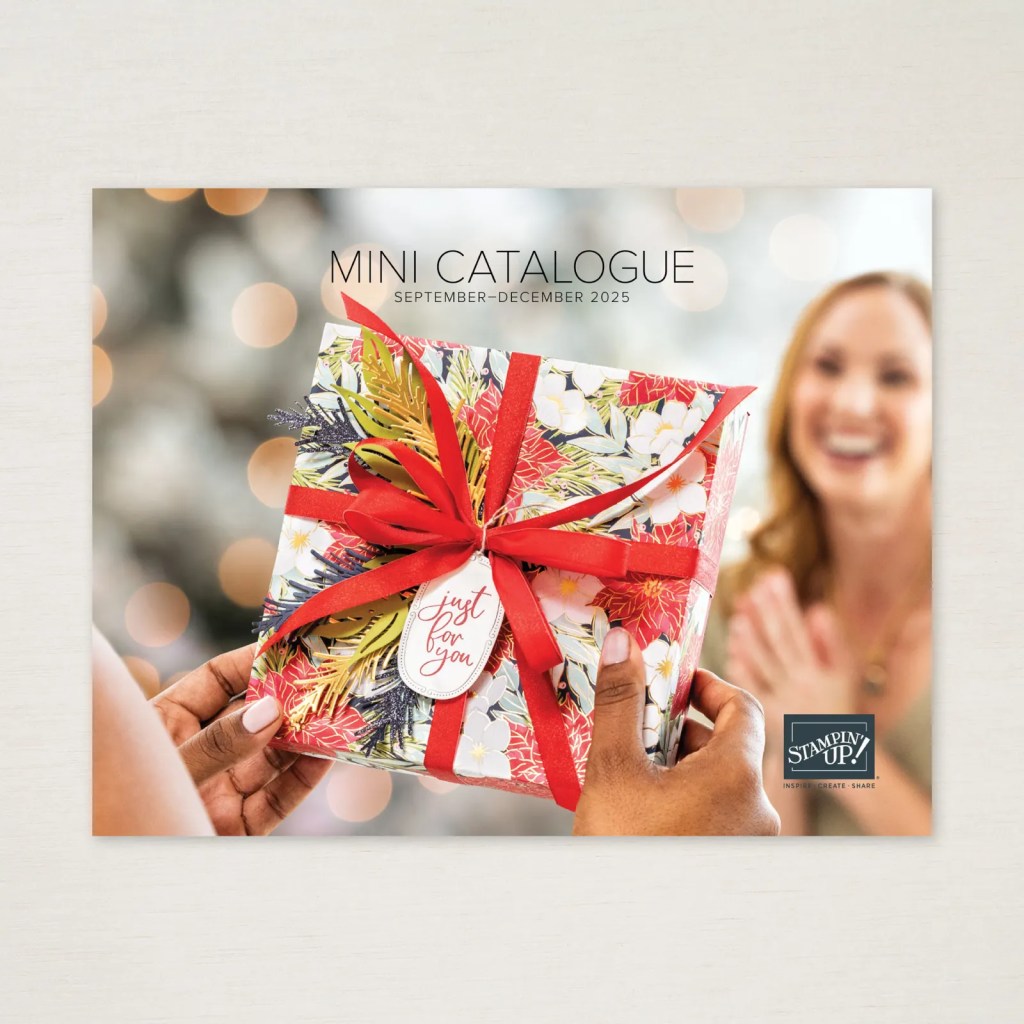
These cards all feature the gorgeous One Horse Open Sleigh Designer Series Paper from Stampin’ Up! This paper is part of the online exclusive collection so if you love it as much as I do, get in quick! You can shop at bridgeta.stampinup.net but there’s also a full supply list (with links) provided for each card. But if you miss out on this paper, the beauty of these card layouts is that you can change the colours, papers, and embellishments and use them for any season or occassion.
Normally I provide both Metric (for Aussie/UK A6 cards) and Imperial (for USA A2 cards) instructions. However, this tutorial is a little different. The Accordion Fold Card is an A6 card and in the instructions below I explain why I haven’t provided the Imperial measures and where you can find them. The other two cards are 5″ x 7″ cards. That’s still a pretty standard card size in Australia because of photo sizes, but to give the measurements in metrics is awkward as they are really odd numbers. Our rulers, paper trimmers, etc all have imperial marks on them so it shouldn’t be a drama to make these cards in Imperial. Fingers crossed.
You can find full instructions and a video tutorial for each card below. There is also a downloadable pdf of the instructions for each card. Happy inking!
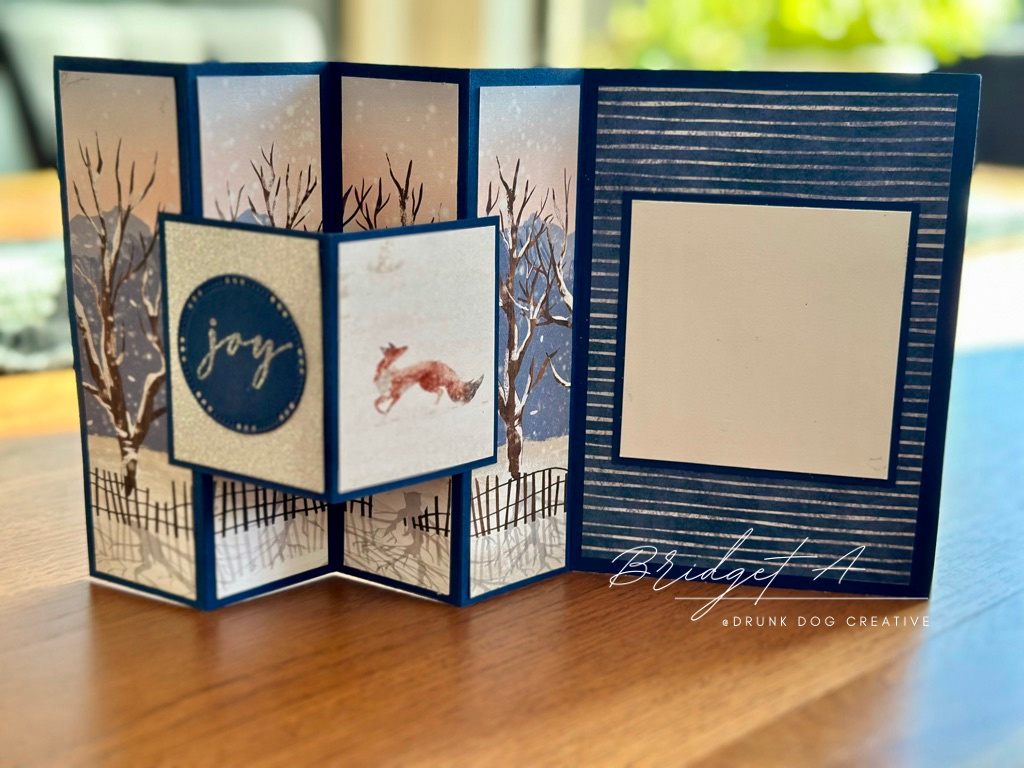
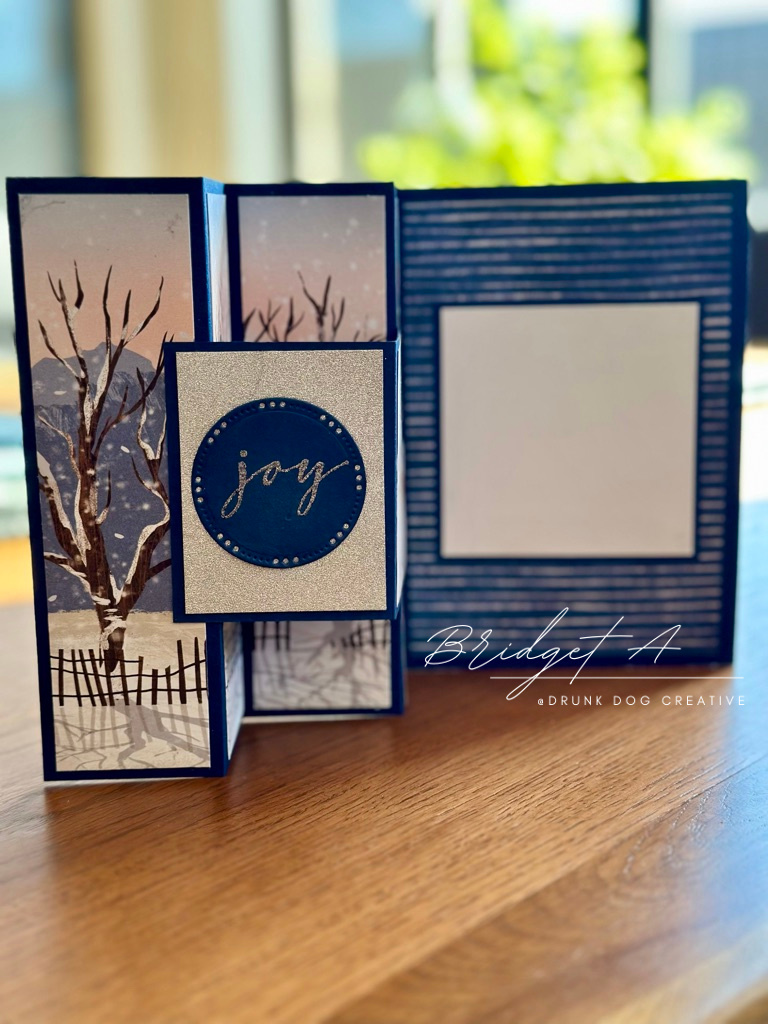
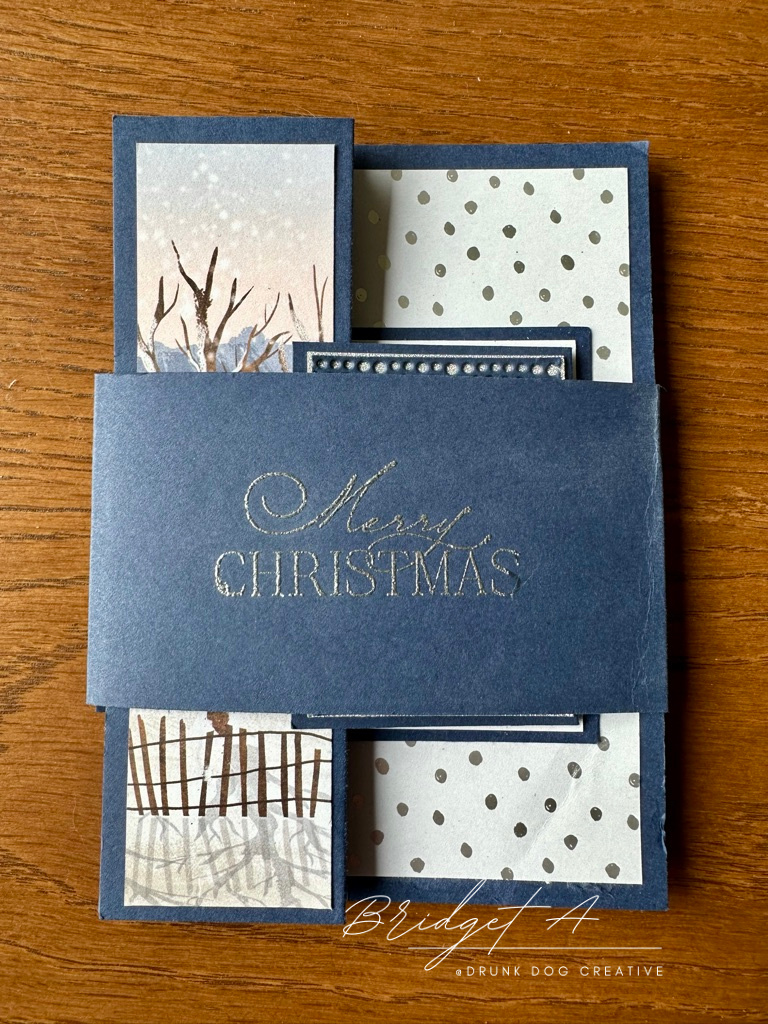
Accordion Fold Christmas Card
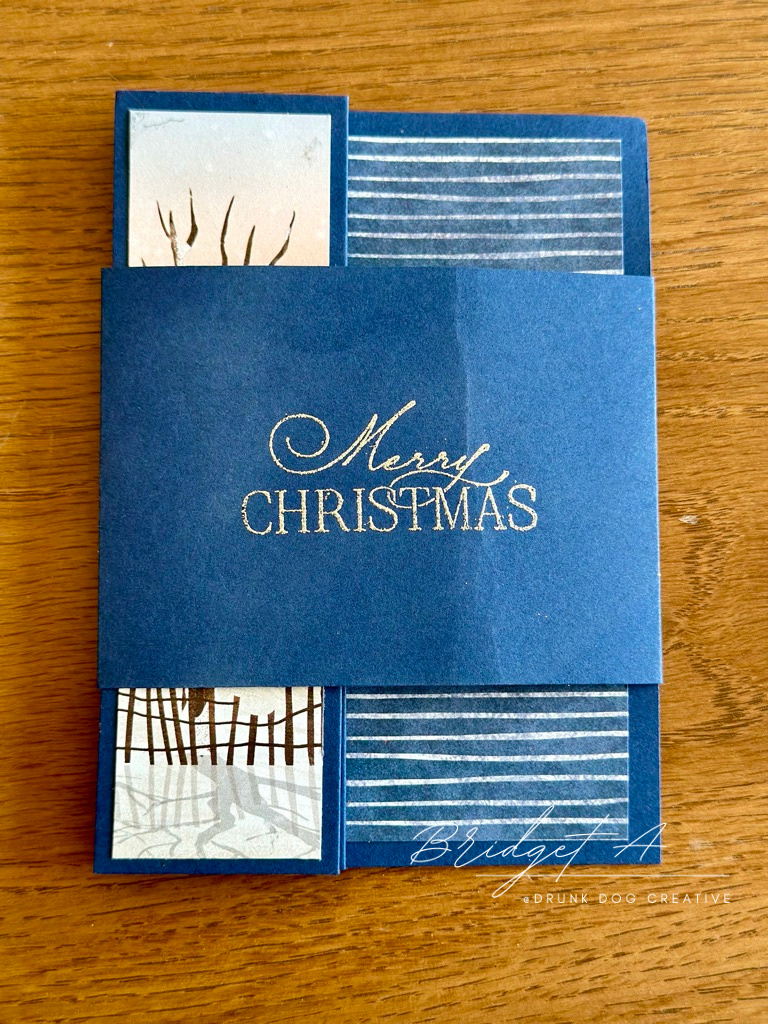
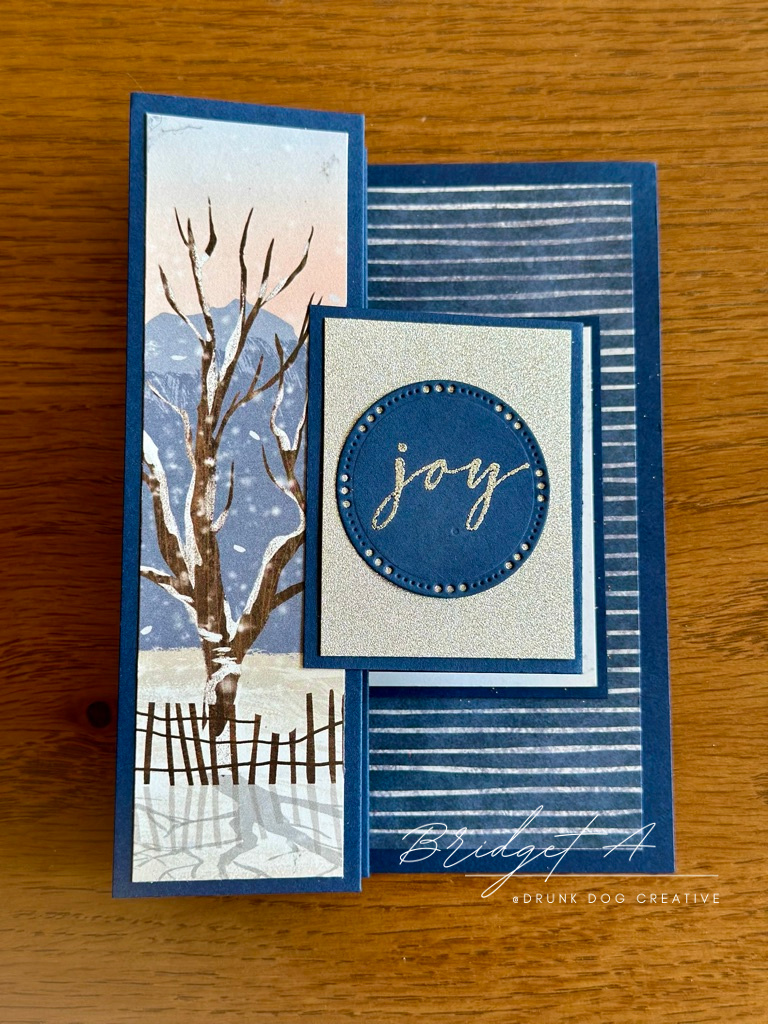
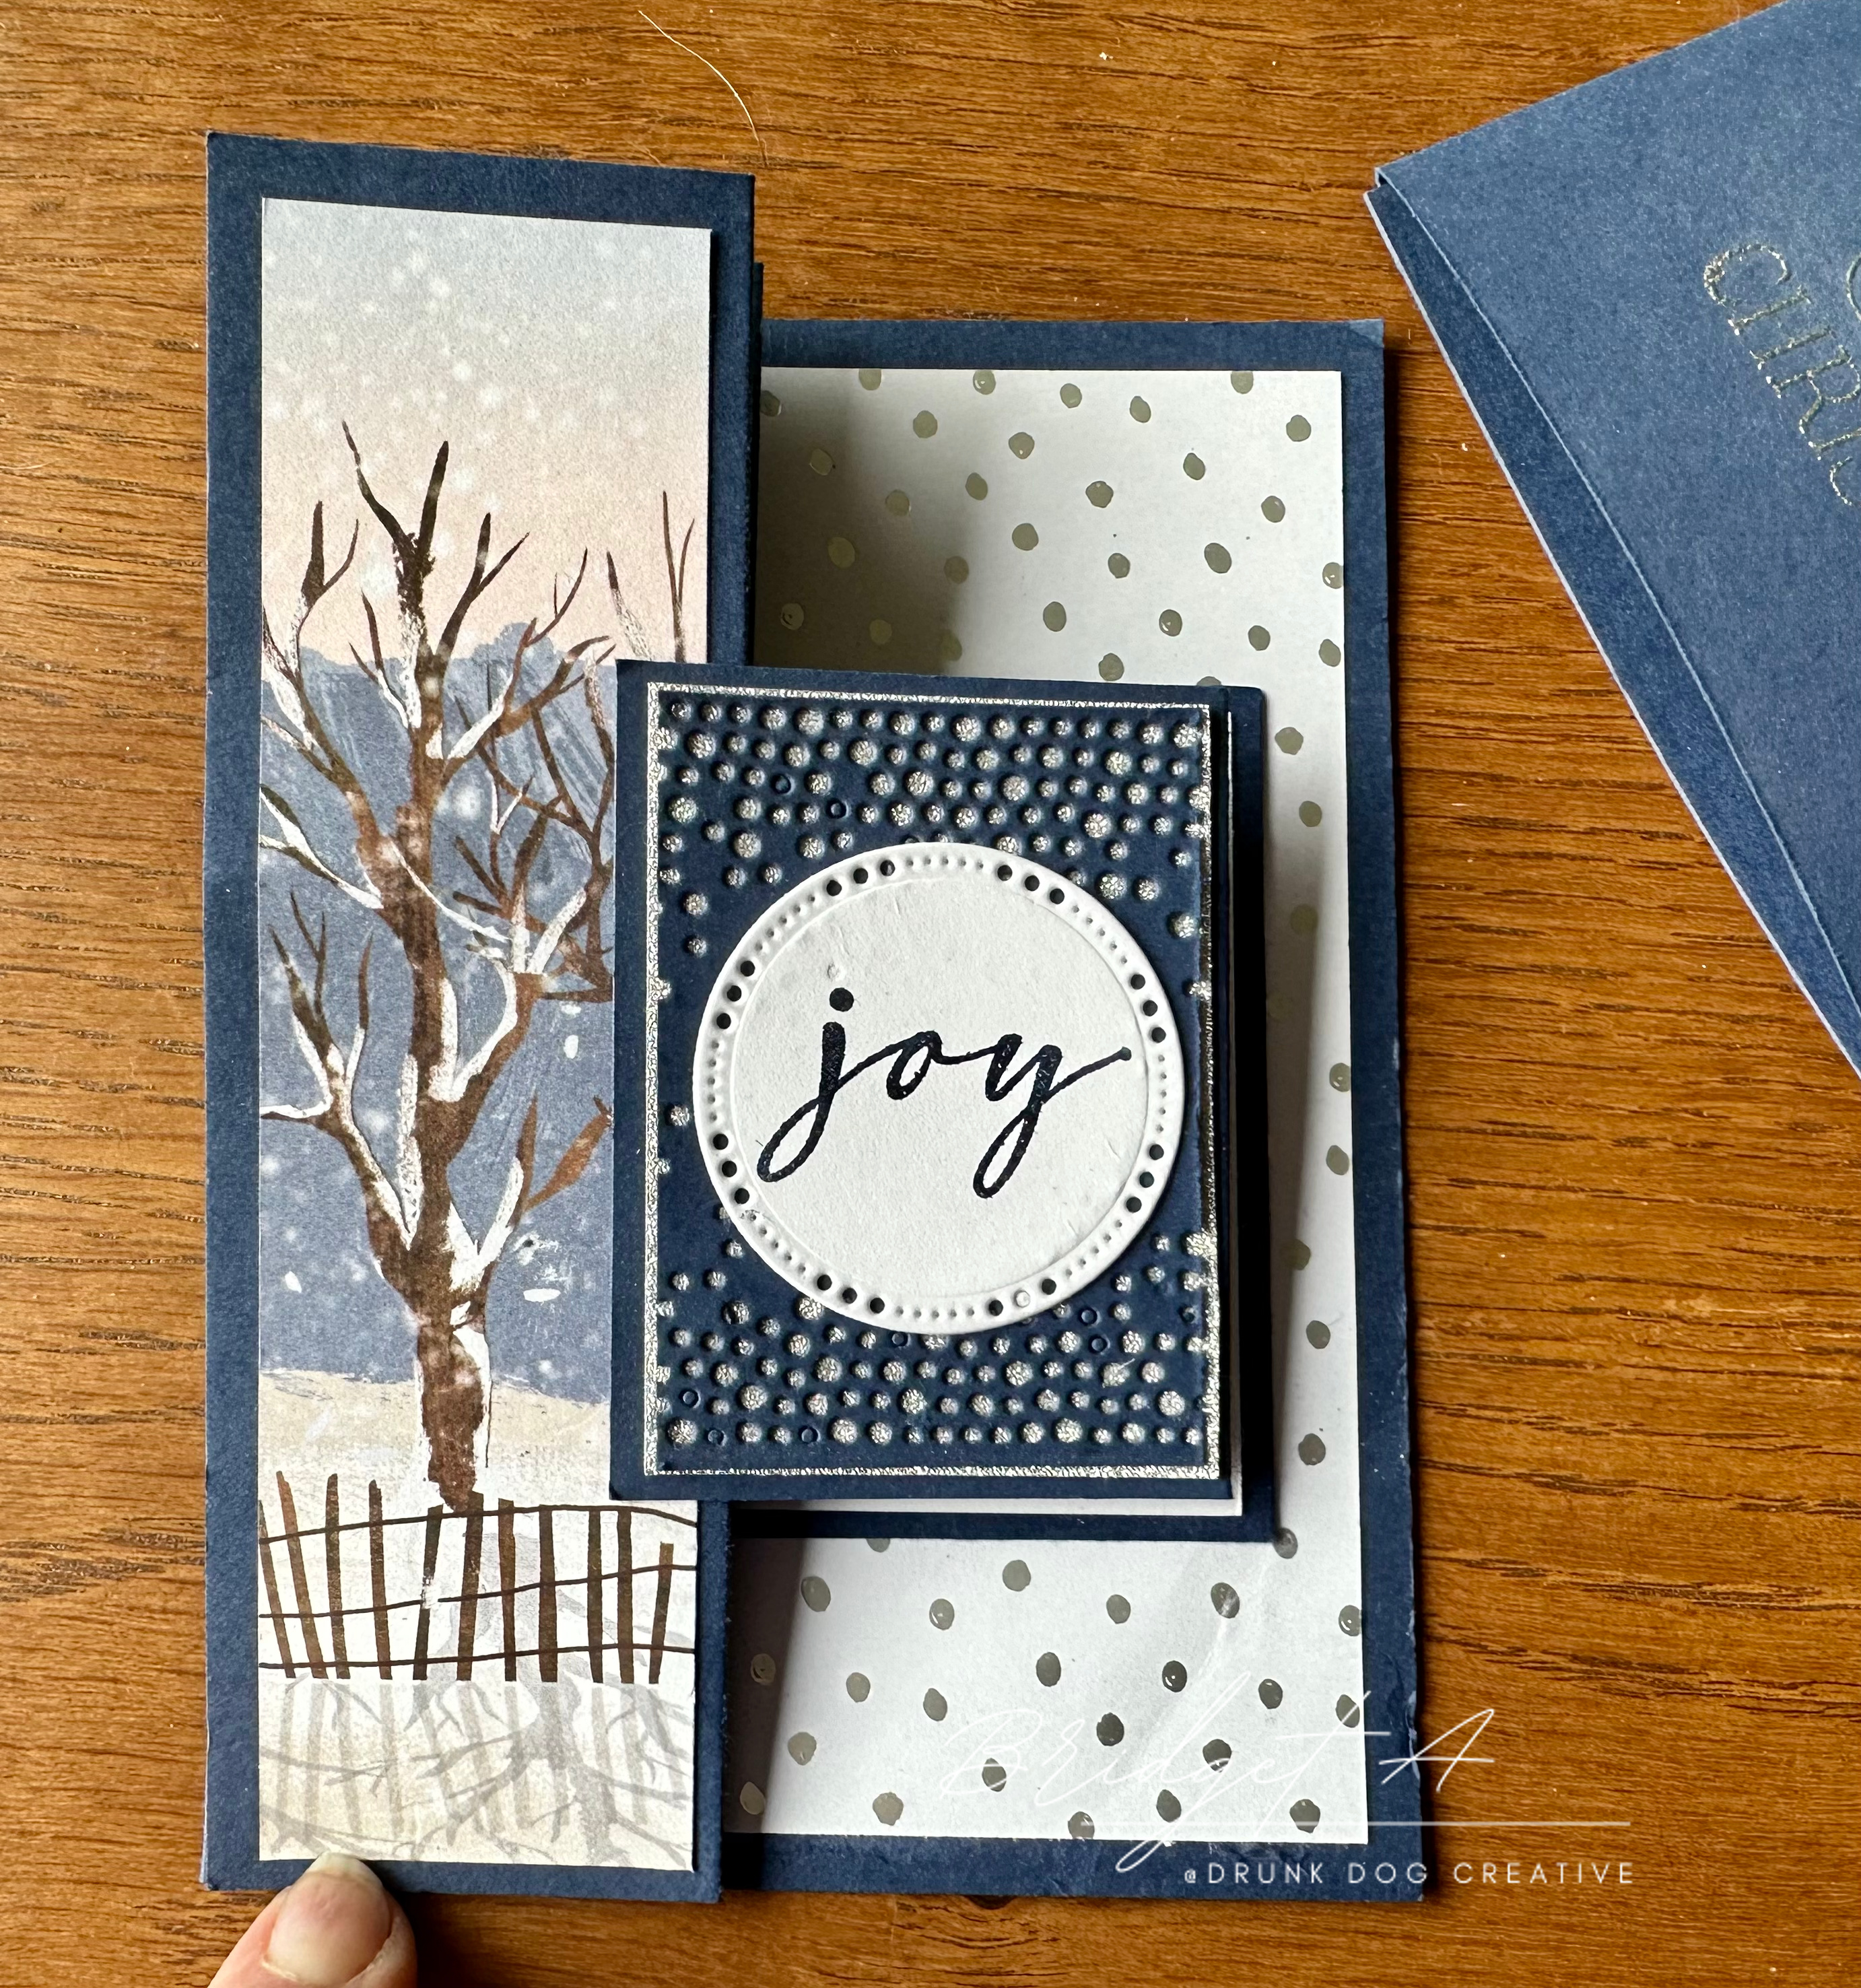
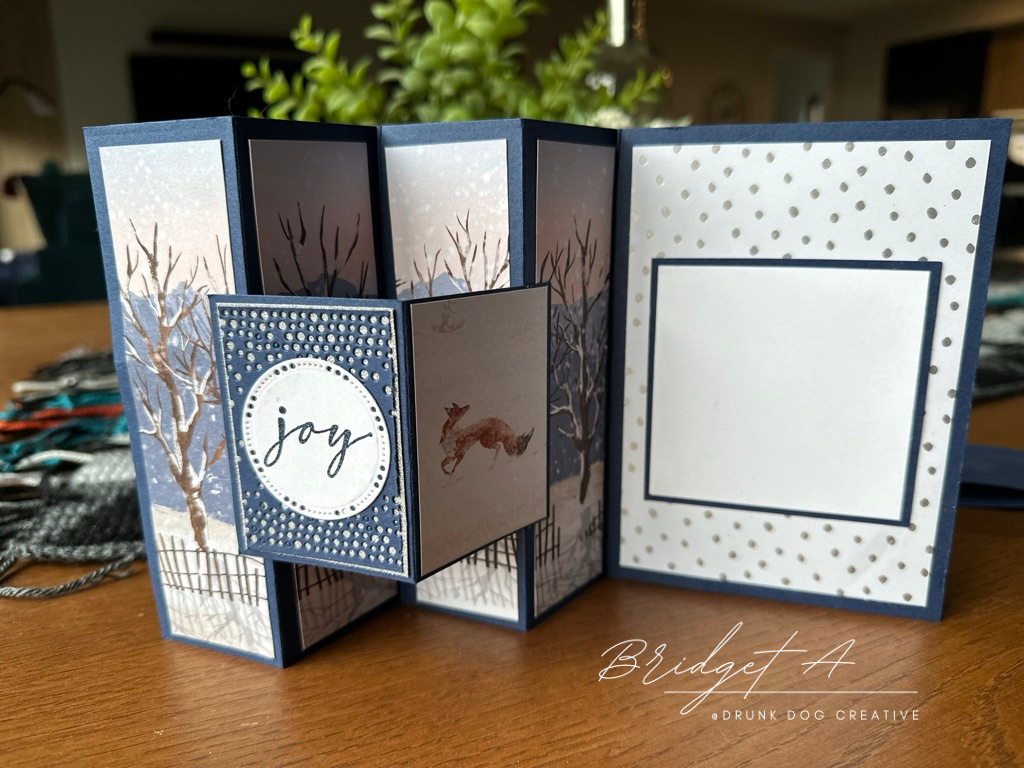
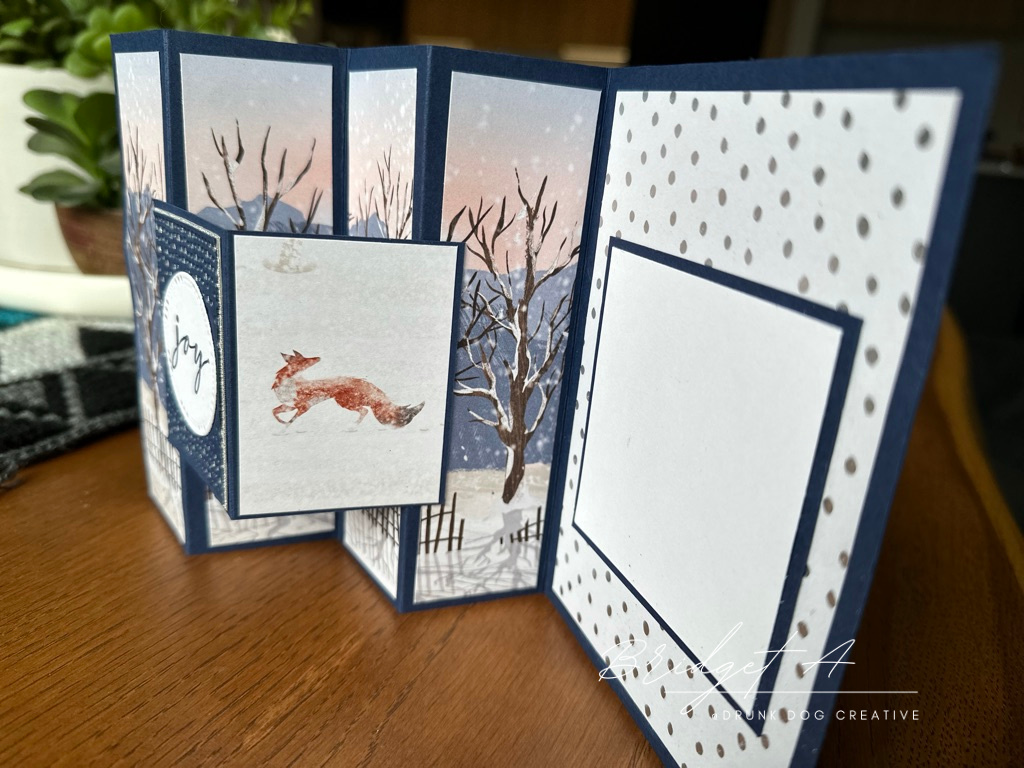
I love this fun fold design! You can make it as complicated or as simple as you want by customising the design of the tab that holds the pleats together and by changing up the colours and patterned paper pieces. It’s absolutely perfect for a scenic Designer Series Paper that can be cut into four panels that still flow together.
The reason the instructions for this one are only in metric measurements is because I CASEd* this fun fold from an American Stampin’ Up! Independent Demonstrator – Karen from Stamping on the Back Porch – and then worked out how to do something similar but for an Australian A6 card, with a tab that didn’t cover too much of the gorgeous paper used on the panels, and that aligned with the writing area the way I wanted it to. So I’m going to give credit where credit is due and only include the Metric measurements for my version of this fun fold card. The American version can be found at https://karentitus.com/easy-to-make-accordian-fold-cards-popular-fun-fold-right-now/. Why don’t you hop over there and take a look? You might get some great ideas for other uses of this fun fold card!

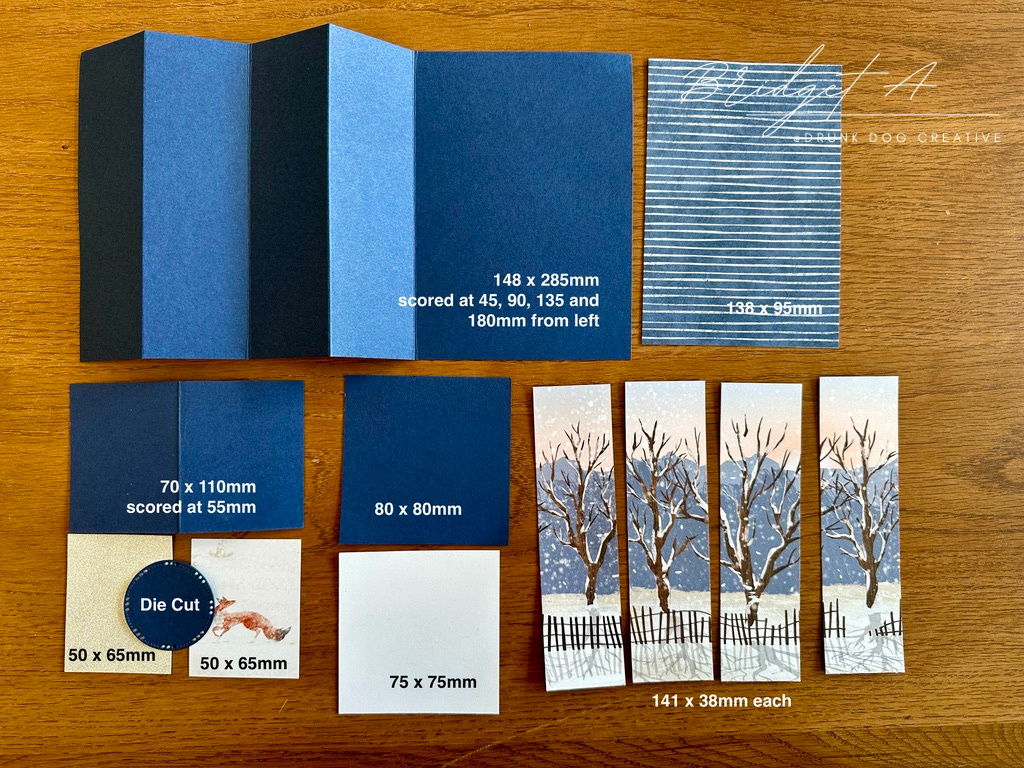
Cut Plan
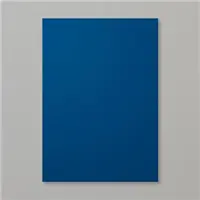
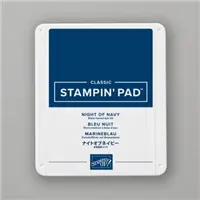
Night of Navy:
Card Base – 285 x 148 mm scored at 45, 90, 135 and 180 mm from the left
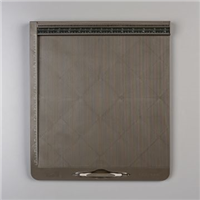
Tab – 110 x 70 mm scored at 55 mm
Inside Mat 2 – 80 x 80 mm
Band (not shown) – 260 x 80 mm scored at 70 and 170 mm from the left
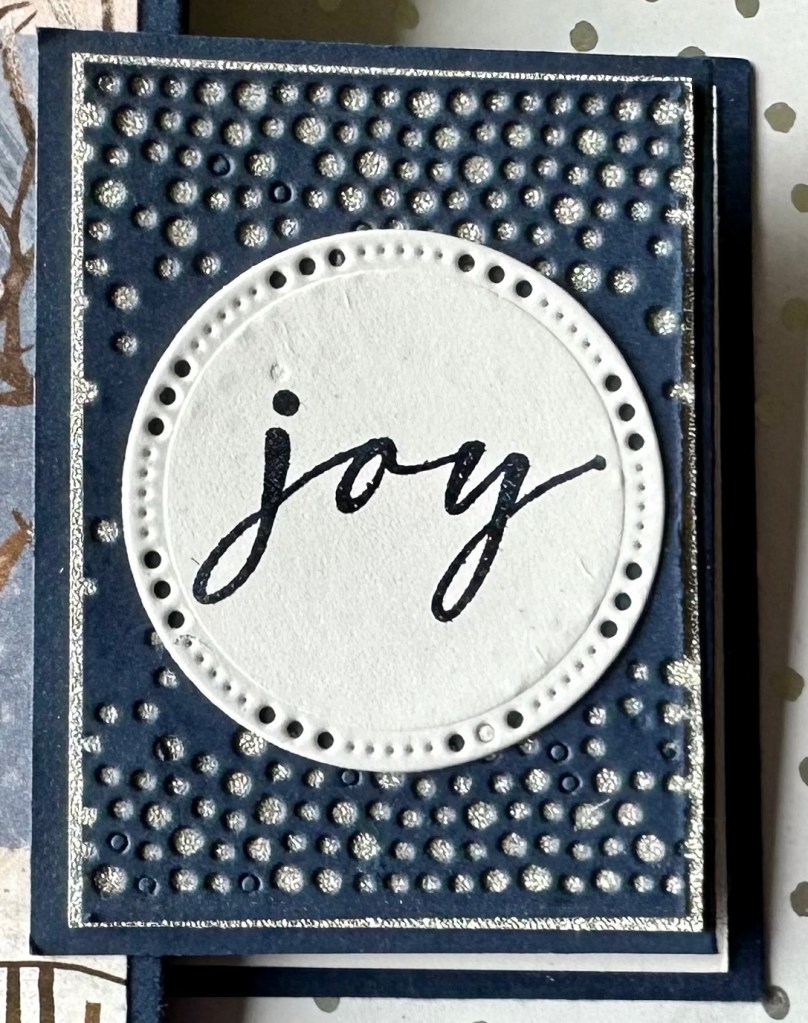
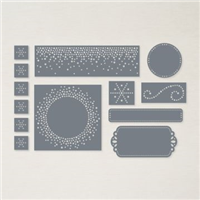
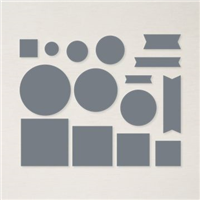
Die Cut circle using Labels Aglow Die Set
Basic White (Thick):
Inside Writing Area – 75 x 75 mm
One Horse Open Sleigh Designer Series Paper:
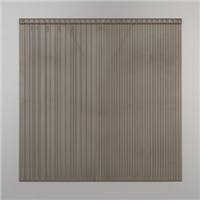
Pleat Panels (Trees) – cut to 140 mm tall then cut into 38 mm panels
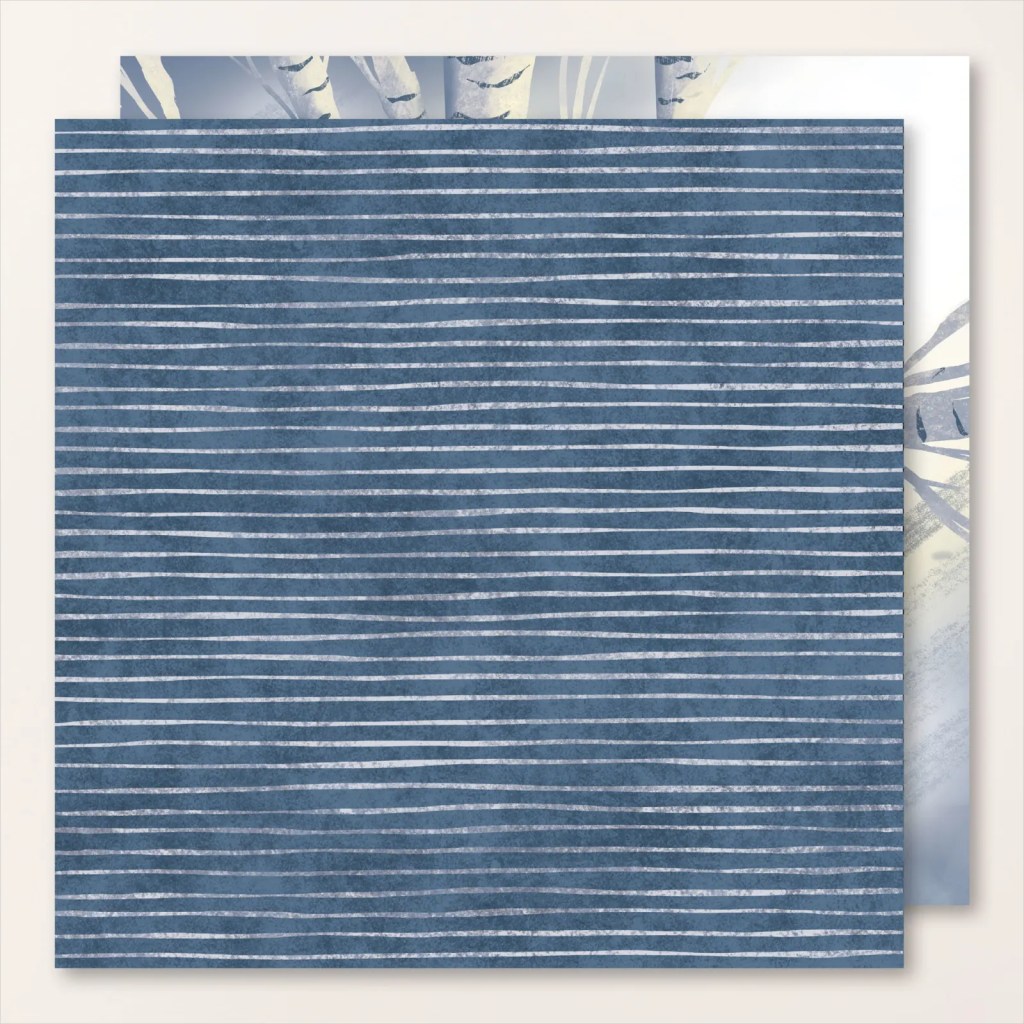
Inside Mat 1 (Blue Stripes) – 95 x 138 mm
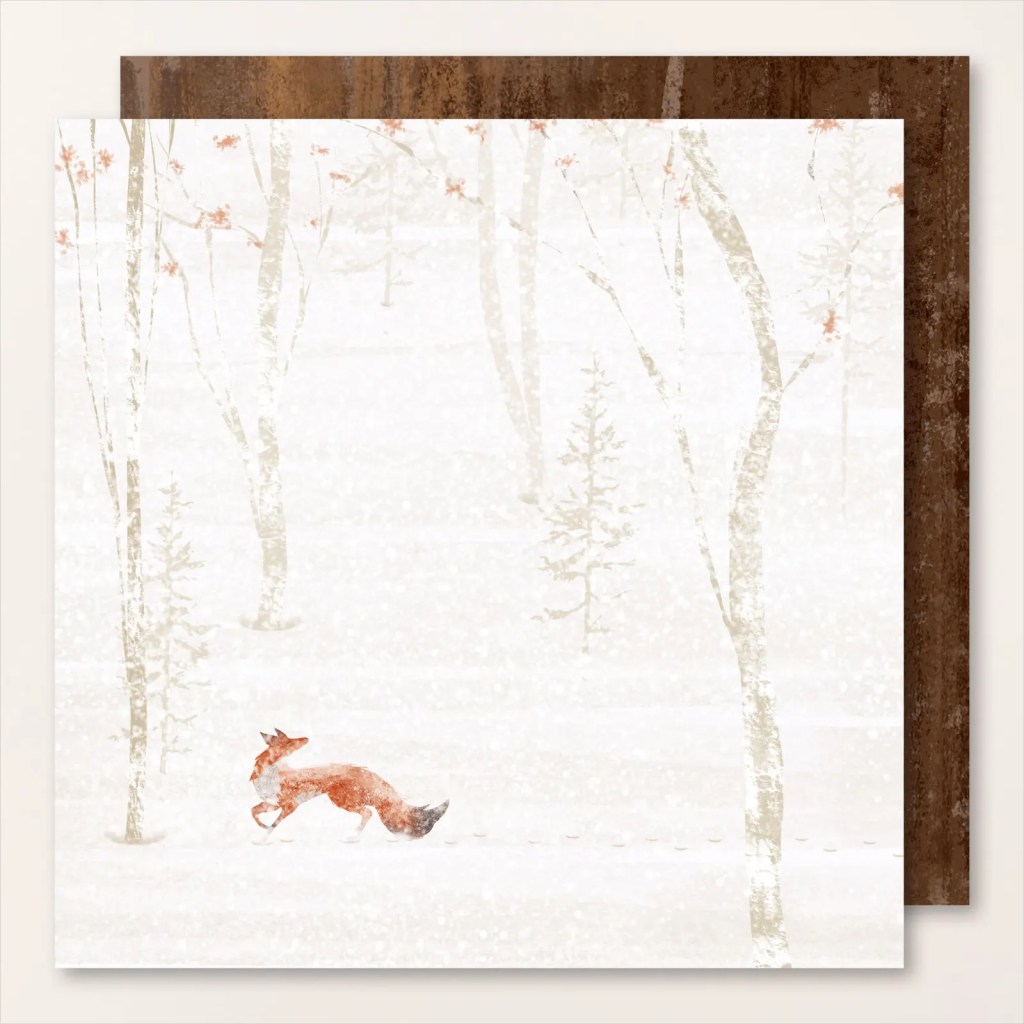
Tab Back (Fox) – 50 x 65 mm
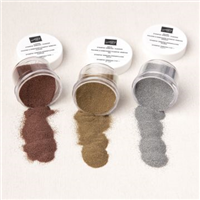
Silver Glitter Cardstock:
Tab Front – 50 x 65 mm
(note: this cardstock is from my stash and is not an SU product).
The pieces that make up the tab front and back can be changed to suit whatever you would like to do there. In one example, I actually put a Night of Navy piece over the silver glitter after die cutting it with the rectangle die from the Labels Aglow Set and then die cut the circle in white cardstock and stamped it with Night of Navy Ink. It gave a different look. So feel free to play with the tab design!
Instructions
- Cut all cardstock and DSP.
- Die Cut piece for Tab Front.
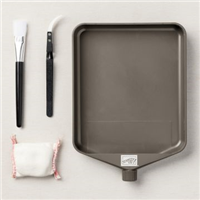
- Heat Emboss Sentiments.
- Create the tab:
- Affix the silver glitter cardstock (Tab Front) to the left front side of the Tab.
- Affix the die cut sentiment to the Tab Front.
- Affix the Fox Cutout (Tab Back) to the right front side of the Tab.
- Inside Area – it’s important to do this BEFORE you affix the tab to the cardbase:
- Affix the white Writing Panel to the Night of Navy Inside Mat 2.
- Affix the piece you just made to the striped DSP (Inside Mat 1).
- Affix the assembled piece to the right side of the Accordion Fold Card Base.
- Affix the 4 Tree panels (DSP) to each of the Accordion pleats.
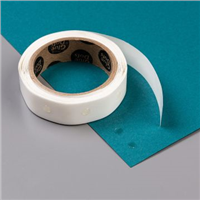
- Place Stampin’ Seal glue tape on the left and right edges of the back of the Tab. Be careful to NOT stick them together or to the Card Base until you’ve aligned it. Close the folds of the card and slip the Tab in so that it encompasses the folds (but be careful to not press on it so the glue tape doesn’t stick). Align the Tab so the top, right and bottom edges are evenly spaced inside the box formed by the Night of Navy and White panels of the inside writing area. The idea is that when the card closes, those panels form a mat behind the tab creating a layered look to the front of the card and hiding the writing on the Writing Panel. (see video for demonstration). Once the tab is aligned where you want it, press down so that it sticks to the first and fourth panels of the folds.
- Place glue tape along the right edge of the back side of the Band. Fold on the score lines and press so that it sticks to itself forming a band.
- Slip band over card to hold folds closed.
Finished!!!
Supply List


Price: $21.75


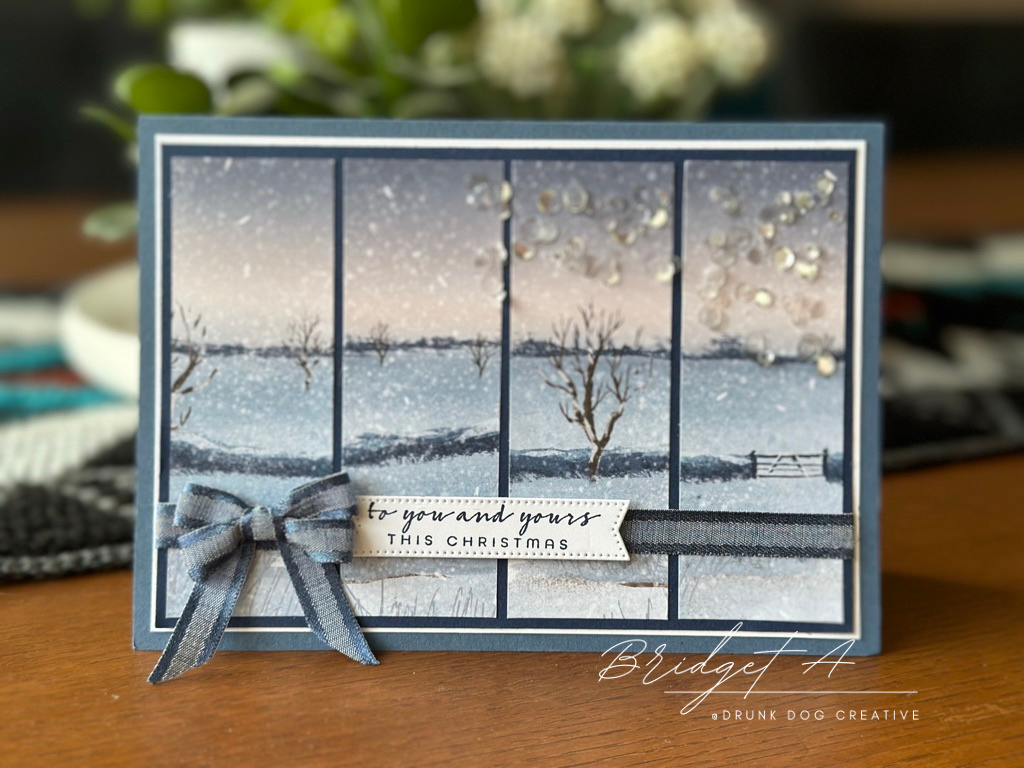
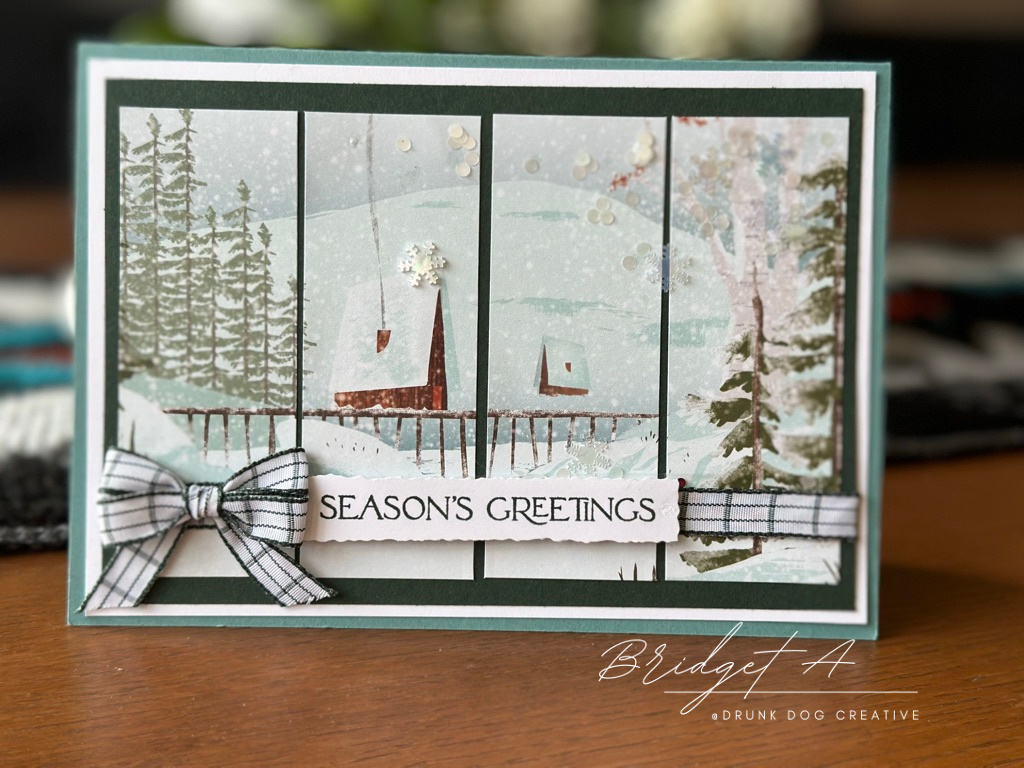
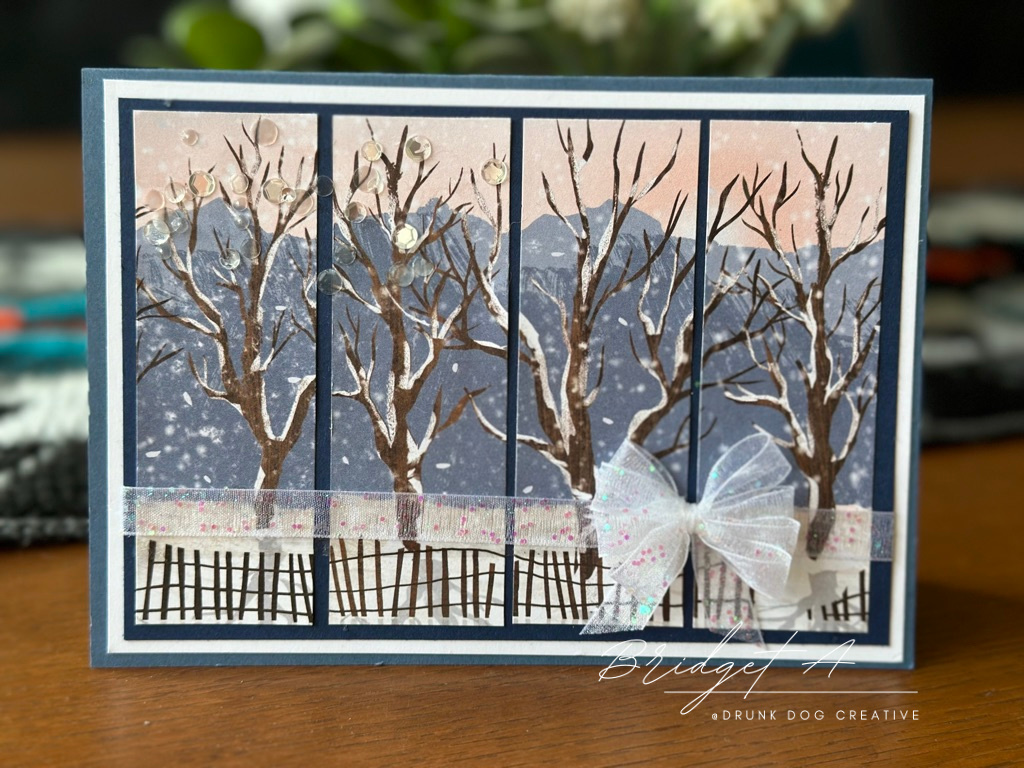
4-Panel Christmas Card
Did you know that an artwork that is made up of four panels is called a Tetraptych? It’s a mouthful. I think saying a ‘4-Panel Christmas Card’ is a lot easier! This is a simple but beautiful card layout that can be adapted to other occasions as well by changing the colours, paper, sentiments and other decorative elements. So while I love this as a Christmas Card, let your imagination soar and see what other ideas you can come up with for it!

Cut Plan
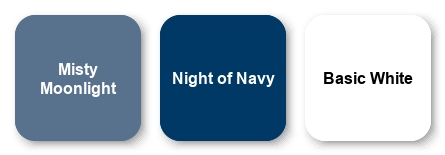
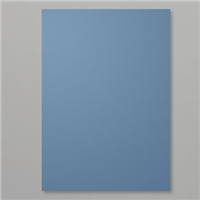
Misty Moonlight:
Card Base – 10″ x 7″ scored at 5″
Night of Navy:
Mat 2 – 4.5″ x 6.5″
Basic White (Thick):
Mat 1 – 4-5/8″ x 6-5/8″
Inside Writing Panel – 4.5″ x 6.5″
Optional scrap for sentiment
One Horse Open Sleigh DSP:
4 panels – 1.5” x 4.25”
Note: the DSP is 6” x 6” so the best way to ensure each panel is the same length is to cut the sheet to 4.5” long (top to bottom) first. Then cut the 1.5” panels apart.
Instructions
- Cut all cardstock and DSP.
- Create the card front – Affix the 4 panels to Mat 2. It’s easiest if you lay them out first without glue, then affix one end, then the other (I did the right panel then the left panel), then affix the two middle panels. This helps you spread them evenly. You want an approximately 1/8” margin top bottom and edge around the panels. It’s very helpful to have the Mat squared on some grid paper before affixing the panels to it.
- Affix the card front to Mat 1. The margin around the edge should be very small (about 1/8”).
- Affix the card front (now incorporating Mat 1) to the card base.
- Affix the inside writing panel to the inside of the card base.
Your basic card is finished!
Optional Steps:
- Stamp a sentiment on the inside writing panel.
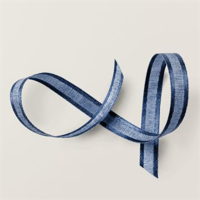
- Put a ribbon and bow across the front. If you put a ribbon across the front, put the ribbon in place between Steps 2 and 3 above so you can tuck the ribbon behind Mat 2 before affixing it to Mat 1. Affix the bow after the rest of the card has been assembled.
- Stamp a piece of scrap paper with a sentiment and then die cut, fussy cut, or punch to desired shape and affix to ribbon to the left of the bow…. If anywhere on the card if not using the ribbon and bow.
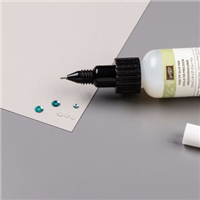
- Dot some glue from the Fine Tip Glue Bottle randomly in a corner diagonaly opposite the bow (if using one) and sprinkle Loose Silver Sequins over it. Tap off excess sequins and allow to dry.

Supply List
Price: $21.75


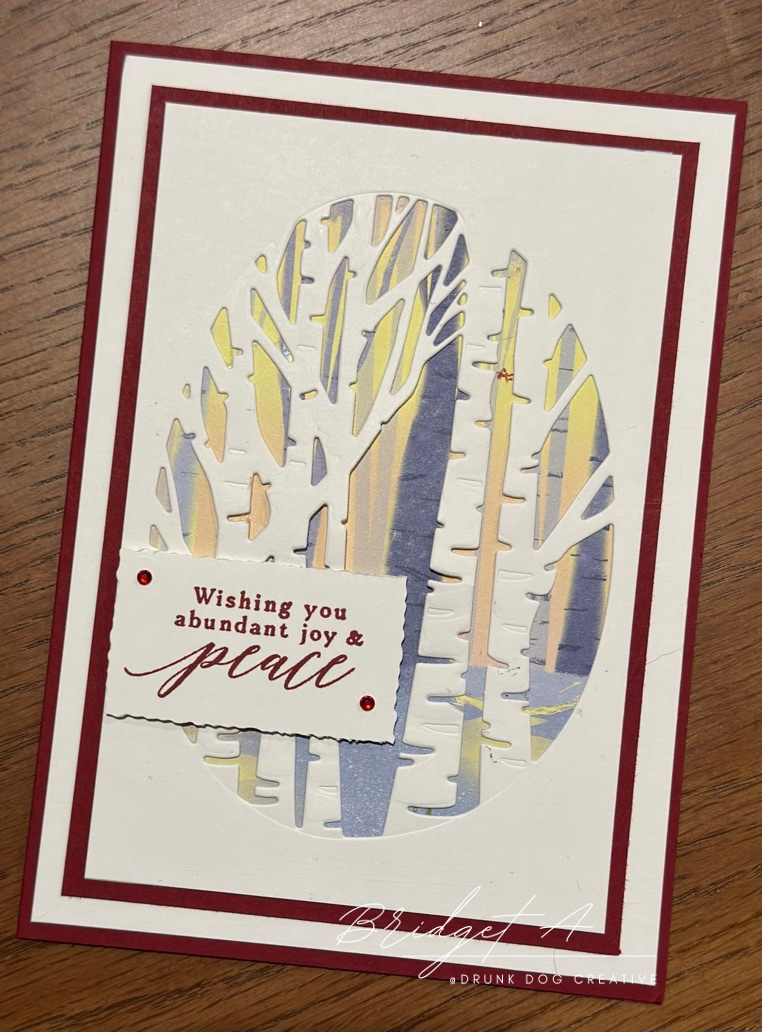
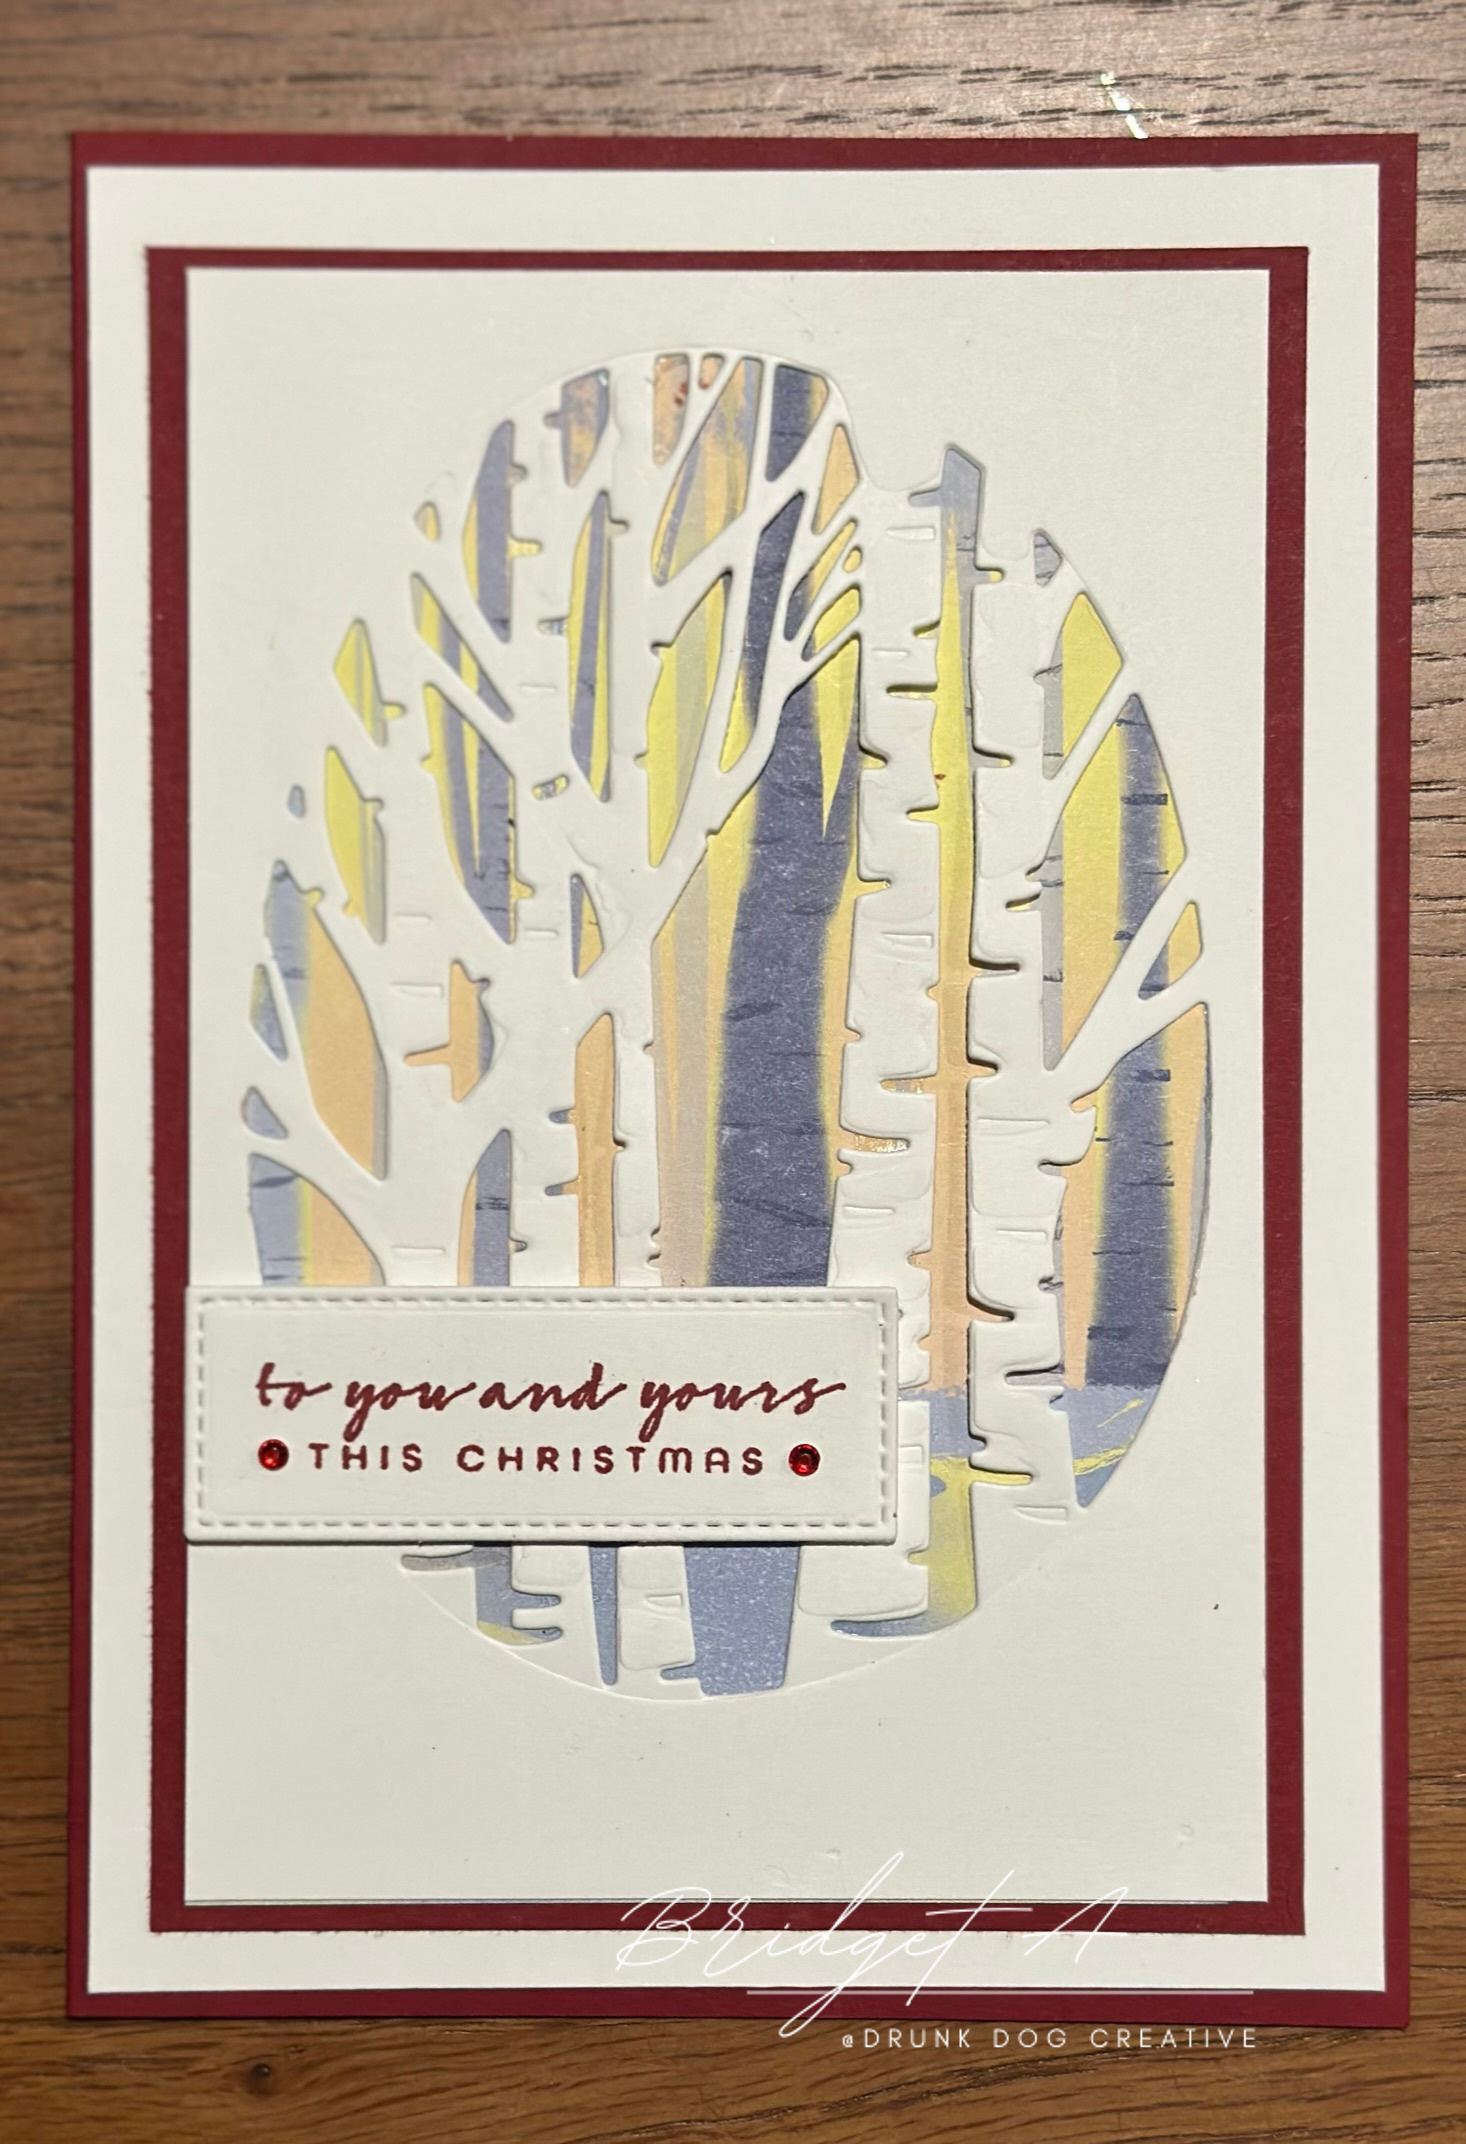
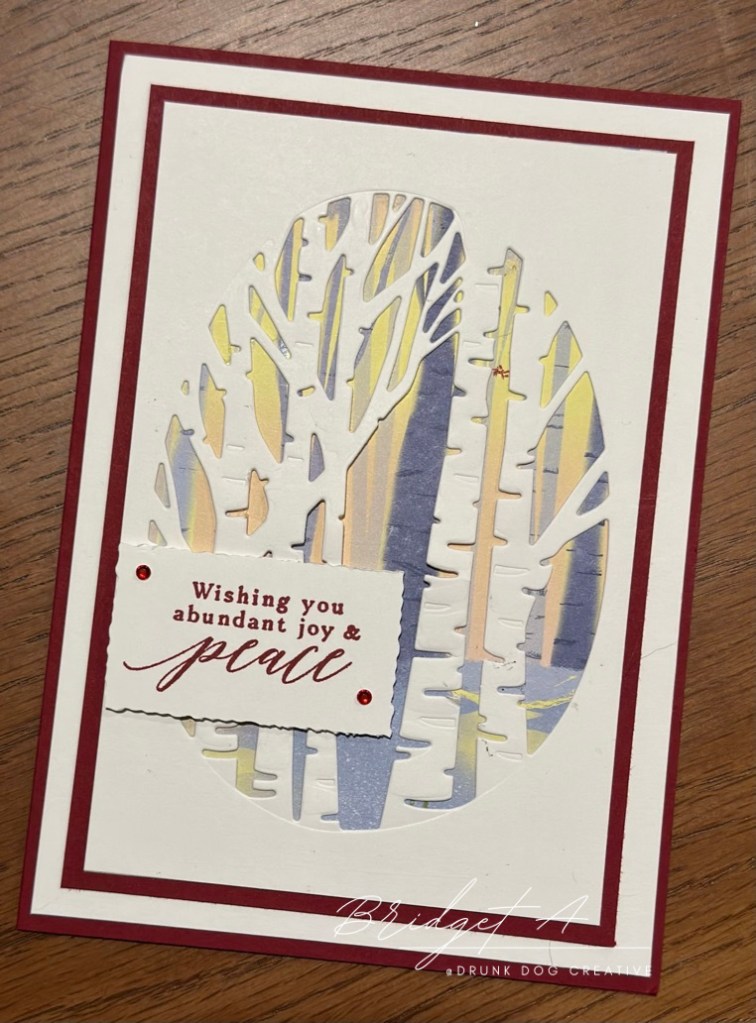
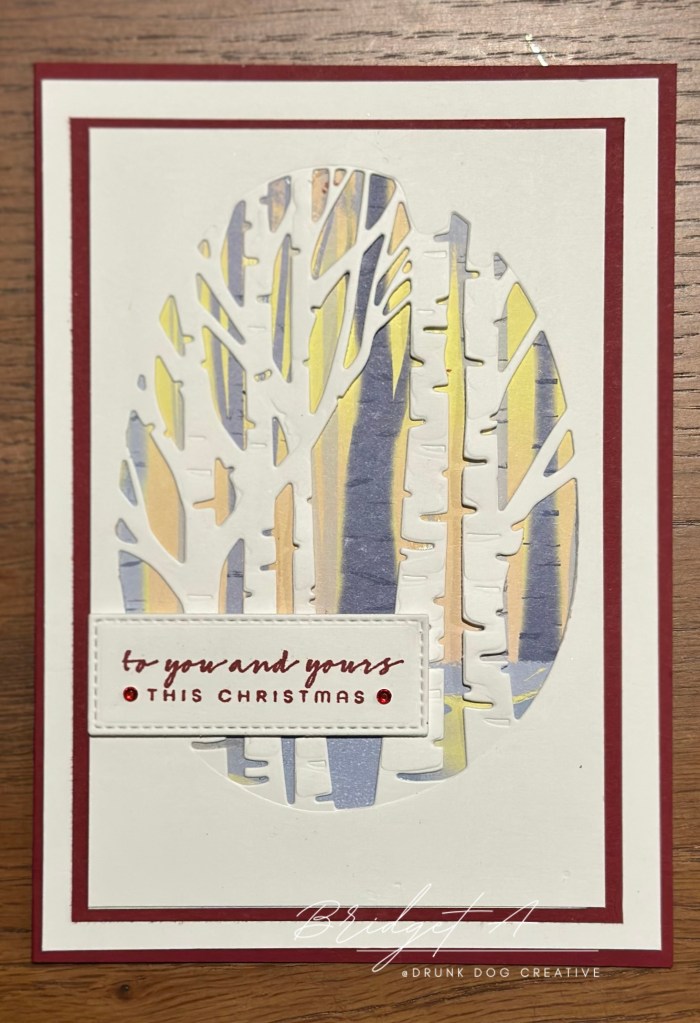
Aspen Tree Christmas Card
I grew up in North America and really loved the Aspen Trees in winter. I now live in Australia and Christmas is a bit different here – sun, sand, heat, beaches, and bbq’s rather than snow, fireplaces and crystalline trees in the still night air. This card captures memories of my childhood which may be why I love it so much.
Cut Plan
Cherry Cobbler:
Card Base – 10″ x 7” scored at 5”
Mat 2 – 4.25″ x 6.25″
Basic White (Thick):
Mat 1 – 4.75″ x 6.75”
Card Front – 4″ x 6”
Inside Writing Panel – 4.5″ x 6.5”
Optional Scrap for Sentiment on front of card
One Horse Open Sleigh DSP:
Background Panel – 4″ x 6″
Instructions
- Centre the large aspen tree oval die from the Aspen Tree Die Set onto the card front and run through your die cutting machine.
- Affix card front to DSP. If you need to move it a little either side to get the background image where you want it, you can trim any paper that overhangs the card front after affixing them.
- Layer card front onto mat 1 and affix.
- Layer card front onto mat 2 and affix.
- Layer card front onto card base and affix.
- Affix writing area to inside of card.
Optional ‘step it up’ steps (use one, two or all three):
- Stamp sentiment onto scrap of white cardstock using Cherry Cobbler inkpad. Trim or die cut to size and shape desired and affix with Dimensionals to front of card.
- Stamp a sentiment on inside of card with Cherry Cobbler inkpad.
- Add embellishments like sequins, jewels, or ribbon to card.
Supply List for Aspen Tree Christmas Card


Price: $21.75

Instructional PDFs
You can download a pdf for each card type here.
Accordion Fold Christmas Card Instructions
4-Panel Christmas Card Instructions
Aspen Tree Christmas Card Instructions

Marcus, Polly and Hugo, the dogs of Drunk Dog Creative, want to remind you to subscribe to this blog, share with your friends, and follow Drunk Dog Creative on all the socials.
Woof woof. Sit. Stay. Follow us. Good human.
Need supplies?
You can shop for Stampin’ Up! products at https://bridgeta.stampinup.net. You can also click on any of the items in the supply lists in tutorial posts. A percentage of any profit from my SU sales is donated to Dachshund Rescue Australia, so you get great products at a good price and help gorgeous dogs like Hugo find their furever home!
Join my team!
If you spend over $169 why not consider joining my team as an Independent Demonstrator? You will get $265 worth of your choice of products for only $169 and be entitled to a minimum 20% discount on your future orders. Many people join just to be Hobby Demonstrators for the personal discount!


Leave a reply to Pippa Cancel reply